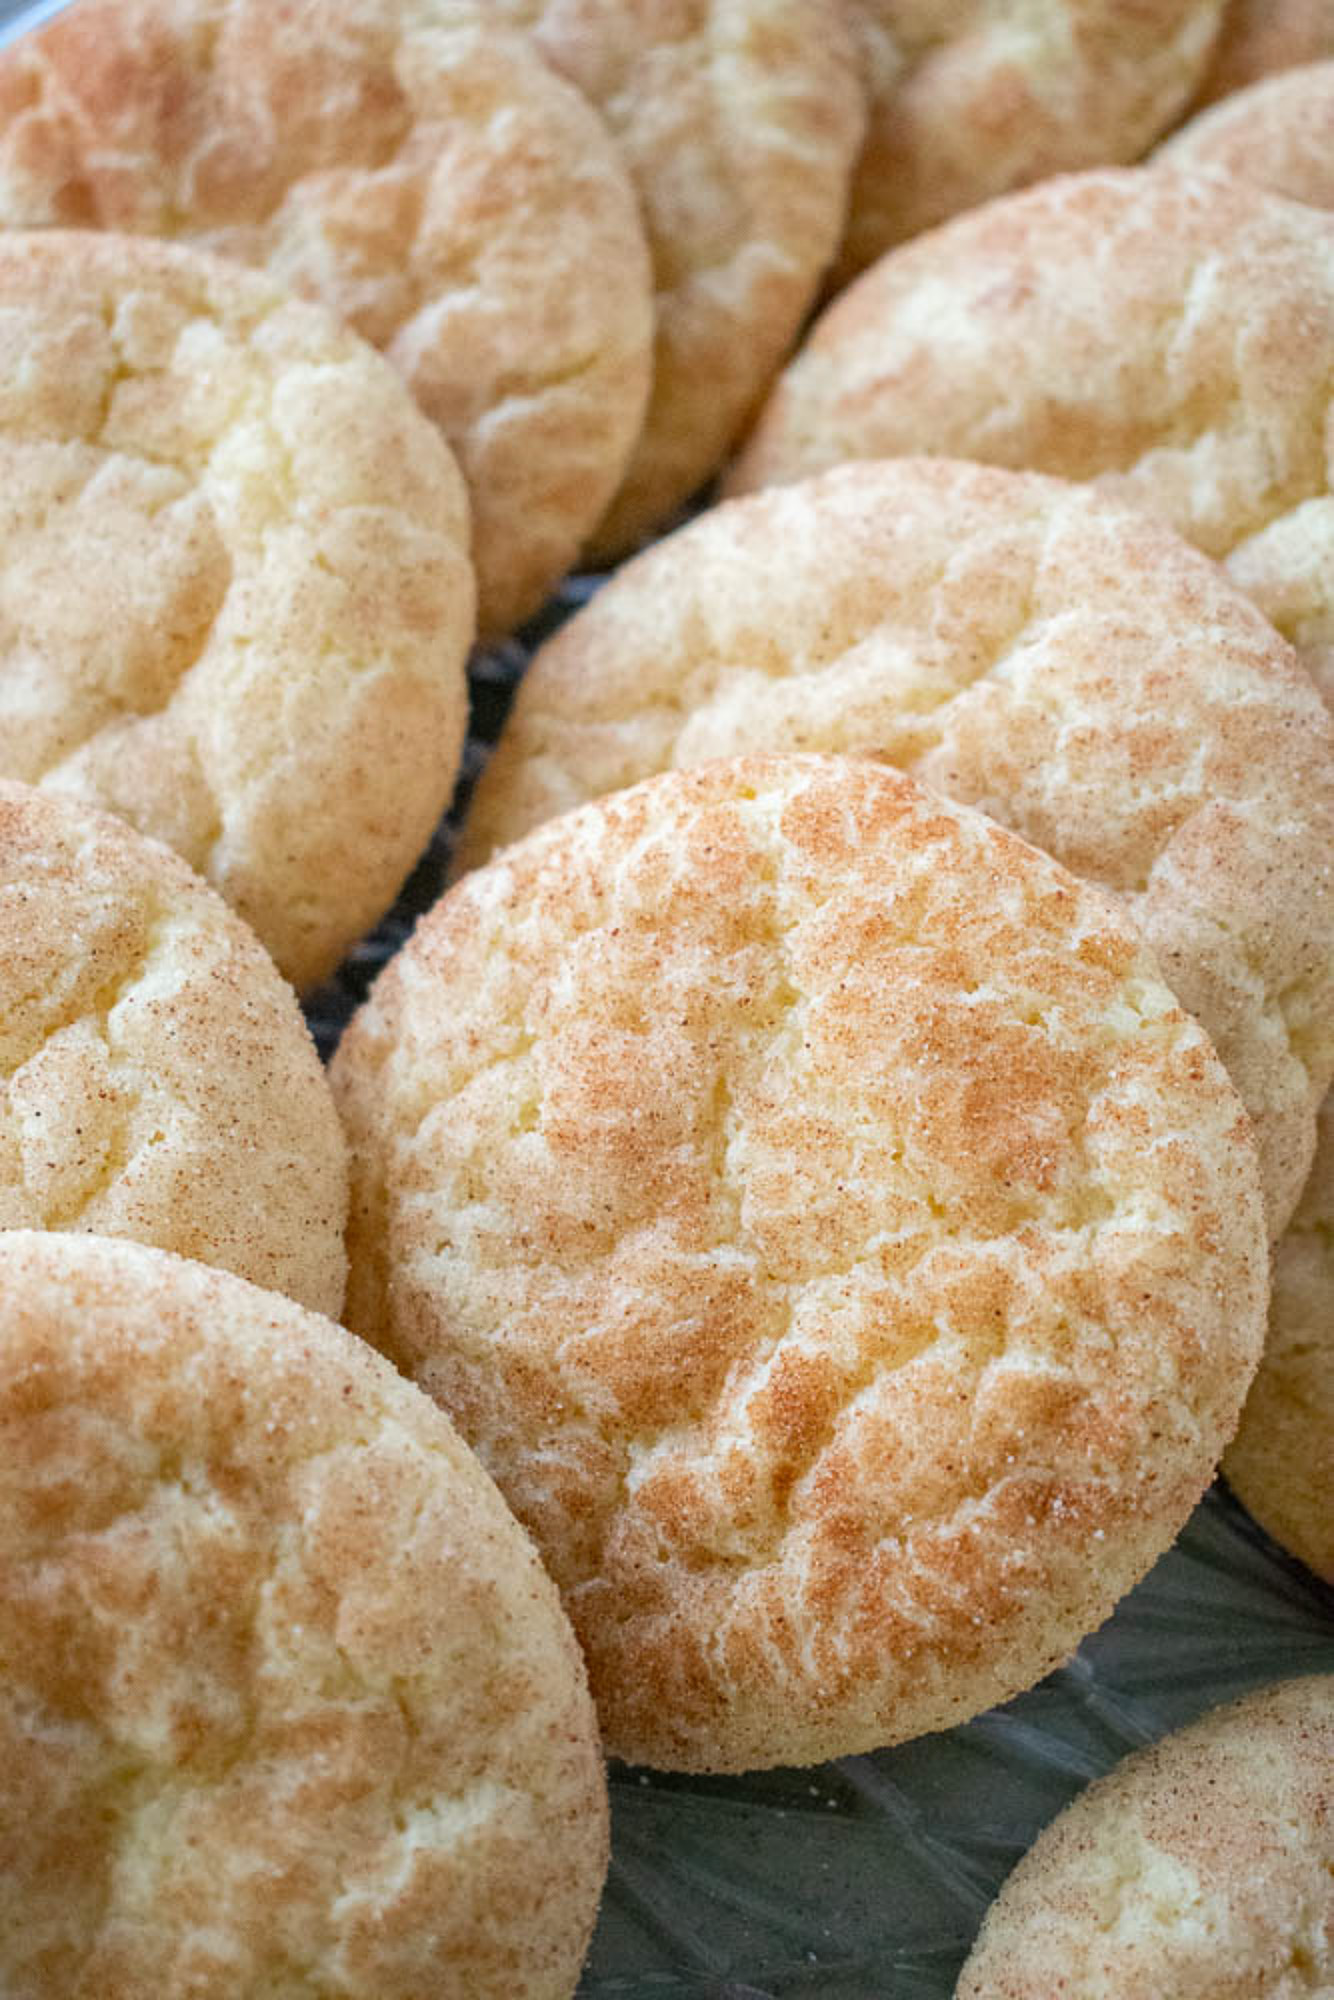
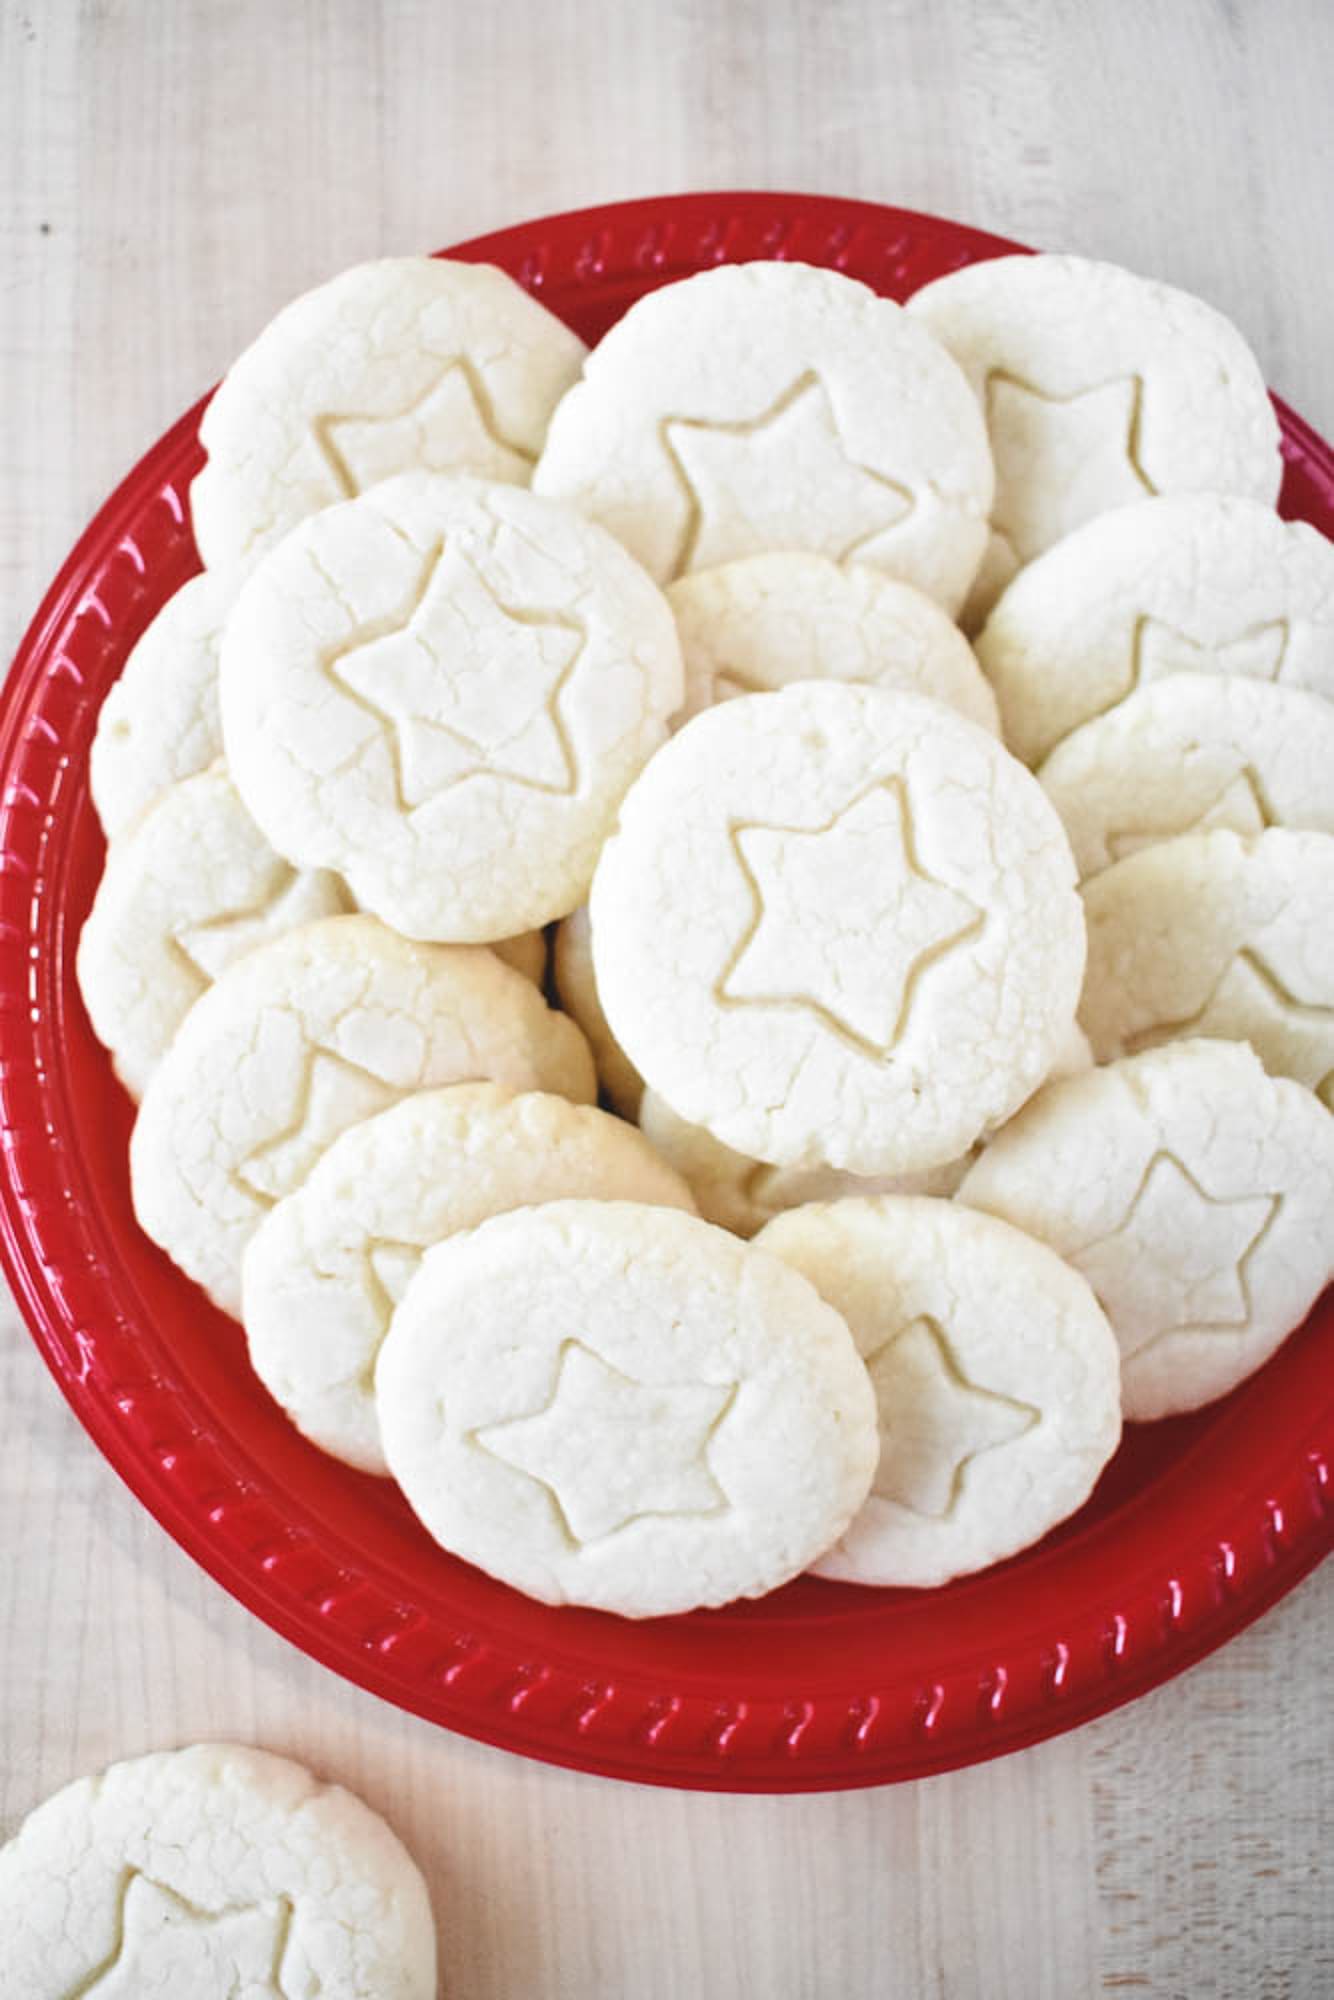
Chewy Chocolate Chip Cookies
Every home baker needs a classic chewy chocolate chip cookie in their collection, and this is the one I grew up with. I have made a few small adjustments to the original family recipe over the years to get the texture just right. I also switched to mini chocolate chips because I just love getting a bit of chocolate in every single bite.
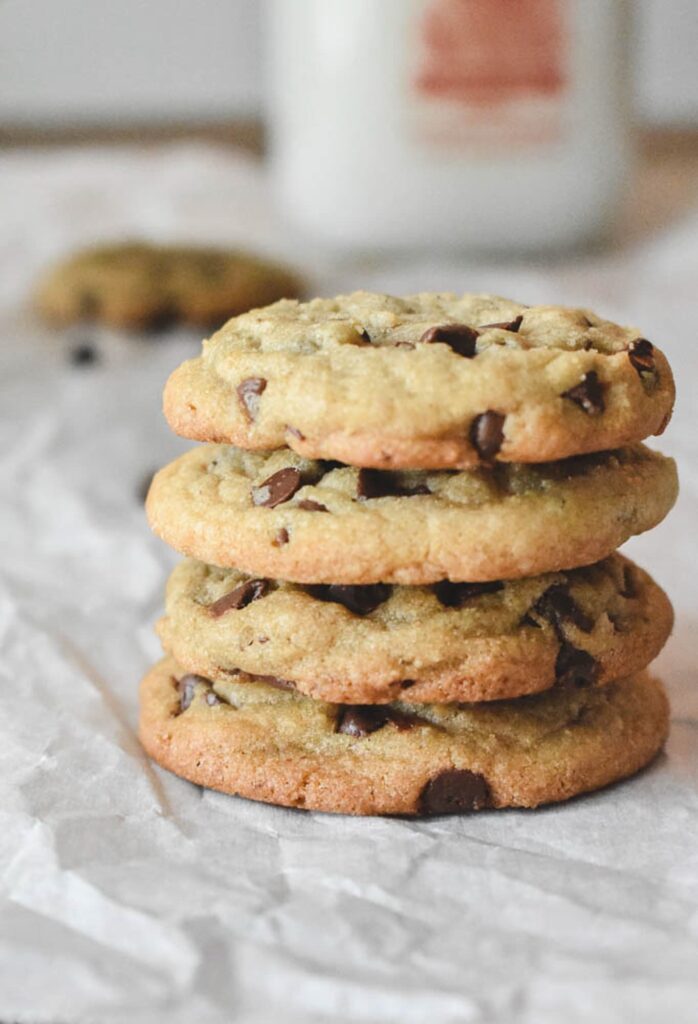
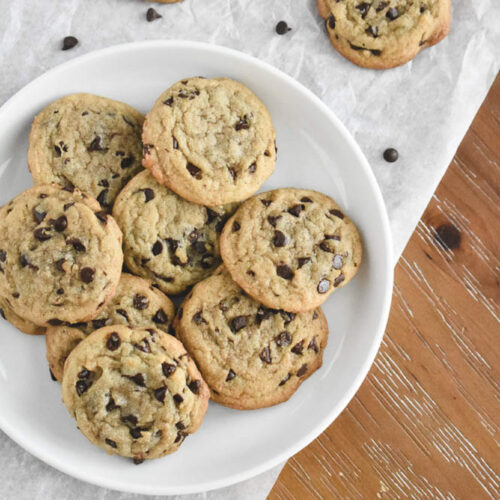
These cookies have that classic, soft center I remember, but with a slightly crispier edge that holds up to a glass of milk. While many modern recipes chase a “gourmet” look, this one feels like home. It is reliable, nostalgic, and the optional bittersweet chocolate coating on the bottom makes them feel special enough for a gift or a holiday platter.

I eventually found that the secret to a cookie that stays soft for days is a specific “magic” ratio of fats and a few days of patience. By balancing shortening with real butter and a touch of cornstarch, you get a chew that lasts much longer than a standard recipe. I will walk you through why these small technical tweaks make all the difference for the final texture.
The Key to a Perfect Chew
I’ve found that the structure of these cookies really comes down to how the fats and sugars interact. While the ingredients themselves are staples, the way they are balanced is what creates that specific texture I was looking for when I updated this family recipe.
The Role of Butter and Shortening
The combination of both butter and shortening is essential for the structure here. These fats have different melting points and water contents, which dictates how much the cookie spreads. I use unsalted butter for that classic flavor, but I add vegetable shortening (like Crisco) to give the cookies a bit more lift.
Why Shortening?
While butter provides the flavor, shortening has a higher melting point. This prevents the cookies from spreading too quickly in the oven, giving you a thicker, softer cookie that holds its shape.
I have tried making these with all butter when I was out of shortening, and while they still taste great, they definitely turn out flatter and crisper than the version I prefer.
Why Temperature Matters for Emulsion
I make sure the shortening, butter, and eggs are all at room temperature before I even pull out the mixer. This is one of those small technical details that really matters for the final texture. When the ingredients are at the same temperature, they emulsify perfectly into a smooth, fluffy base. If you use cold eggs or chilled fats, they can seize up, which leads to an inconsistent dough and a different bake.
Balancing the Sugars
For this recipe, I use a higher ratio of light brown sugar compared to granulated sugar. The molasses in the brown sugar is what provides that deep flavor and keeps the center soft. When you are measuring, it is important to pack the brown sugar firmly into the cup or, even better, use a kitchen scale for accuracy.
Refining the Texture
To get that lasting chew, I add two teaspoons of cornstarch. It acts as a tenderizer by softening the proteins in the flour, which is how the cookies stay soft after baking. I also prefer mini semisweet chips over regular sized ones. Because they are smaller, they distribute more evenly throughout the dough, so you get chocolate in every single bite without it overwhelming the flavor of the dough itself.
Dialing in Your Oven
If there is one piece of equipment I highly recommend for this recipe, it is an oven thermometer. Since oven temperatures can vary so much, having an accurate reading is the only way to ensure you hit that light golden brown edge without overbaking the middle.
Making the Cookie Dough
Making this dough is a straightforward process, but the order in which you add the ingredients matters for that final texture. I use a stand mixer for this, but a hand mixer works just as well as long as you are patient with the creaming stage.
Prepping the Dry Ingredients
Before I even turn on the mixer, I like to whisk my dry ingredients together in a separate bowl. I combine the flour, baking soda, salt, and cornstarch until they are well mixed and then set the bowl aside. Taking this extra minute ensures that the leavening agents are evenly distributed so that every cookie rises and sets the same way. It also makes the actual mixing process much smoother once the butter and sugars are ready.
Creaming the Fats and Sugars
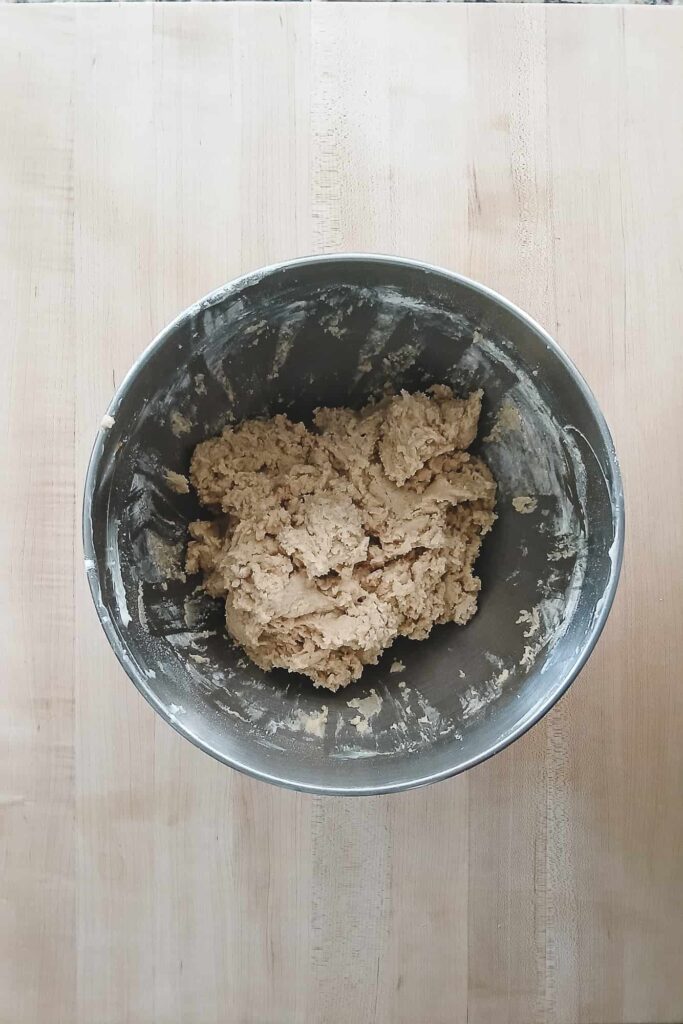
I start by adding the shortening and room temperature butter to a separate mixing bowl. I beat these together on medium speed for about 30 seconds until the mixture is completely smooth. Once the fats are combined, I add both the light brown sugar and the granulated sugar. I continue beating the mixture until it is fluffy and well combined, which usually takes about one minute. I am careful not to go much longer than that because I want to avoid overmixing the base before the eggs even go in.


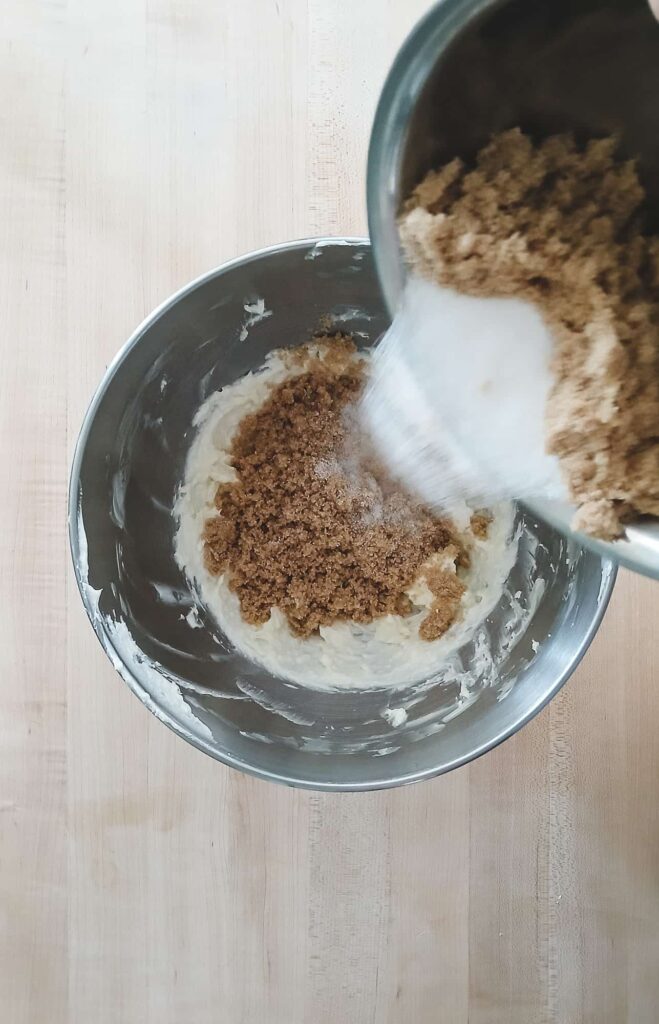
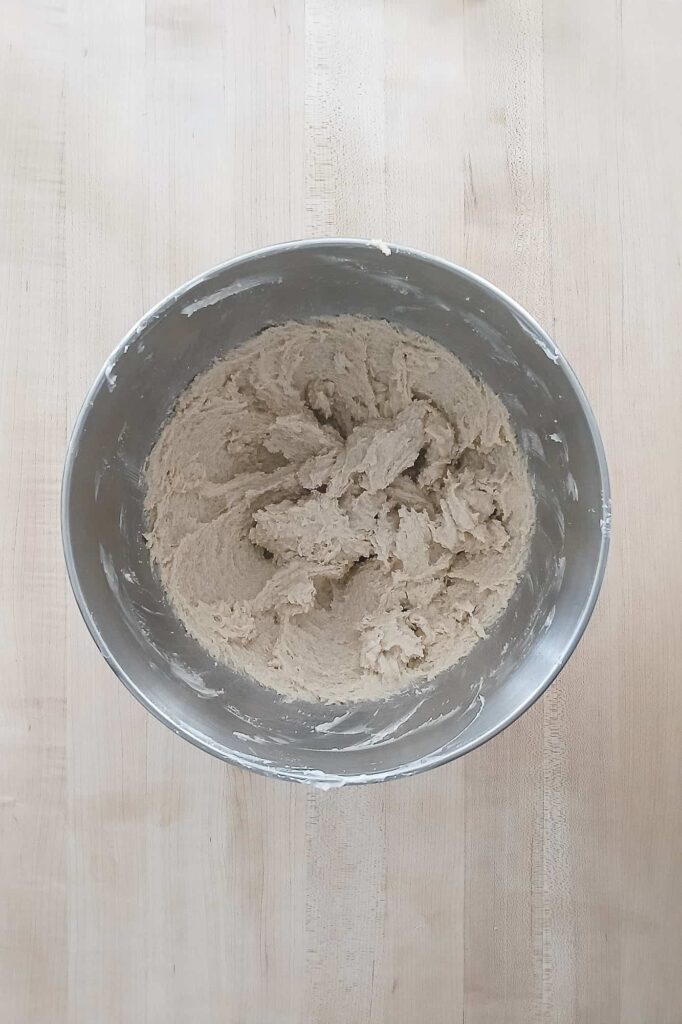
You are looking for the mixture to lighten slightly in color and take on a texture that looks a bit like wet sand. I always make sure the brown sugar is fully broken down so there are no hard molasses pearls hiding in the dough.
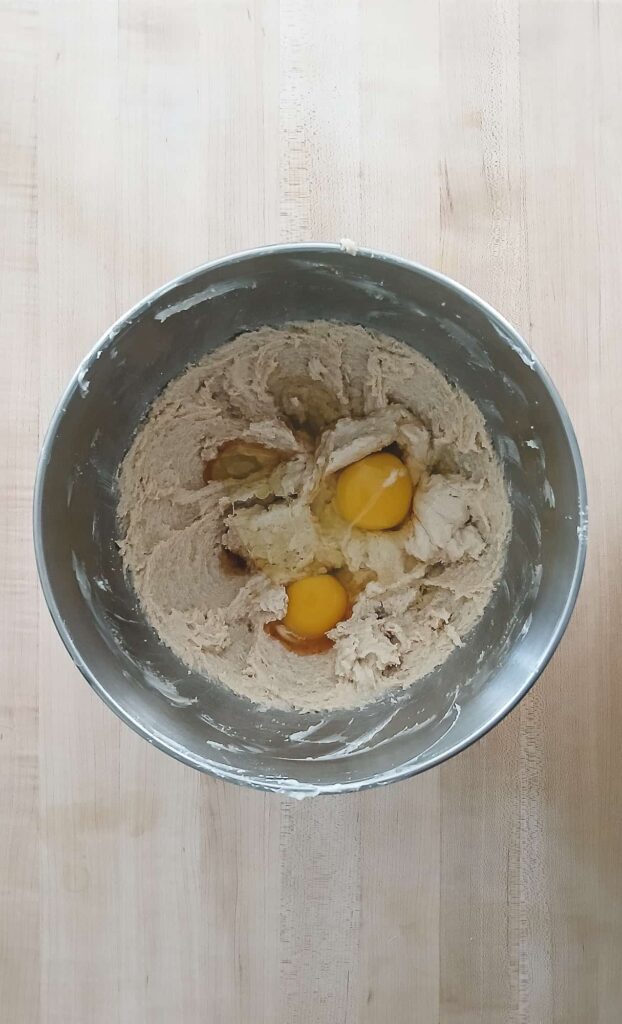
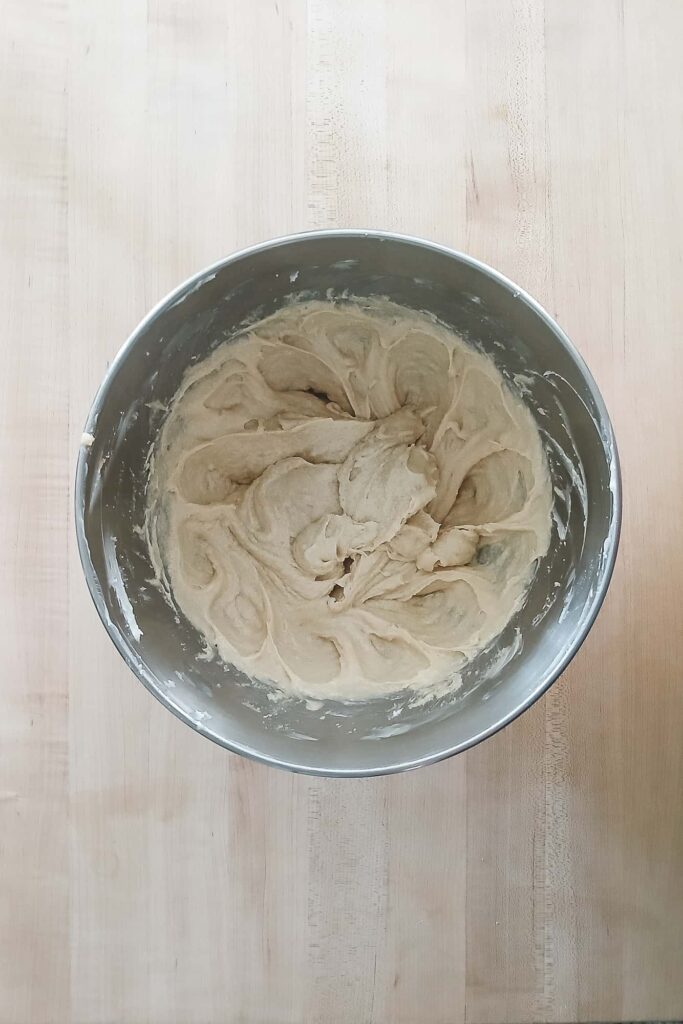
Combining the Wet Ingredients
Next, I beat the room temperature eggs and the vanilla extract into the sugar mixture. This is a good time to pause and scrape down the sides of the bowl with a spatula. I always give it one more brief mix after scraping to ensure all the wet ingredients are fully incorporated and the mixture is smooth before I start adding the flour.
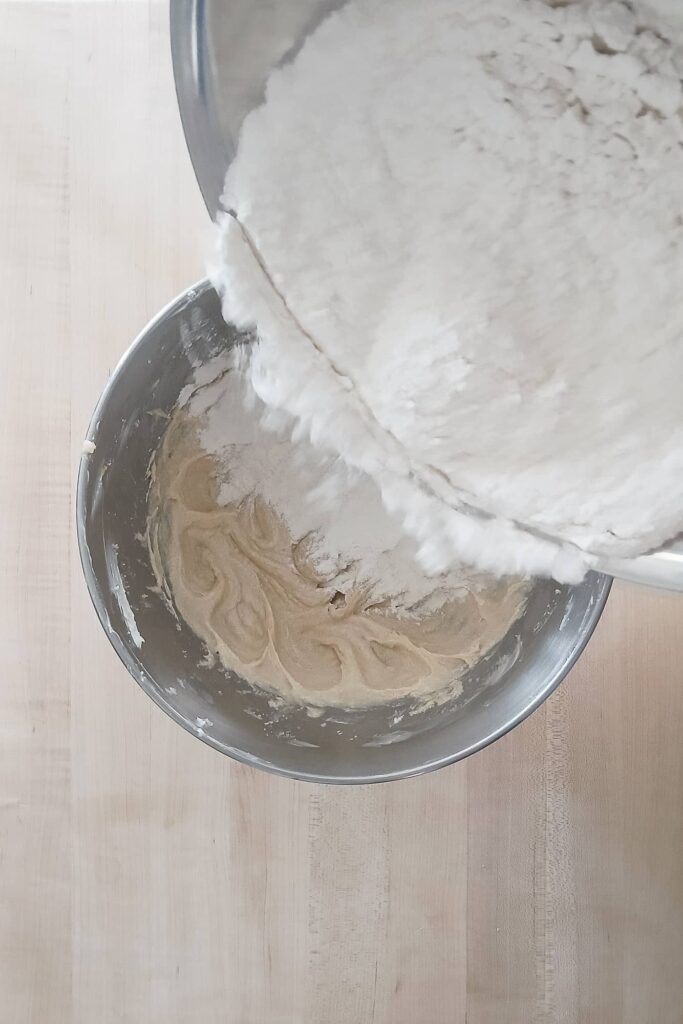
Adding the Dry Ingredients in Stages
To keep the dough tender, I add the flour mixture in three separate portions rather than dumping it all in at once. I start with about one-third of the dry ingredients and mix on the lowest speed until the flour is just barely streaky, then I repeat with the next third and stop to scrape down the bowl. Finally, I add the last portion and mix only until it is just incorporated. Adding the flour in stages like this helps prevent overmixing, which is the best way to avoid developing too much gluten and ending up with a tough cookie.
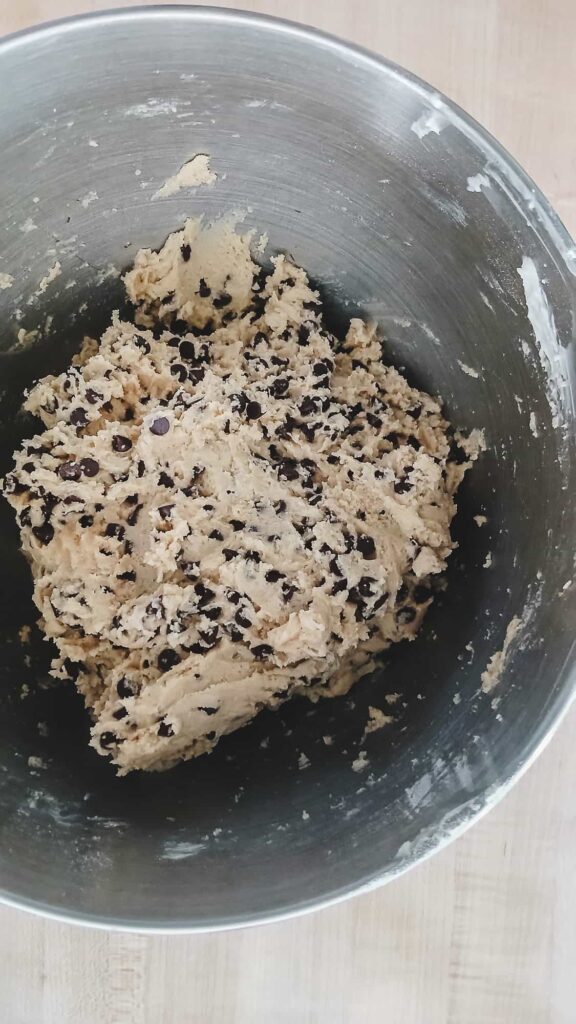
This dough is meant to be very soft and slightly tacky at this stage. If I still see a tiny bit of flour at the very bottom after that final addition, I prefer to stop the mixer and finish folding that last bit in by hand with a spatula rather than letting the machine run any longer. This ensures the dough stays light and delicate before we move on to the mix-ins.
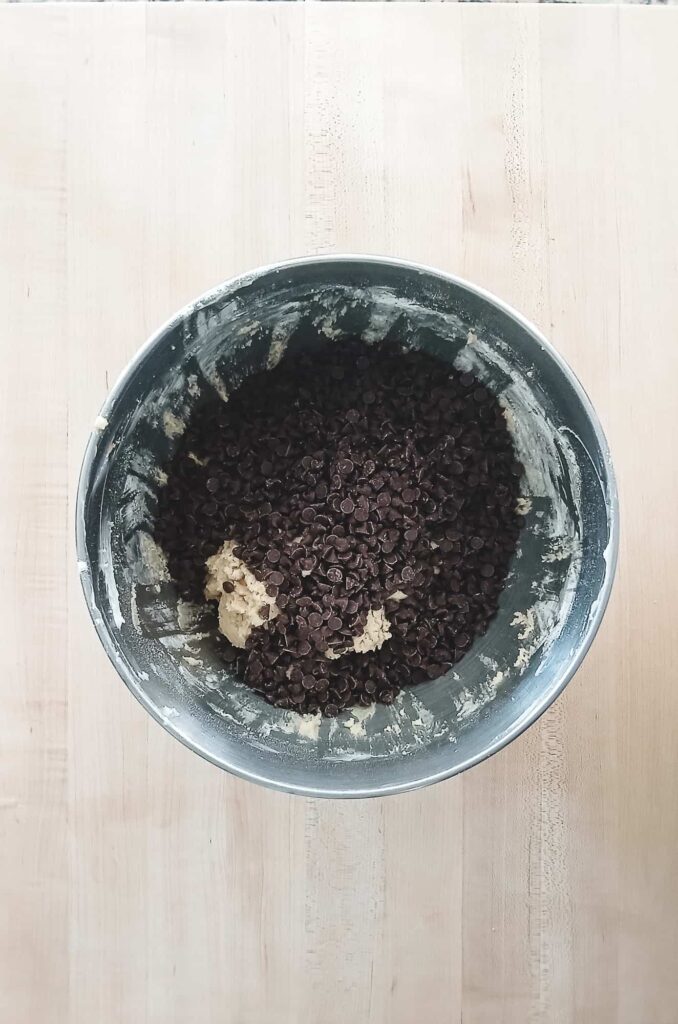
Folding in the Chocolate
The final step is adding those mini semisweet chips. I usually turn the mixer to its lowest speed to stir them in until they are evenly distributed, though sometimes I prefer to fold them in gently by hand with a wooden spoon. At this point, the dough is quite soft and ready for its first rest.
Worth the Wait
I’ll be the first to admit that it’s hard to have a bowl of cookie dough sitting in the fridge and not touch it. This is very much a “plan ahead” dough, but I have found that a bit of patience is really what separates a good cookie from a truly great one.
Why I Chill the Dough
While I consider this 48-hour resting period optional, I highly recommend it for the flavor alone. Behind the scenes, that time in the fridge allows the flour to fully hydrate, which gives you a much more uniform texture. I always notice that my dough turns a deeper shade of tan and starts to smell almost like toffee after those two days. It’s that extra step that creates a complex flavor while helping keep the cookies from spreading too thin in the oven.
I know that waiting two full days isn’t always realistic. If you are on a tighter schedule, even a 24 or 36 hour chill will give you a better cookie than baking immediately, but the 48-hour mark is where that toffee-like flavor really peaks. Of course, if you are in a rush and need a cookie right now, you can certainly bake them immediately. They will still be delicious, but if you can hold out for even a day, the depth of flavor you get from the wait is well worth it.
My Method for Scooping
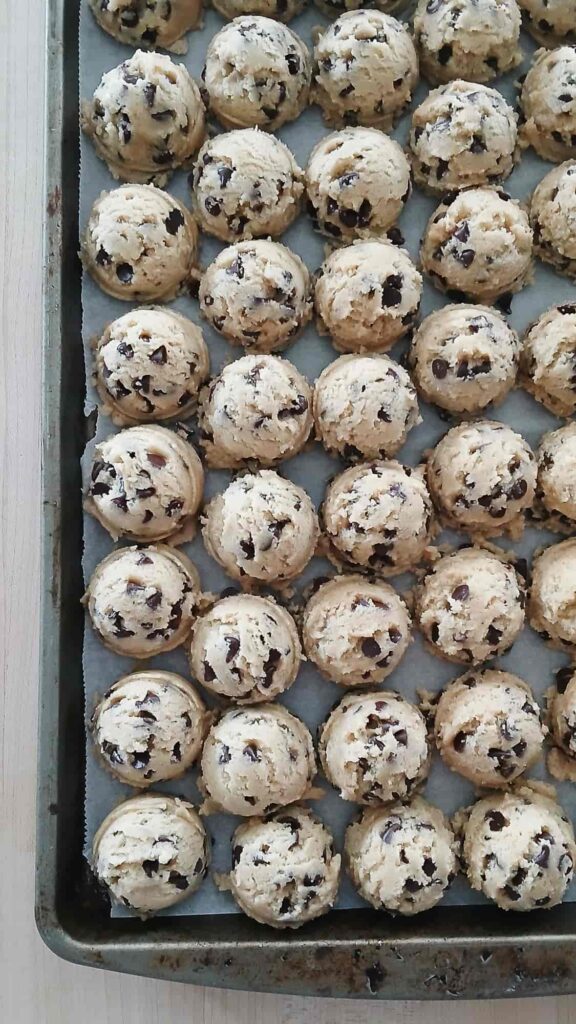
To make the portioning easier, I place the bowl of cookie dough in the refrigerator for about 20 to 30 minutes to chill before I start scooping. This short window gives the fats just enough time to firm up so the dough isn’t too sticky, but it is still pliable enough to scoop easily. Once that time is up, I use a cookie scoop to form the dough into balls and place them on a parchment lined baking sheet.
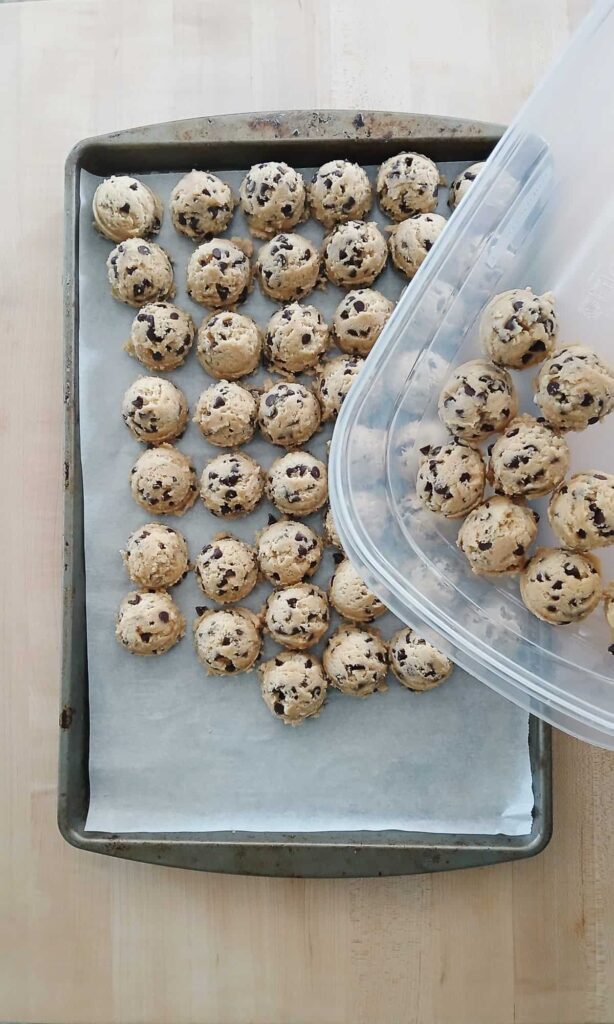
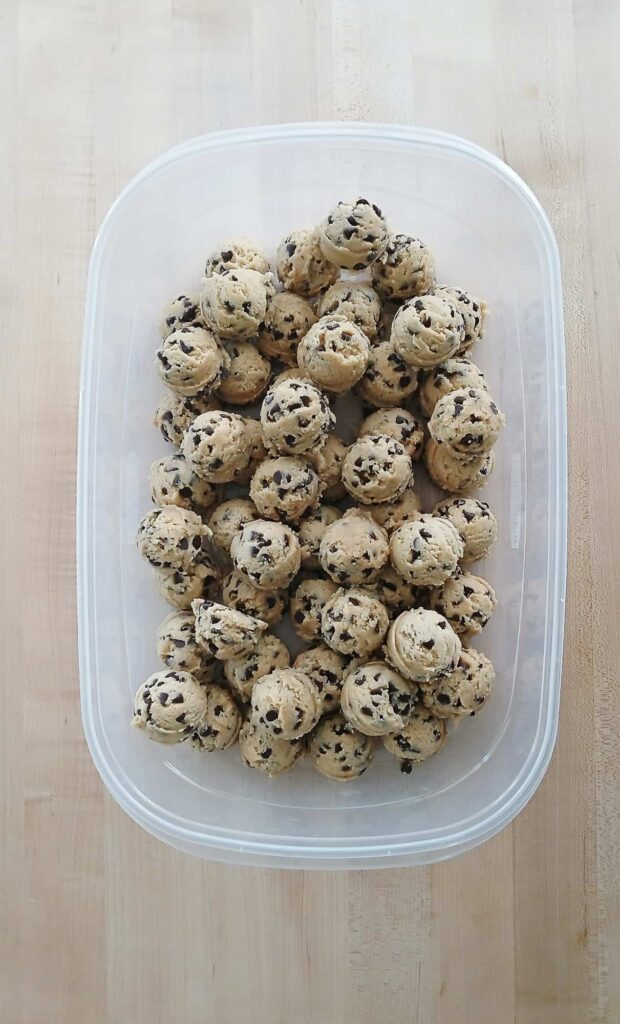
The 48-Hour Chill
I start by placing the dough balls on the baking tray in a single layer and popping the whole tray into the fridge. I let them chill like this for an hour or two until they are firm and cold to the touch. Since they are only on the tray for a short time, there is no need to worry about wrapping them in plastic. Once they have set and are firm enough to handle, I transfer them into an airtight plastic container to save space in the fridge for the remainder of the 48-hour rest. This method keeps the balls from sticking together or losing their shape without cluttering up the refrigerator with large baking sheets.
Baking to Perfection
When that 48-hour wait is finally up, it is time to get these in the oven. I have found that a few small choices made during the bake are what guarantee that signature “crisp edge and soft center” result.
Getting the Oven Ready
I always preheat my oven to 375°F well before I plan to start baking. You want to make sure the heat is stable and even, especially since these cookies only stay in for a few minutes. I line my baking sheets with parchment paper every single time. It doesn’t just prevent sticking but also makes cleanup a breeze.
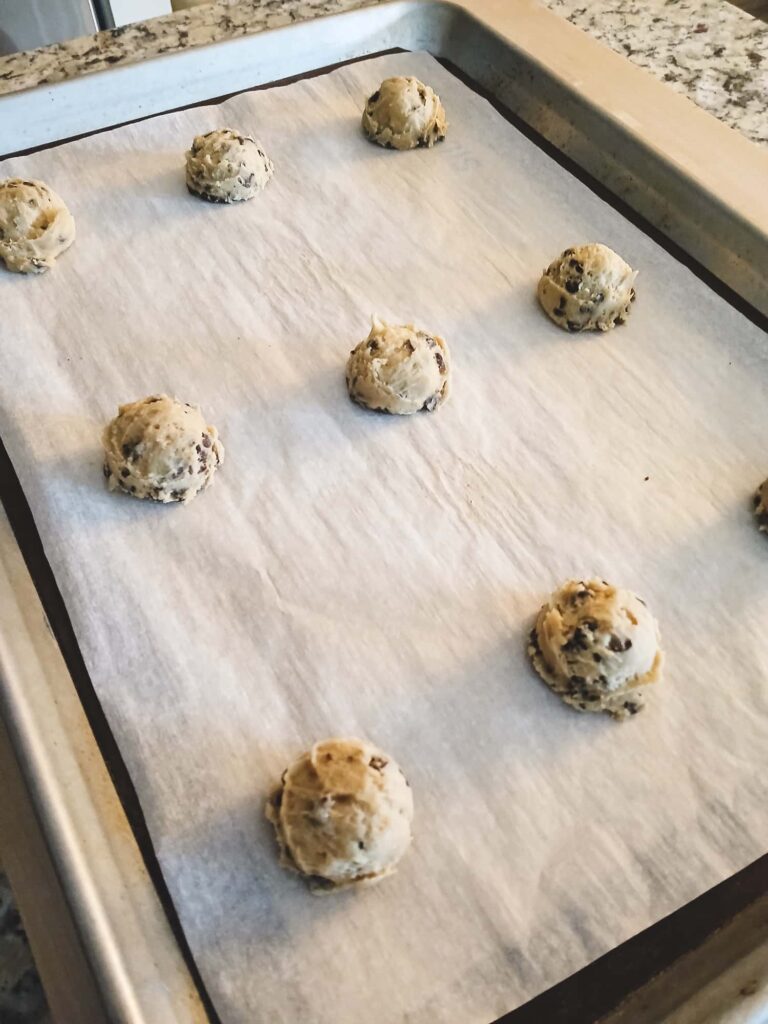
The Short Bake Window
I place my cold dough balls onto the prepared sheet and slide them into the center of the oven. These bake quickly, usually between 8 and 10 minutes. The biggest mistake you can make here is waiting for the whole cookie to look “done.” I look specifically for the edges to turn a very light, golden brown while the centers still look a bit soft and underbaked. They will continue to set up from the residual heat from the pan once you pull them out, which is the secret to keeping them chewy.
The Temperature Rule
Never put cold dough on a hot baking sheet! If you are baking in batches, let your pans cool completely or use multiple sheets. A hot pan will melt the dough and cause the cookies to spread before they even start to bake.
The Cooling Process
I only let the cookies sit on the hot baking sheet for about 45 seconds to a minute. My goal is to get them off that hot surface as quickly as possible so they don’t continue to cook and lose their soft center. If you try to slide your spatula under a cookie and it feels too fragile or starts to break, just let them sit for another 15 seconds and try again. They usually need just that tiny window of time to set enough to move.
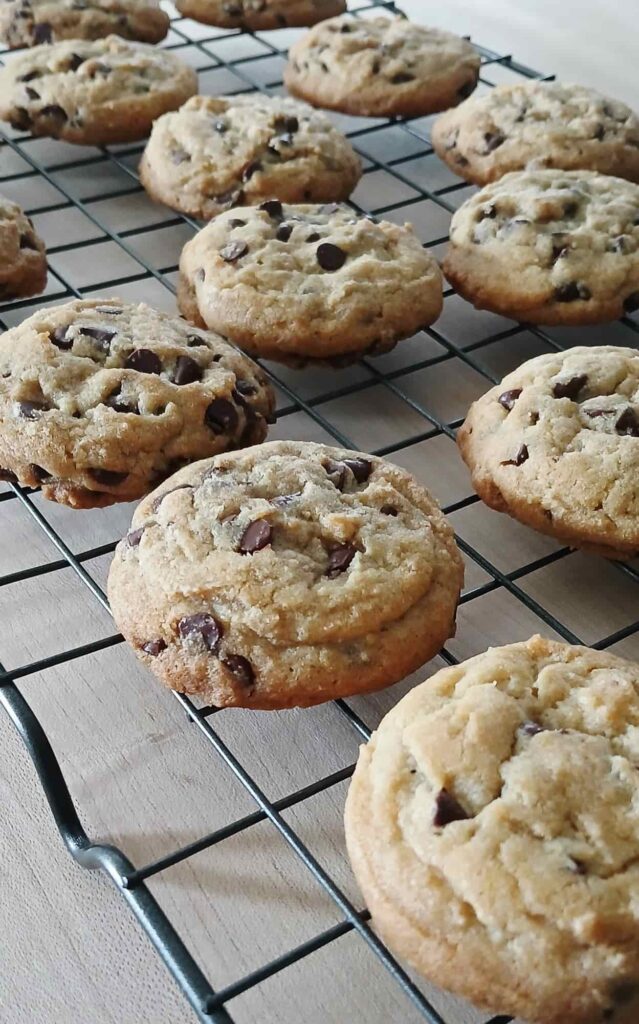
By the time you finish transferring the last few cookies off the pan, a full minute will likely have passed anyway. I move them all over to a wire cooling rack to finish cooling completely. This stops the baking process immediately and allows air to circulate around the bottom of the cookie, which keeps that bottom crust perfectly crisp instead of letting it get soggy from steam on the pan.
The Real Test
Let’s be honest: at this point, it is almost impossible to resist trying a cookie while it is still warm. I certainly can’t. Just keep in mind that if the center seems slightly underbaked while it’s hot, that is actually what you want. The cookies will firm up as they cool completely.
If you find that your first batch is significantly underbaked once it has cooled, simply add a minute to the timer for the next tray. This is why I always recommend baking a small “test tray” of just two or three cookies first. It lets you dial in the exact timing for your specific oven without risking a whole batch.
Once that test tray has cooled to room temperature, you can give it the real test. That first bite of a fully cooled cookie is the only way to know for sure if you have achieved that perfect, lasting chew.
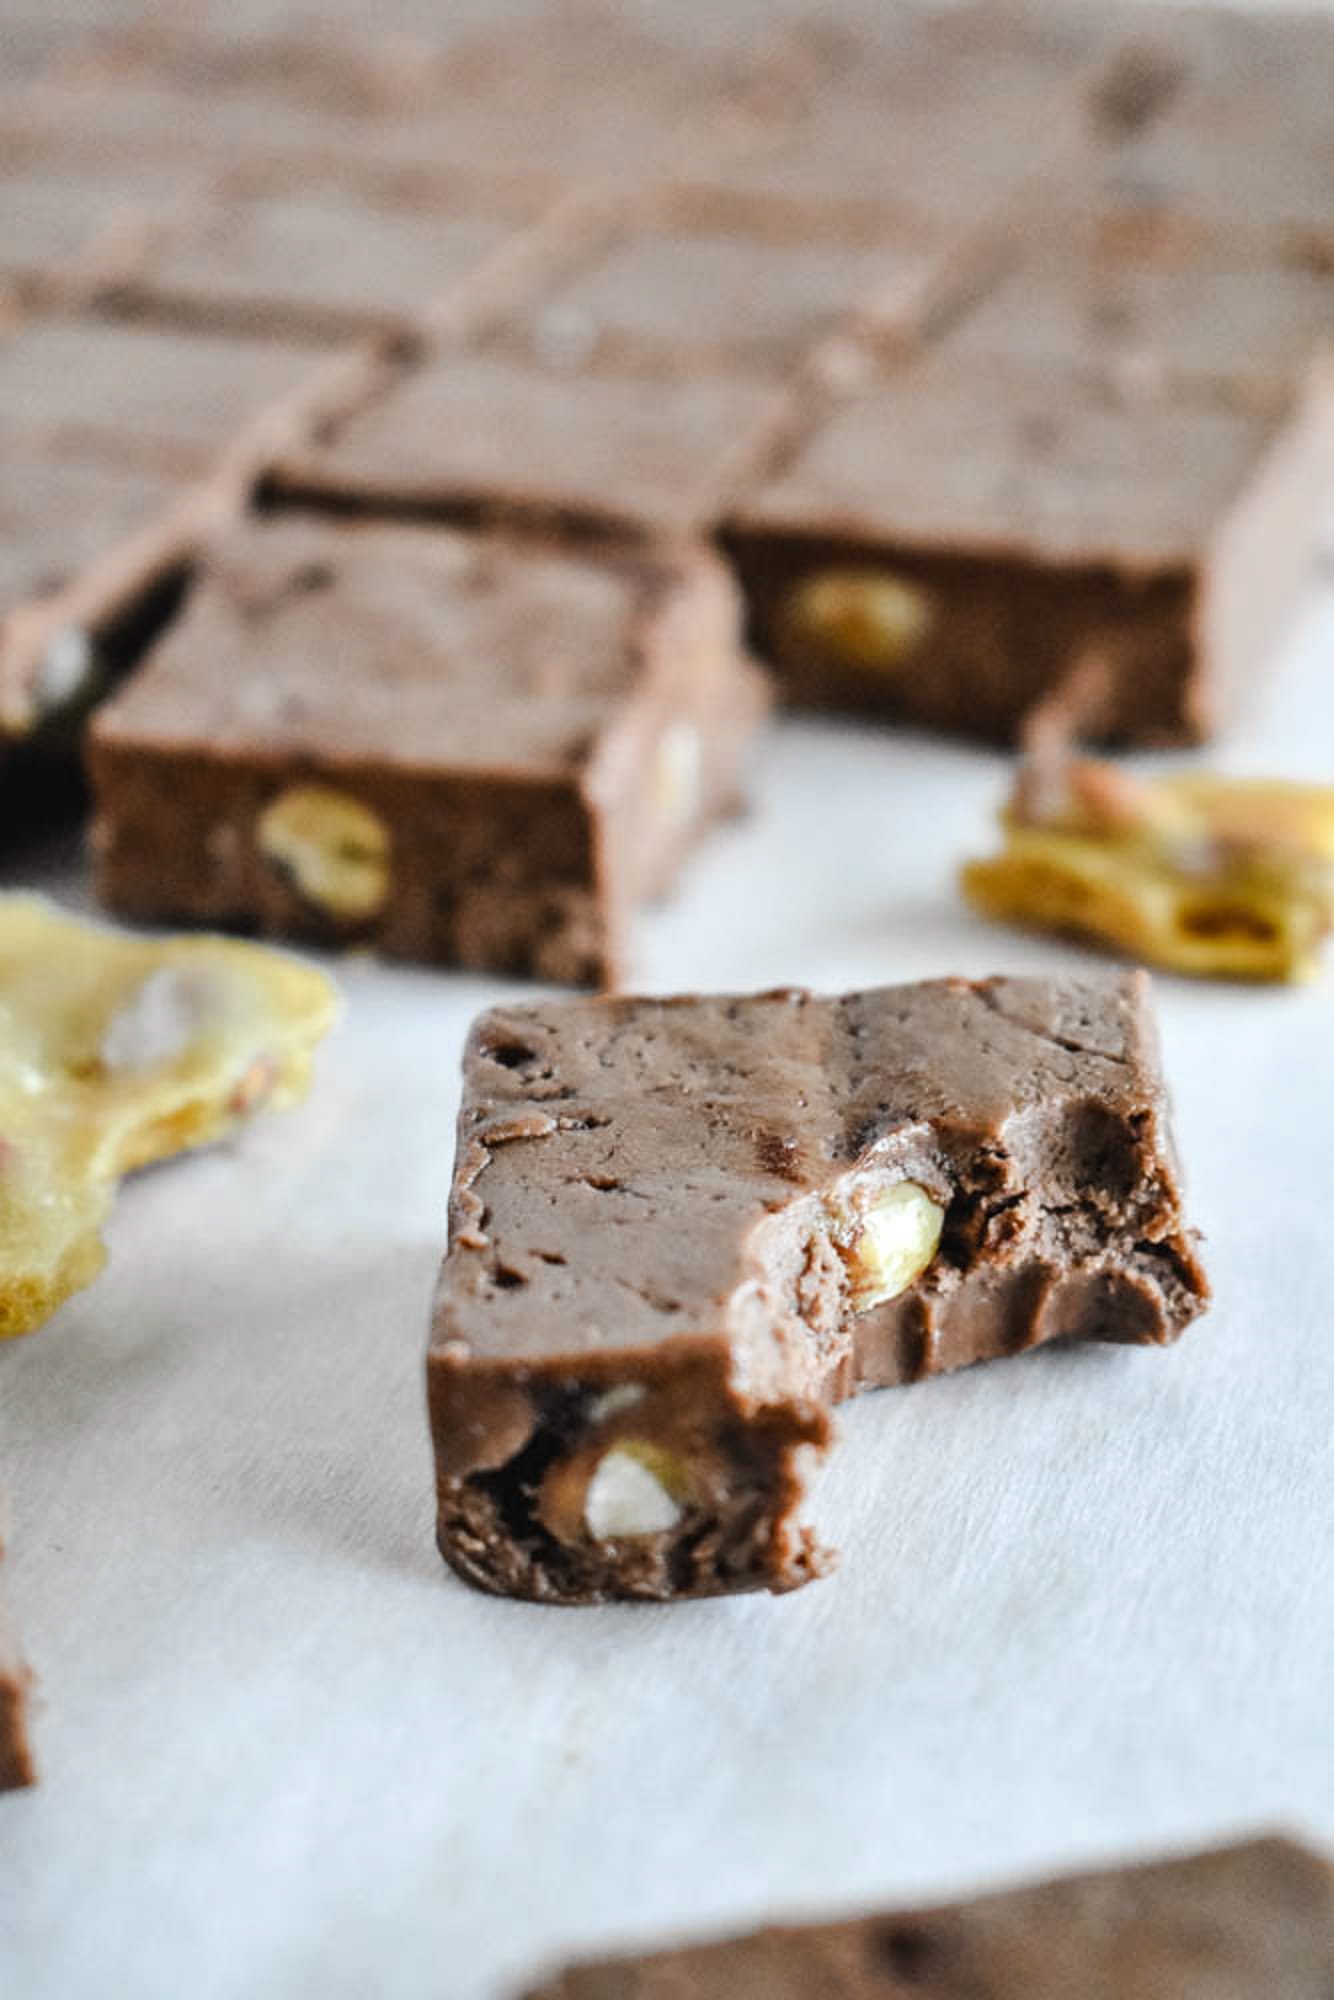
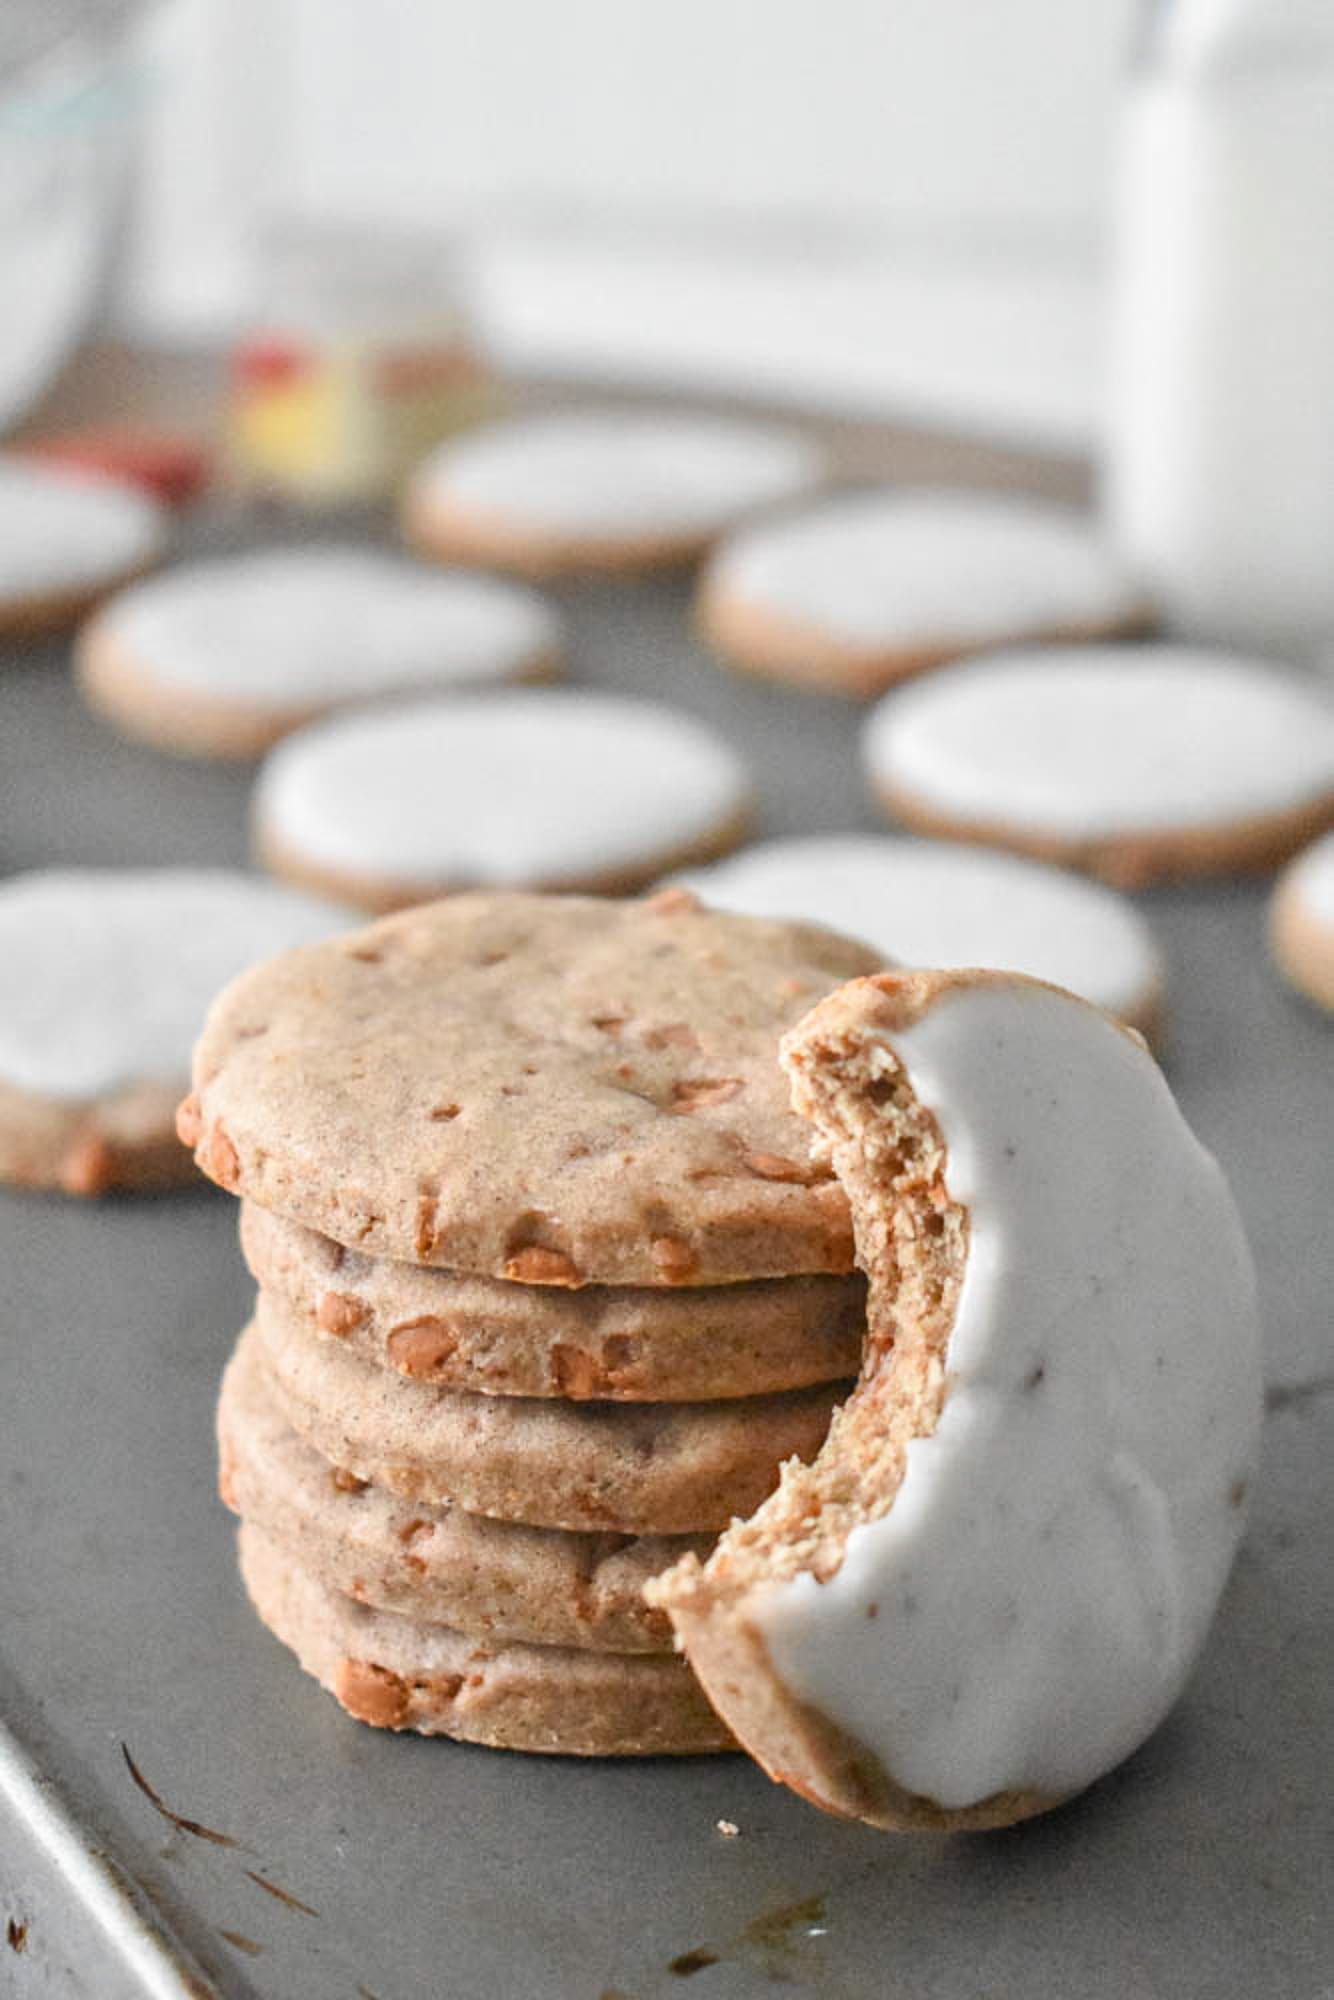
Elevating the Classic
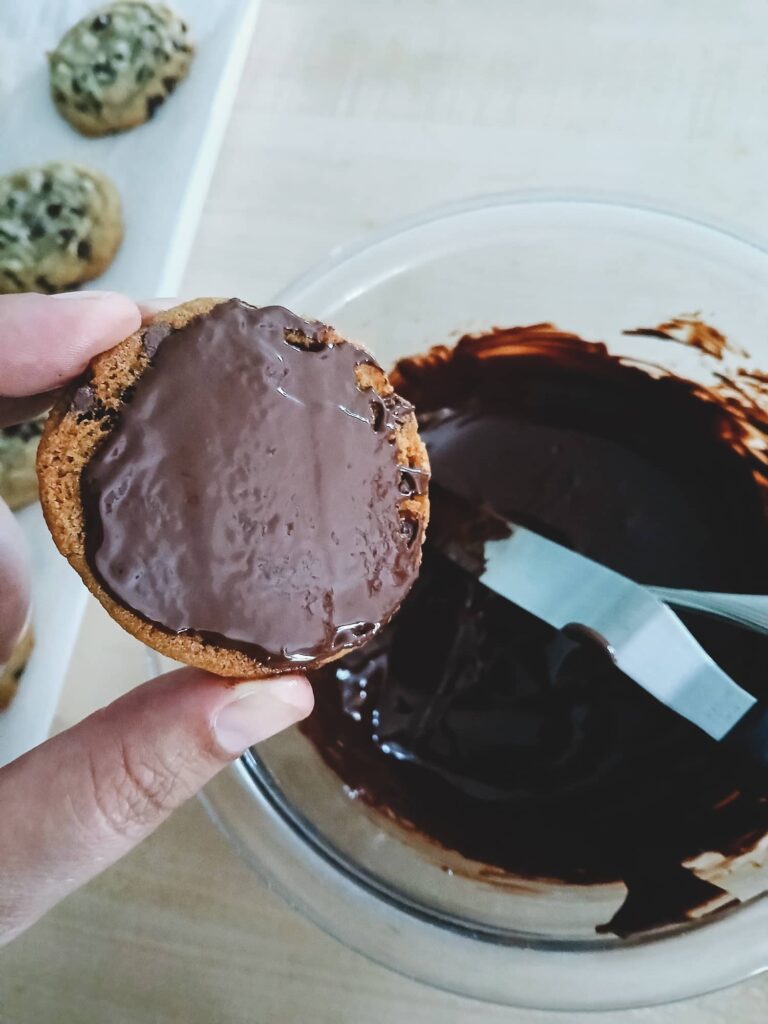
Sometimes I like to take these a step further by adding a bittersweet chocolate coating to the bottom of the cookies. I don’t do this every time. It really depends on my mood or the occasion. It is a nice touch if you are gifting them or putting them on a holiday platter, as long as they won’t be in the sun or too hot of an environment.
Once the cookies are completely cooled, I melt a bit of high quality bittersweet chocolate. I use an offset spatula or a simple butter knife to brush a thin, even layer of chocolate onto the bottom of each cookie. I then place them on parchment paper until the chocolate sets. It adds an extra layer of flavor that balances the sweetness of the cookie dough. They are just as delicious, however, if you leave them plain.
Make it Your Own
I usually stick to the mini chips because I love how they distribute, but this dough is very forgiving if you want to experiment. If you aren’t in the mood for semisweet chocolate, you can easily swap them out for white chocolate or even butterscotch chips.
Adding a Bit of Crunch
If you enjoy a bit of texture, you can add about a half cup of chopped nuts. I personally think pecans or walnuts go beautifully with the light brown sugar in this recipe. Just keep in mind that whatever you add will slightly change the way the cookie spreads. I always try to keep my mix ins to about the same volume as the original chocolate chips, so I don’t lose that perfect chew I worked so hard to get.
Keep it Fresh
If they are baked correctly, these cookies should stay soft for awhile. I usually store mine in an airtight container at room temperature. They are honestly just as good on day three as they were the day I baked them, provided they weren’t overbaked to begin with.
Freezing the Dough
If you have more dough than you can bake at once, the pre-portioned balls freeze great. I like to freeze them on a tray first and then toss them into a freezer bag once they are solid. When a craving hits, you can pop a few frozen dough balls straight into the oven. Just add an extra minute or two to the bake time. It is the best way to have a warm, fresh cookie whenever you want without having to pull out the mixer and start from scratch.
Chewy Chocolate Chip Cookies
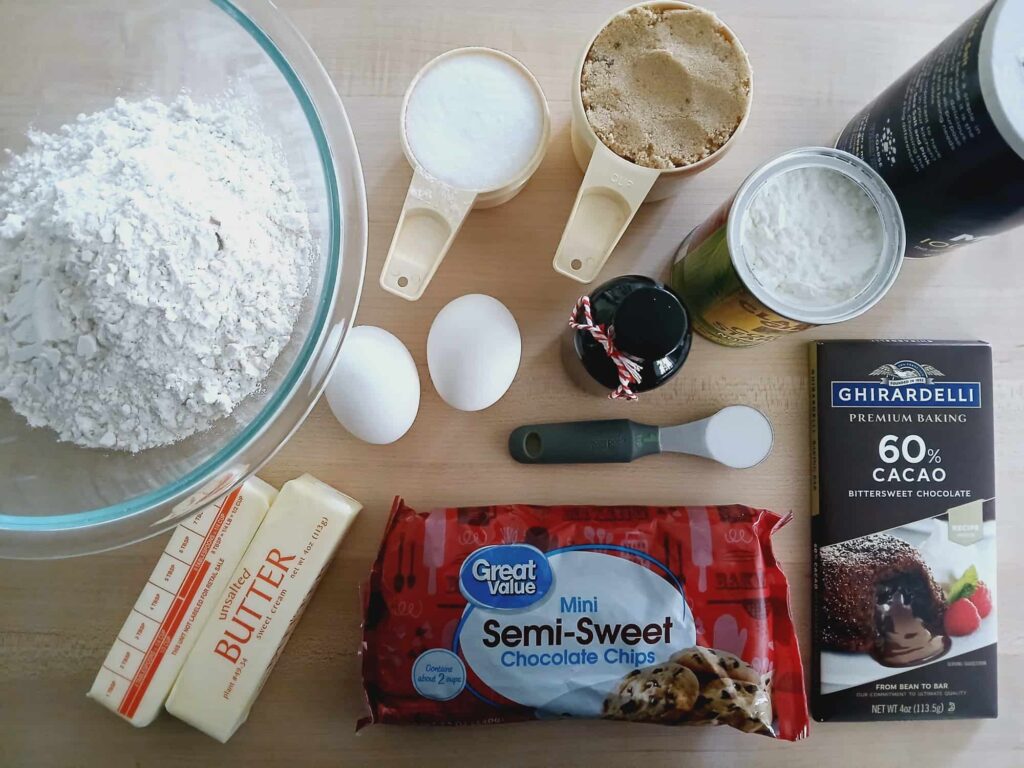
Ingredients
- 3 cups all purpose flour | 380g
- 1/2 teaspoon salt
- 1 teaspoon baking soda
- 2 teaspoons cornstarch
- 1/2 cup shortening. room temperature | 95g
- 1/2 cup butter room temperature | 1 stick, 113g
- 1/2 cup granulated sugar | 100g
- 1 cup light brown sugar packed | 215g
- 2 eggs, room temperature
- 1 ½ teaspoons vanilla extract
- 2 cups mini semisweet chocolate chips | 12 ounce bag, 340g
- 4 ounces bittersweet chocolate bar, for coating | optional
Instructions
Prepare the Dough
- Whisk the dry ingredients: In a medium bowl, stir together the flour, salt, baking soda, and cornstarch until well combined, then set aside.3 cups all purpose flour | 380g1/2 teaspoon salt1 teaspoon baking soda2 teaspoons cornstarch
- Cream the fats: In a separate mixing bowl (stand mixer or hand mixer), add the shortening and butter. Beat on medium speed for about 30 seconds until the mixture is completely smooth.1/2 cup shortening. room temperature | 95g1/2 cup butter room temperature | 1 stick, 113g
- Beat in the sugars: Add both the granulated and light brown sugars to the butter mixture. Continue beating on medium speed until the mixture is fluffy and well combined, which should take about 1 minute.1/2 cup granulated sugar | 100g1 cup light brown sugar packed | 215g
- Add the wet ingredients: Beat in the eggs and vanilla extract. Use a spatula to scrape down the sides of the bowl and mix again briefly to ensure everything is fully incorporated and smooth.2 eggs, room temperature1 ½ teaspoons vanilla extract
- Incorporate the dry ingredients: Add the flour mixture in three separate portions. Mix on the lowest speed after each addition just until the flour is barely incorporated. Scrape the bowl between additions to avoid overmixing.
- Fold in the chocolate: Stir in the mini chocolate chips on low speed or fold them in gently by hand with a wooden spoon until they are evenly distributed.2 cups mini semisweet chocolate chips | 12 ounce bag, 340g
Chill the Dough
- Scoop the dough: Chill the bowl of dough in the refrigerator for 20 to 30 minutes. Use a cookie scoop to form the dough into balls and place them on a parchment-lined baking sheet.
- Long chill: Refrigerate the dough balls on the tray for 1 to 2 hours until they are firm and cold to the touch. Transfer the firm dough balls into an airtight container and refrigerate for 48 hours.
Bake the Cookies
- Prepare for baking: When you are ready to bake, preheat your oven to 375°F. Line a fresh baking sheet with parchment paper.
- Bake the cookies: Place the cold dough balls onto the prepared sheet. Bake for 8 to 10 minutes. You are looking for the edges to be a very light golden brown while the centers still look slightly soft and underbaked.
- Cool the cookies: Let the cookies sit on the hot baking sheet for about 1 minute to set. Carefully transfer them to a wire cooling rack to cool completely.
Chocolate Bottoms (optional)
- Melt the chocolate: Chop the bittersweet chocolate bar into small pieces and place in a microwave-safe bowl. Microwave in 20-second intervals, stirring after each, until the chocolate is smooth.4 ounces bittersweet chocolate bar, for coating | optional
- Coat the bottoms: Once the cookies are completely cooled, use an offset spatula or butter knife to brush a thin, even layer of melted chocolate onto the bottom of each cookie.
- Set the chocolate: Place the cookies chocolate-side down onto a parchment-lined tray. Place the tray in the refrigerator, if needed, until the chocolate is hardened before peeling the cookies off the paper.
Did you try this recipe?
Share your experience in the comments below!
I’d love to hear how it turned out
Let’s see your creations!
Share your photos
Tag me @flourtinbakes on social media