Refreshing Pineapple Dessert
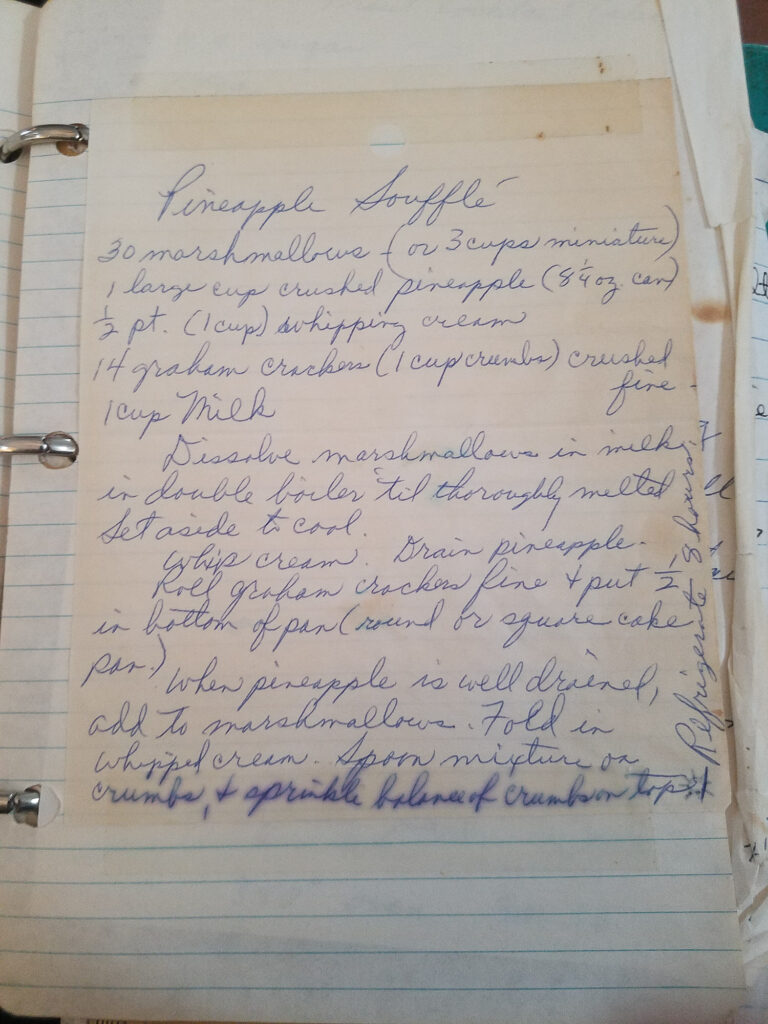
I was digging through some old family recipe binders recently when I found another one of my aunt’s recipes that I had almost forgotten about. She called it Pineapple Soufflé. It isn’t a baked dish at all, but a chilled dessert that is incredibly light and airy. I think the name comes from that cloud texture you get once everything is folded together.
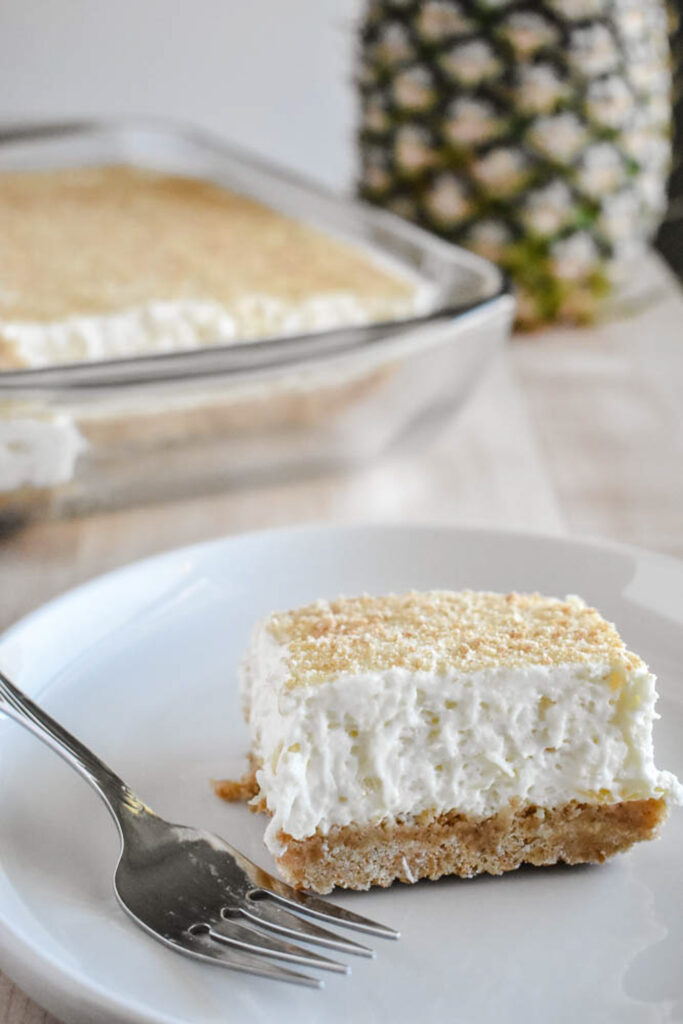
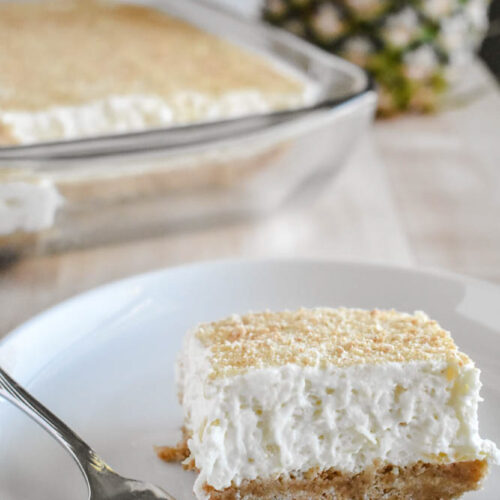
Most of the pineapple desserts I see are either a heavy bread pudding style or they are loaded down with bricks of cream cheese. This one is different. It uses melted marshmallows and whipped cream to create a refreshing dessert. It is layered over a simple graham cracker crust and it is exactly what I want to eat once it starts getting into the warmer seasons.
I shared a batch of this with my dear neighbor Linda recently and she absolutely loved it. It is one of those dishes that looks humble in the pan but people always end up asking for the recipe. Some might call it a pineapple fluff, but to me it will always be my aunt’s soufflé.
A Few Things to Gather
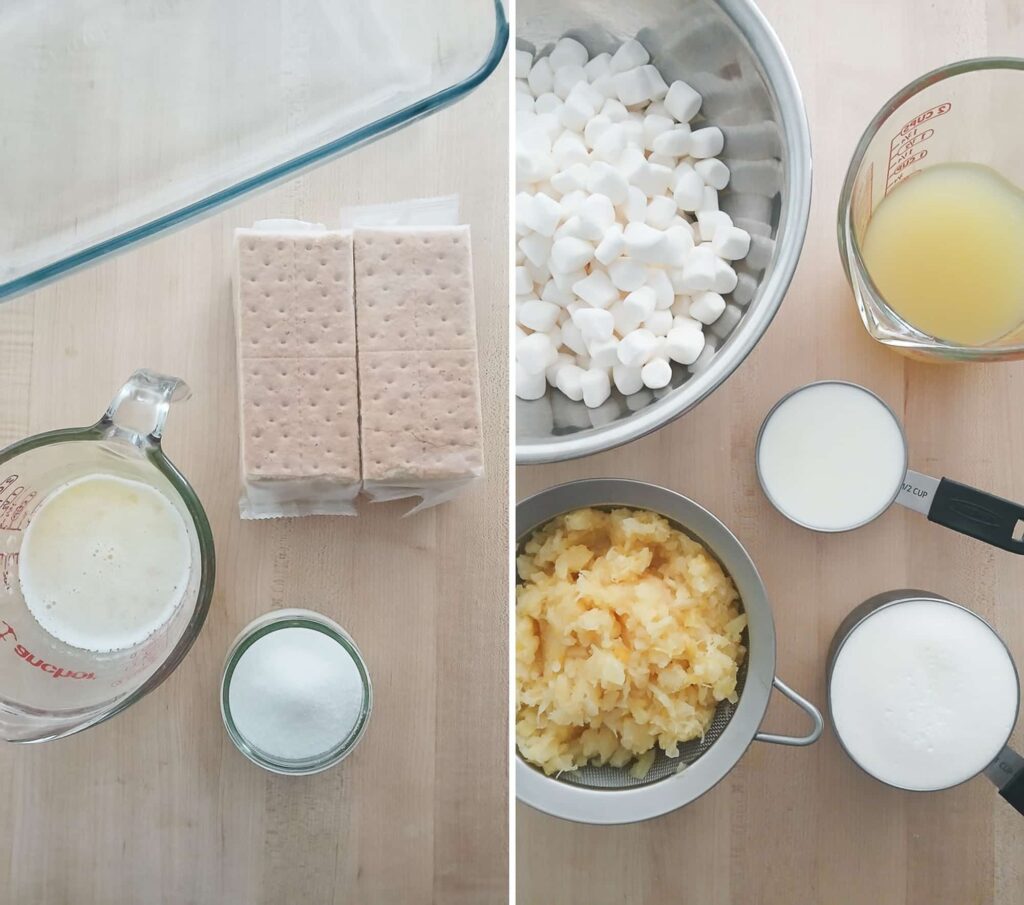
I love that this dessert uses basic ingredients that I usually already have in my pantry. The honey graham crackers are my favorite for the crust because they have a subtle sweetness that doesn’t compete with the pineapple. I always suggest crushing them yourself rather than buying the pre-made crumbs because the texture is just better that way.
For the filling you really need mini marshmallows. They melt down so much faster and more evenly than the large ones. When you drain your crushed pineapple make sure you catch all that liquid in a bowl. You are going to use that juice along with some whole milk to melt the marshmallows. It gives the filling a much deeper fruit flavor than if you just used plain water.
The most important ingredient for the “soufflé” part is the heavy whipping cream. You want the liquid kind that you whip yourself. I have found that canned whipped cream or the frozen tubs just don’t hold up the same way and your dessert might end up a bit flat.
The Golden Crust
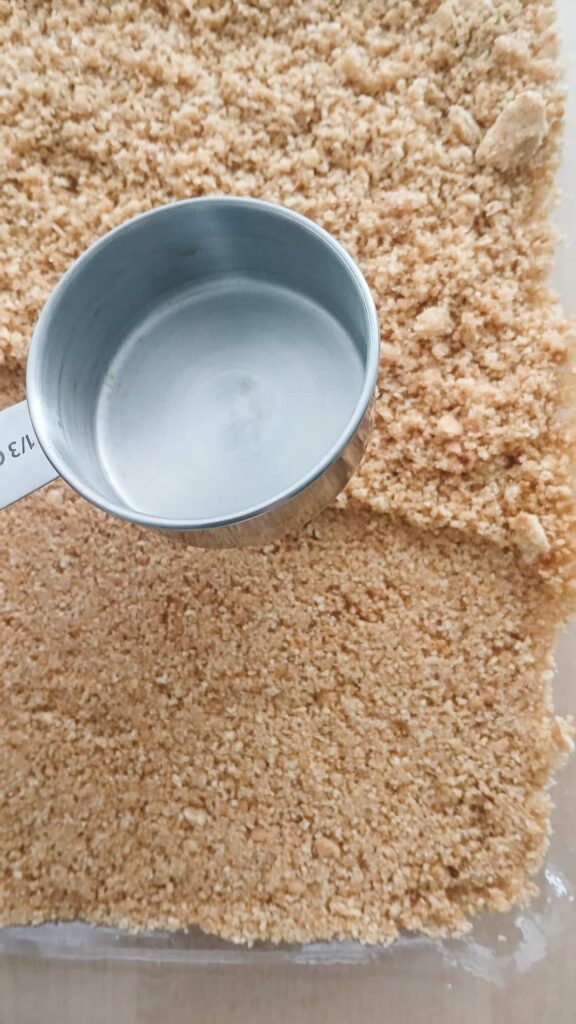
I always start by getting the crust out of the way so it has plenty of time to cool. I crush the graham crackers until they look like fine sand and then mix them with a little melted butter. When you press them into your pan try using the flat bottom of a measuring cup. It helps you get an even layer without pressing so hard that the crust becomes like a rock.
Elevate the Flavor
I pulse my graham crackers briefly so they aren’t all powder, or I crush them in a bag with a rolling pin. A mix of fine crumbs and tiny crunchy bits makes a much better homemade crust than store bought.
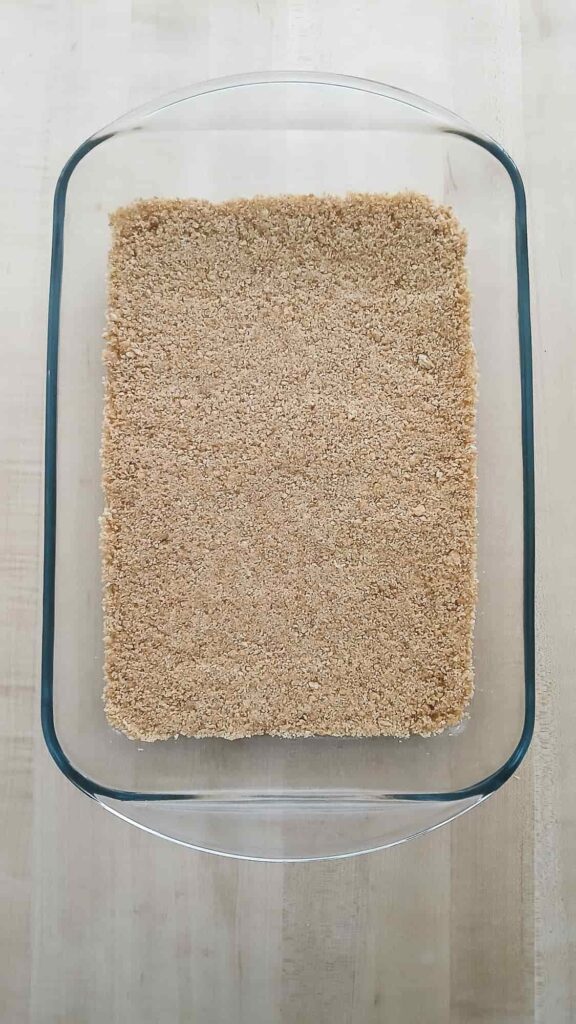
I give the crust a quick ten minute bake in the oven at 350°F. This helps it stay together when you go to slice the squares later on. You really want this to be completely cool before you add the filling or the whole thing could get soggy.
The Pineapple Filling
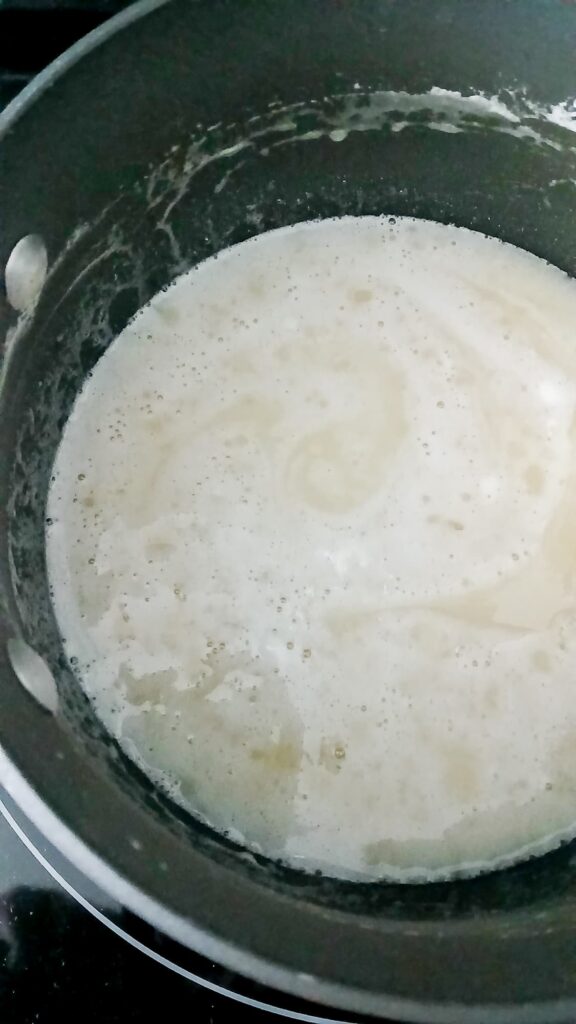
While the crust is cooling on the counter I get the marshmallow mixture started. You want to melt the marshmallows in a saucepan over low heat with the reserved pineapple juice and milk. I make sure to stir it constantly until it is perfectly smooth and then take it off the heat immediately.
Watch the Melt
I pull my marshmallow mixture off the heat the very second the last white bump disappears. If you let it simmer or boil, the sugar can become grainy, and you’ll lose that smooth base of the dessert.
A Quick Tip for Cooling
I make sure this mixture is completely cool before I even think about folding in my whipped cream. I find that it is best to just let it sit on the counter until it reaches room temperature. If it is even a little bit warm it will melt my whipped cream and I will lose that signature fluffiness. For me, patience is really the key to keeping this dessert light and airy.
The Folding Process
Once the marshmallow mixture has cooled completely to room temperature, it is time for the final assembly. This is where the dessert really starts to take on that fluffy texture that I love so much about my aunt’s recipe. I start by stirring the drained crushed pineapple into the marshmallow base. You want to make sure the fruit is evenly distributed.

Next comes the heavy cream. I whip the cream in a separate bowl until it reaches stiff peaks. This is the part where you have to be very gentle. I add the whipped cream to the pineapple mixture and use a large spatula to fold it in by hand.
Achieving a Light Texture
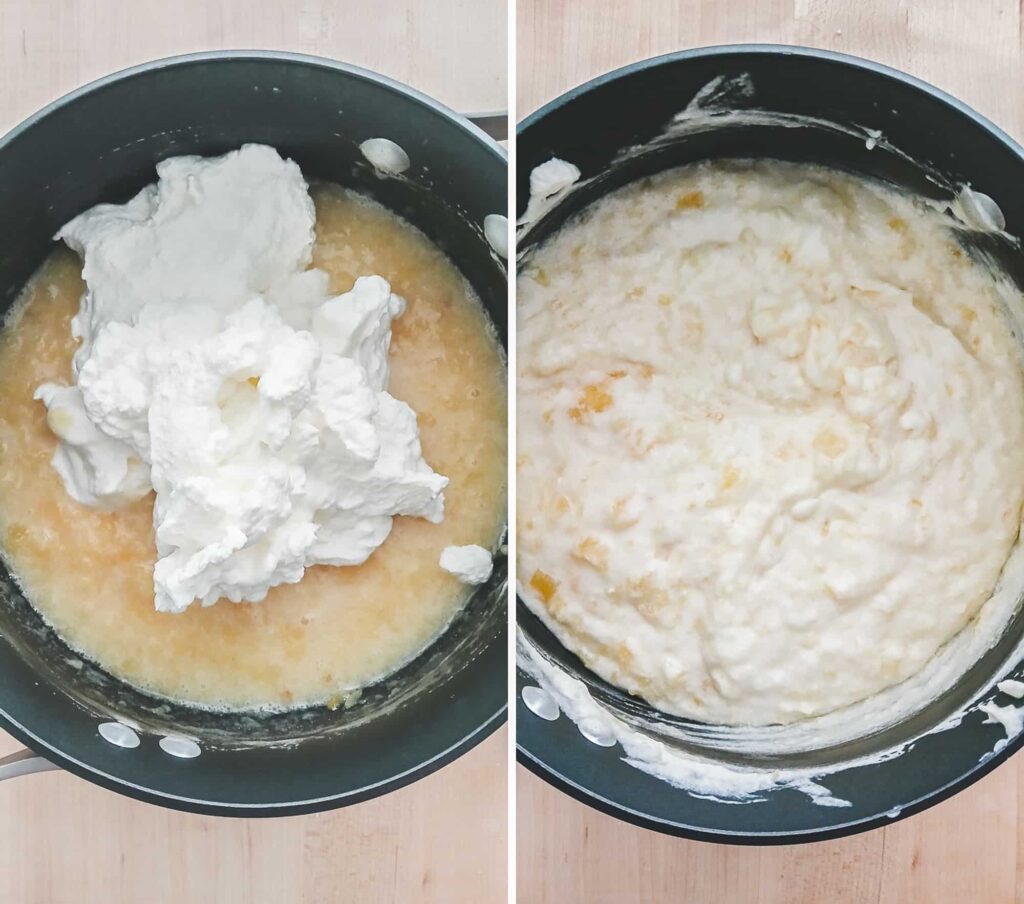
Folding is different than stirring. I cut down through the center of the bowl with my spatula and lift the mixture up over the top. If I were to stir too fast or use an electric mixer at this stage, I would knock all the air out of the whipped cream and the filling would end up dense instead of fluffy. I keep folding until the mixture looks like uniform goodness, but I don’t worry if there are still a few small streaks of whipped cream visible. It is much better to have a few streaks than to overmix and lose that airy texture.
The Finishing Touch
Once the filling is spread evenly over my cooled crust, I face the hardest part: the wait. This dessert needs time to set up so the marshmallows and cream can firm up into those clean, fluffy squares. I always recommend chilling it in the refrigerator for at least eight hours, but letting it sit overnight is even better. Since the filling is never baked, that refrigerator time is what does all the heavy lifting to keep those squares standing tall.
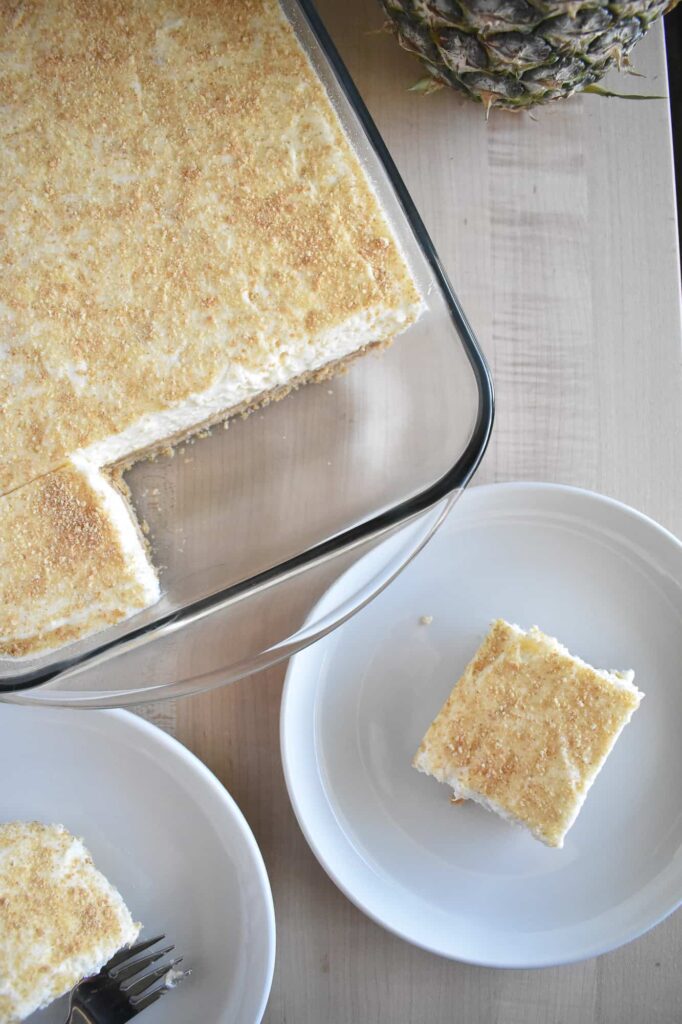
I usually save a tablespoon or two of the graham cracker crumbs to sprinkle over the top just before serving the next day. It adds a nice little bit of texture to the top. When I am ready to serve it, I use a sharp knife to make sure I can cut through the crust. I’ve found that the first slice is always the hardest to get out of the pan and might be a little messy, so I usually take my time with that one. Once you get that first piece out, the rest of the squares come out much more easily and look beautiful on the plate.
Make it Your Own
One of the things I love about this recipe is how easy it is to tweak depending on what you have in the pantry or how you want to serve it.
Fresh vs. Canned Pineapple
I have experimented with using fresh pineapple before, and while it is delicious, there are a couple of things to keep in mind. If you go the fresh route, I make sure to chop it very finely so the texture matches that crushed consistency from the can. I also drain it thoroughly and save the juice to melt my marshmallows. One thing I’ve learned is that fresh pineapple has enzymes that can sometimes keep a dessert like this from setting firmly. Because I want those perfect, clean squares every time, I usually stick with the canned version for the most consistent results.
Try it in a Pie Pan
If you prefer this dessert in pie form you can easily make it in a pie pan instead of a 9×13 pan. I have found that you might end up with a little bit of extra filling when you make it this way. I usually put the extra filling into a few small dishes or individual cups for a little treat later on.
Add a Tropical Twist
For a bit more of a tropical feel, I really like adding shredded coconut. I either sprinkle it over the top before I put it in the fridge to chill or I gently fold some right into the filling for a little extra texture. Adding a little pinch of coconut to individual servings right before you bring them to the table is a nice finishing touch too.
The Cherry Pineapple Version
If you want to lean into that classic retro feel I suggest folding in a small amount of chopped maraschino cherries. You can also just spoon a thin layer of them over the top before the dessert goes into the refrigerator. It gives the pineapple a great pop of color and it always reminds me of the kinds of desserts I used to see at family gatherings.
Keep it Fresh
As for leftovers, this keeps beautifully in the refrigerator for about three to four days. I make sure to keep it covered so it doesn’t pick up any other scents from the fridge.
I really don’t recommend freezing this one because the marshmallow and cream texture can change quite a bit once it thaws. You really want to eat this while it still has that signature fluffiness.
Refreshing Pineapple Dessert
Ingredients
Crust
- 2 1/4 cup crushed graham crackers crumbs | ~270 g, 18 full graham cracker sheets
- 1/4 cup + 2 tablespoons granulated sugar | 75 g
- 9 tablespoons melted butter | 128 g
Filling
- 20 ounce can crushed pineapple drained (reserve the drained juice)
- 1 cup milk | 8 ounces
- 1 cup pineapple juice | 8 ounces reserved from can
- 6 cups of mini marshmallows | 10 ounce bag | 283g
- 1 pint heavy whipping cream | 16 ounces
- 1 teaspoon vanilla extract
Instructions
Prepare the Crust
- Preheat the oven: Preheat your oven to 350°F Crush the graham crackers: If using whole crackers, crush them in a food processor or place them in a Ziploc bag and crush them until you have fine crumbs.
- Mix the dry ingredients: In a medium-sized mixing bowl, stir together the graham cracker crumbs and sugar.2 1/4 cup crushed graham crackers crumbs | ~270 g, 18 full graham cracker sheets1/4 cup + 2 tablespoons granulated sugar | 75 g
- Add melted butter: Pour in the melted butter and mix until combined. The mixture will be crumbly.9 tablespoons melted butter | 128 g
- Press the crust: Press the crumb mixture into the bottom of a 9 x 13-inch casserole or baking dish. See notes below for tips on how to press the crust.
- Bake the crust: Bake for 10 minutes.
- Cool: Remove from the oven and set aside to cool completely. Turn off the oven, as the crust is the only part of this dessert that needs to be baked.
- Prepare the filling: While the crust is cooling, start preparing the filling.
Prepare the Filling
- Heat the mixture: Pour the milk and pineapple juice mixture into a saucepan. Add the marshmallows. Note: The marshmallows will expand slightly when heated, so choose a saucepan that is large enough.1 cup milk | 8 ounces1 cup pineapple juice | 8 ounces6 cups of mini marshmallows | 10 ounce bag | 283g
- Melt the marshmallows: Heat the liquid and marshmallows over low heat, stirring constantly to prevent burning, until the marshmallows are completely melted and dissolved. You can also heat the mixture over a double boiler if you prefer.
- Cool the mixture: Remove the saucepan from the heat and allow the mixture to cool completely.
Whip the Cream
- Make the whipped cream: While the filling is cooling, whip the heavy whipping cream and vanilla extract in a stand mixer or with a hand mixer until soft peaks form.1 pint heavy whipping cream | 16 ounces1 teaspoon vanilla extract
Finish the Filling and Assemble the Dessert
- Combine the ingredients: Once the marshmallow mixture has cooled, stir in the crushed pineapple. Fold in the whipped cream until combined. It is important for the marshmallow mixture to be cool so that the whipped cream doesn't melt.20 ounce can crushed pineapple
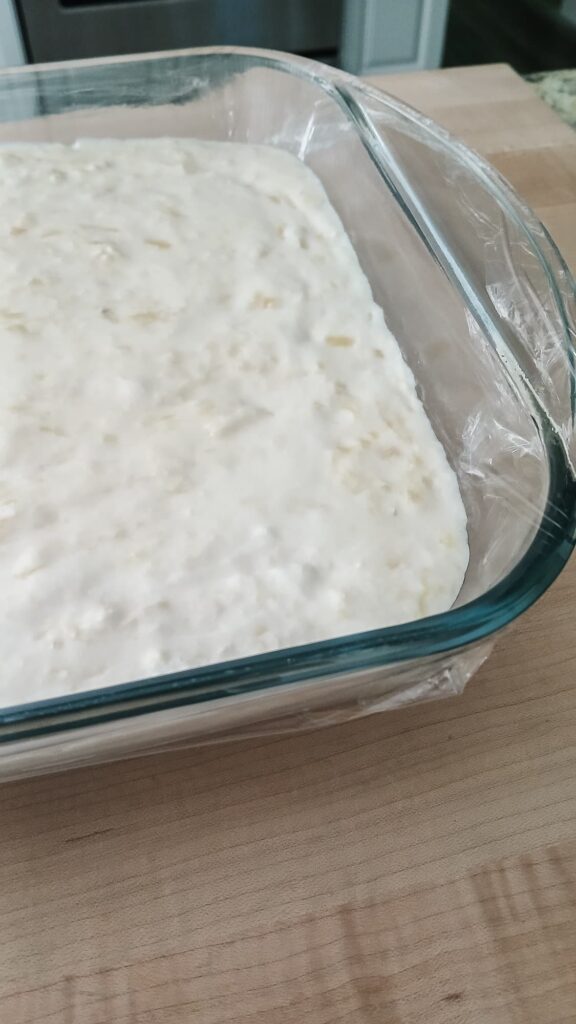
- Spoon and spread: Spoon and spread the filling evenly over the cooled crust. Cover the baking dish with plastic wrap and chill the dessert for at least 8 hours, but overnight is recommended.
Did you try this recipe?
Share your experience in the comments below!
I’d love to hear how it turned out
Let’s see your creations!
Share your photos
Tag me @flourtinbakes on social media