Homemade Cherry Mash Candy
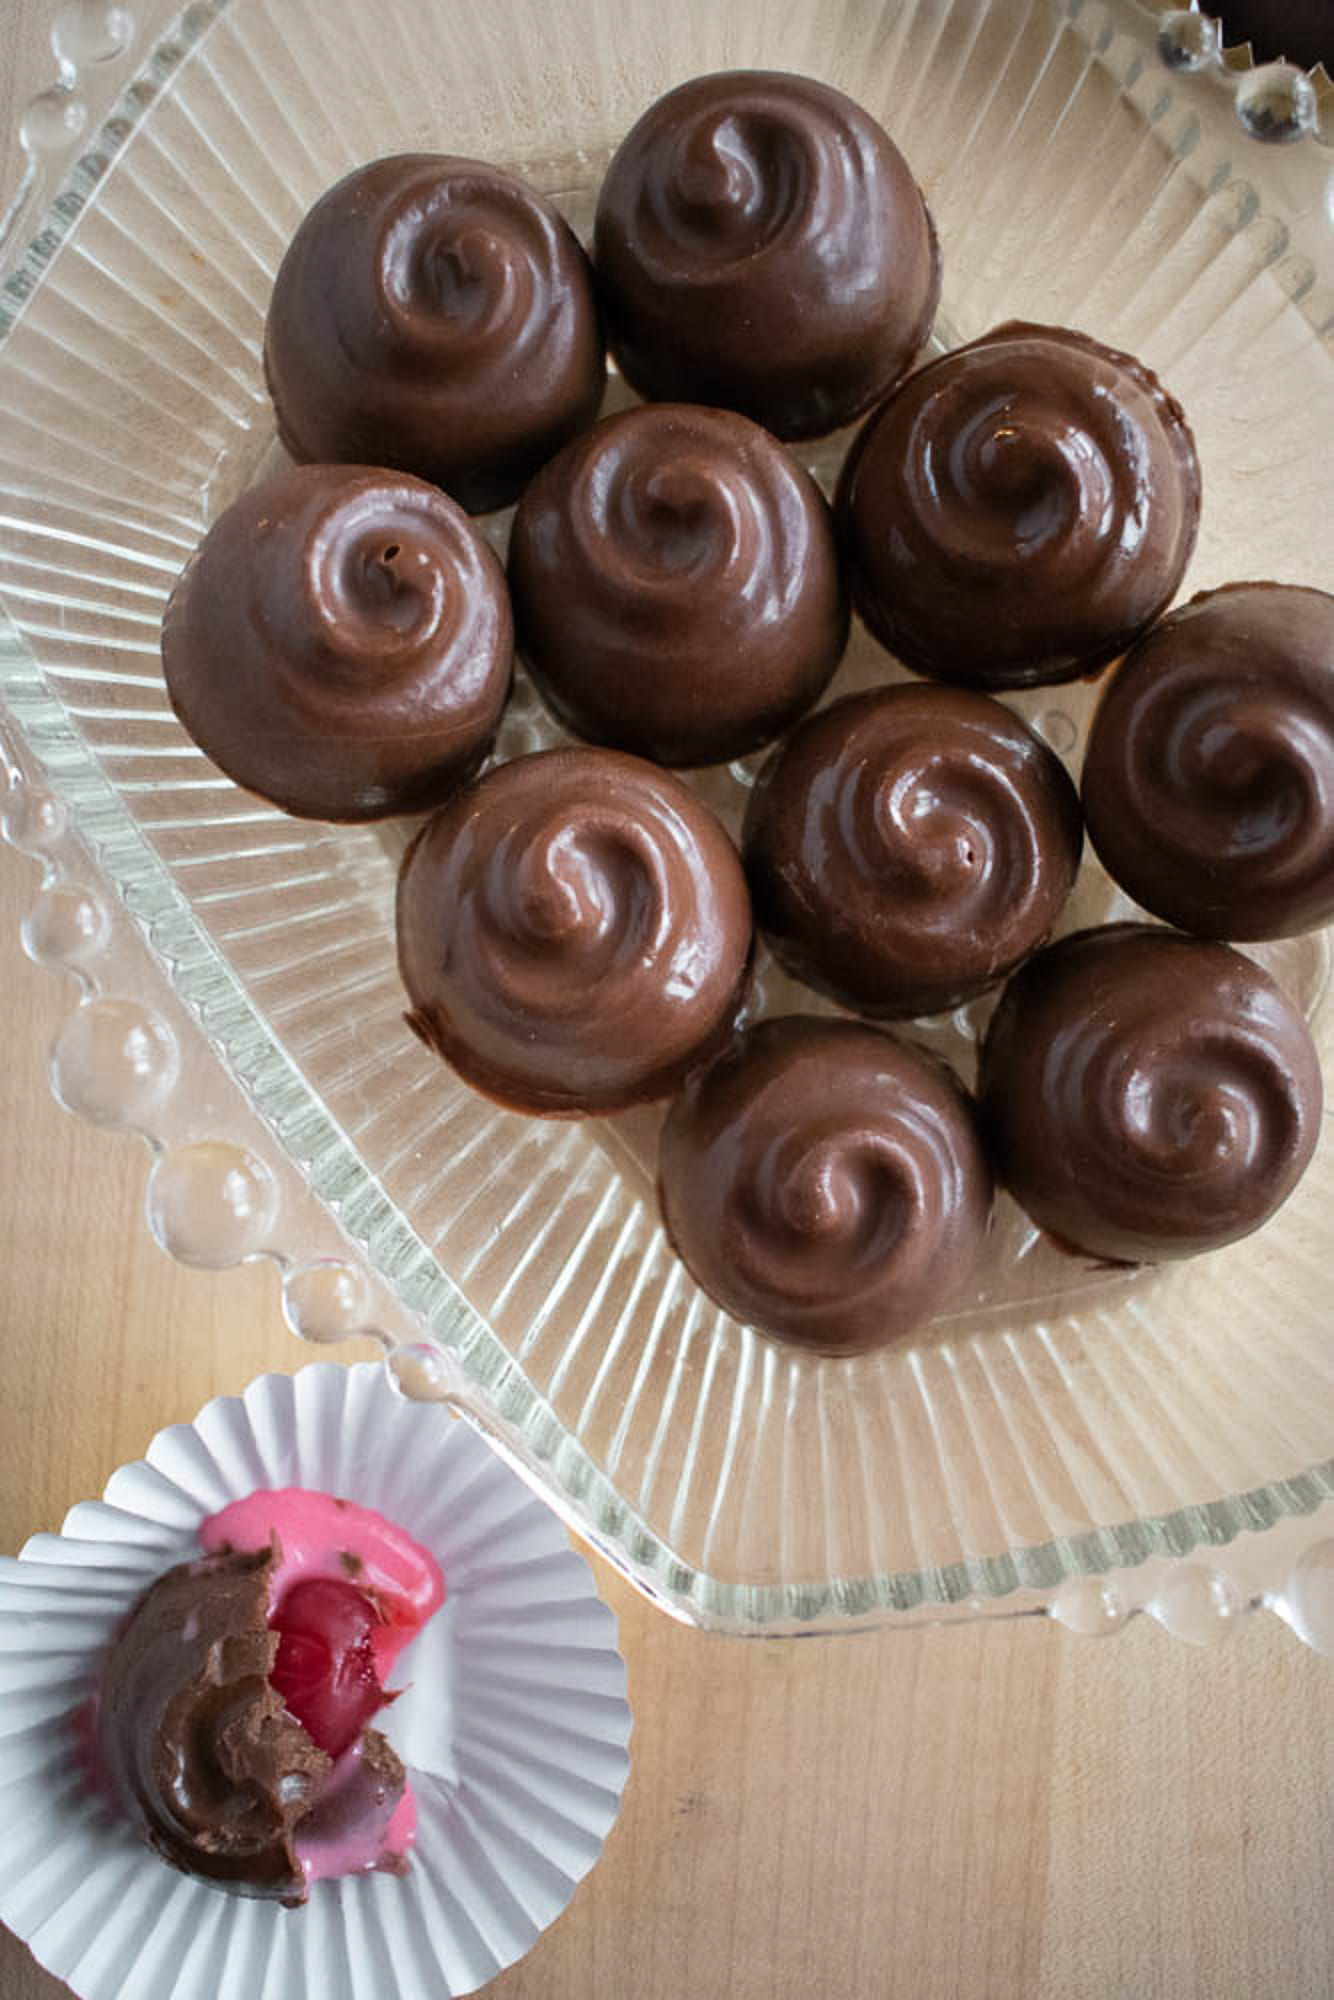
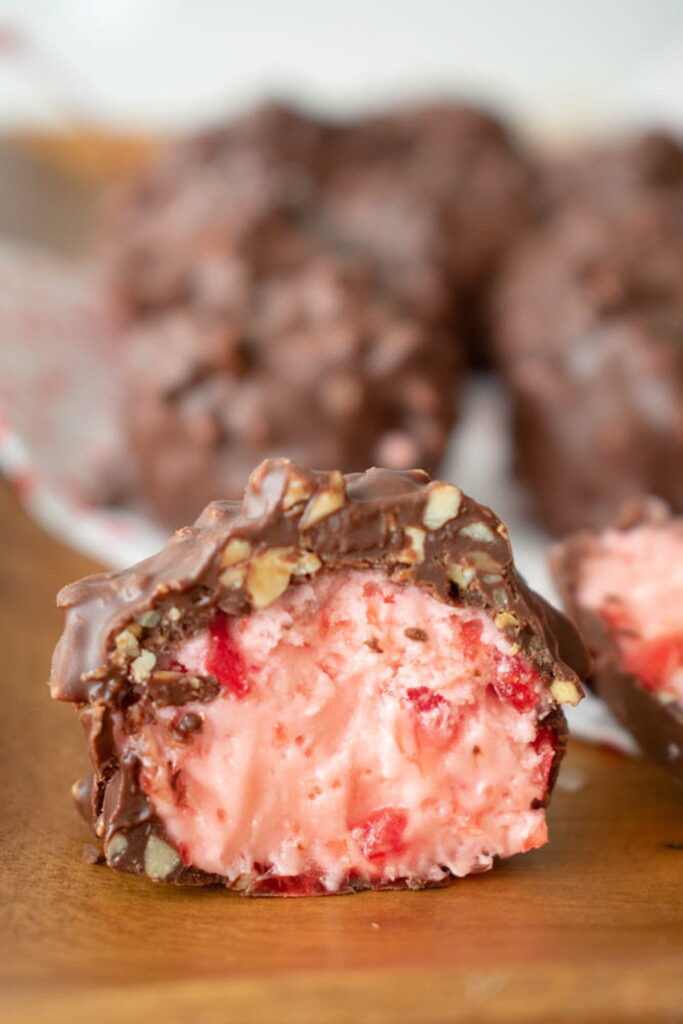
I spent most of my childhood grocery trips trying to sneak a treat into the cart while we were waiting in the checkout line. Every kid does that, right? My candy of choice was usually a Cherry Mash or a Big Cherry as there was just something so exciting about that bright pink color hidden inside the chocolate.
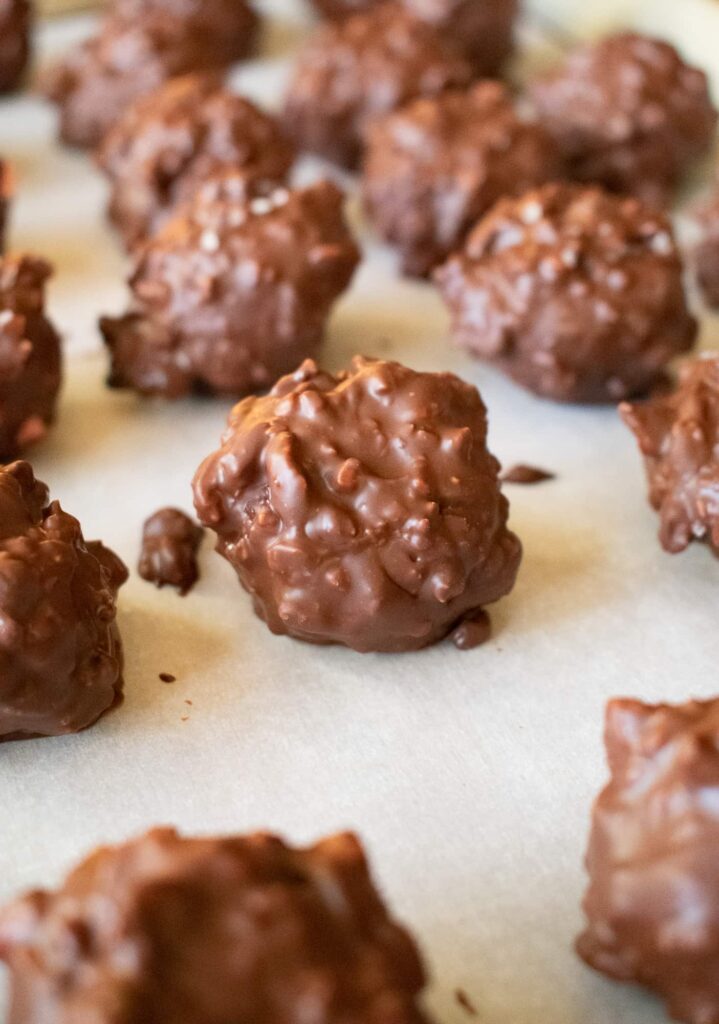
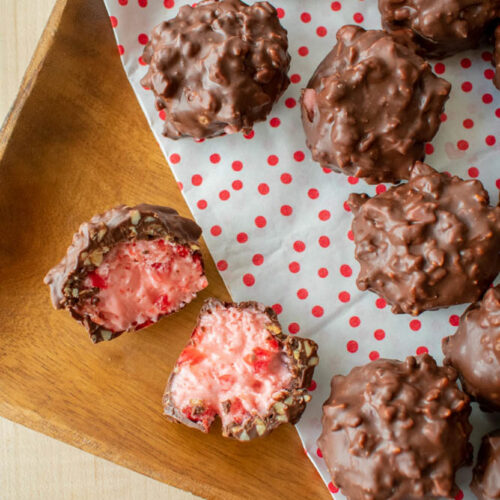
Making these at home lets you get that perfect balance of a soft, creamy center and a crisp chocolate shell. The contrast between the crunchy peanut coating and the bright cherry filling is exactly what I remember.
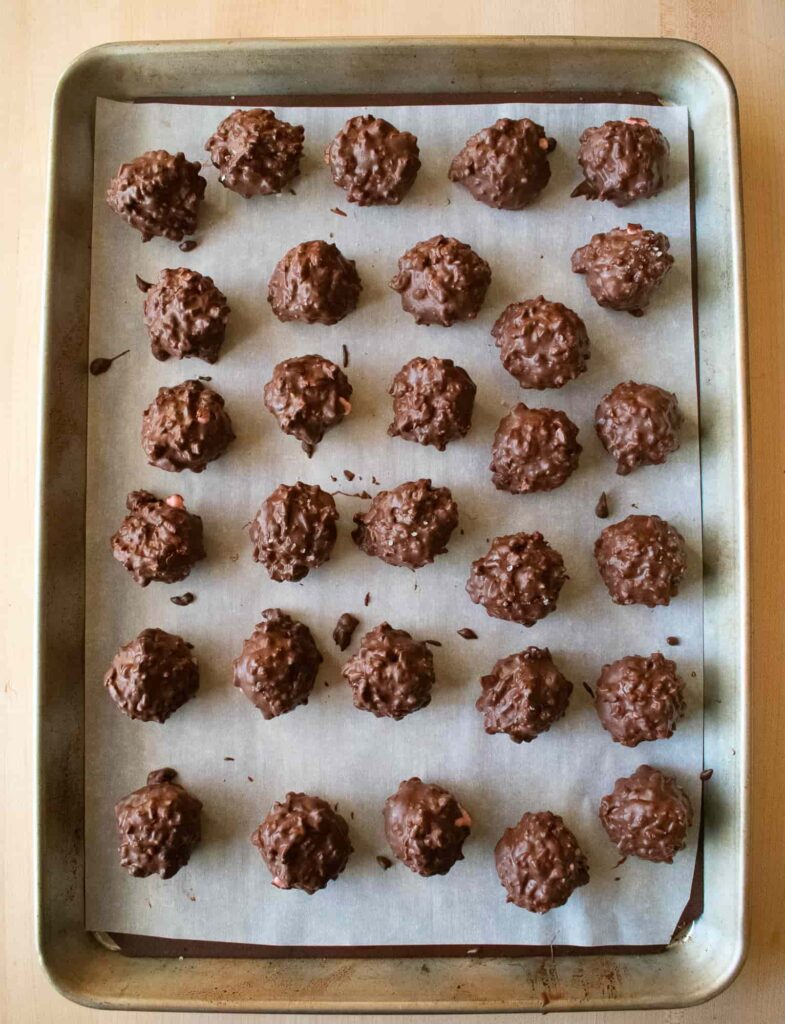
This recipe makes about 3 dozen candies, which is the perfect amount for a holiday dessert tray or a Valentine’s gift box because that vibrant pink is such a surprise when someone takes a bite. The best part is that they are completely no-bake and very forgiving. Even if your chocolate coating looks a little rustic, it just adds to the charm of a homemade candy.
The Components of the Candy
The Cherry Filling
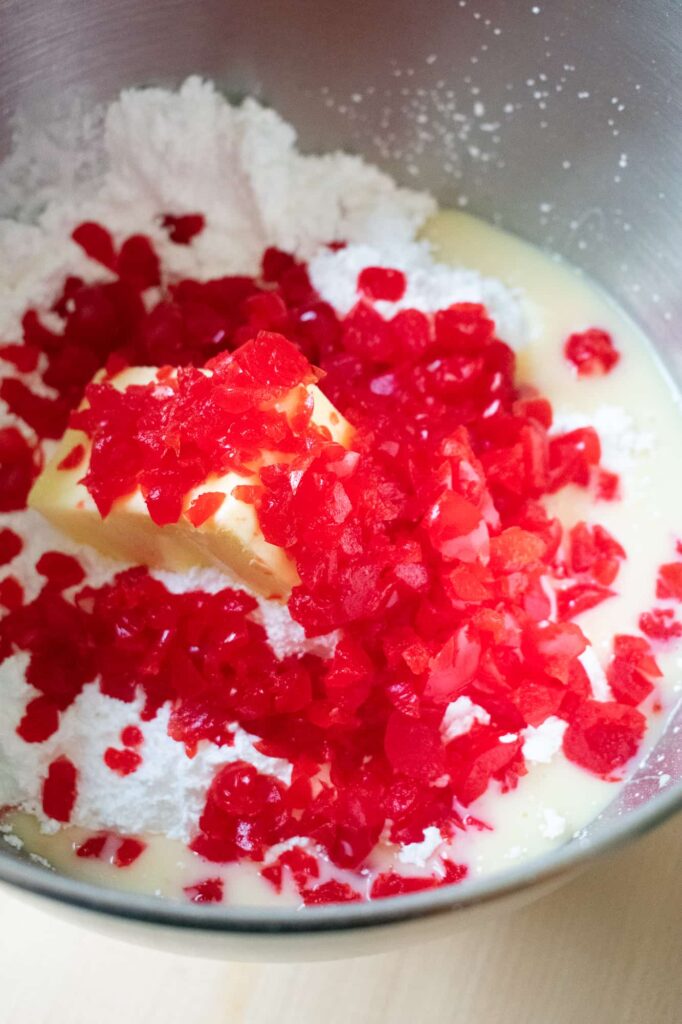
Getting the cherry filling just right depends on using softened butter rather than the margarine you might see in older versions of this recipe. Butter helps the filling set up more reliably and makes it much easier to roll into uniform balls later on. You want it softened enough that your finger leaves a slight indent, but not so soft that it is melting. Since there is very little liquid in this recipe, that butter is the key ingredient that binds all the powdered sugar together.
For the cherries, you will need a 10 ounce jar of maraschino cherries. Make sure you drain them well and check for any stray stems before you start. I prefer to chop them by hand rather than using a food processor because you want distinct bits of fruit throughout the filling. If they are processed too finely, they can release too much liquid and make the mixture difficult to work with. If you want a deeper pink color for the centers, you can always add a little of the reserved cherry juice back into the filling mixture. Just be sure to add it a tiny bit at a time so it does not become too runny.
The Chocolate and Peanut Coating
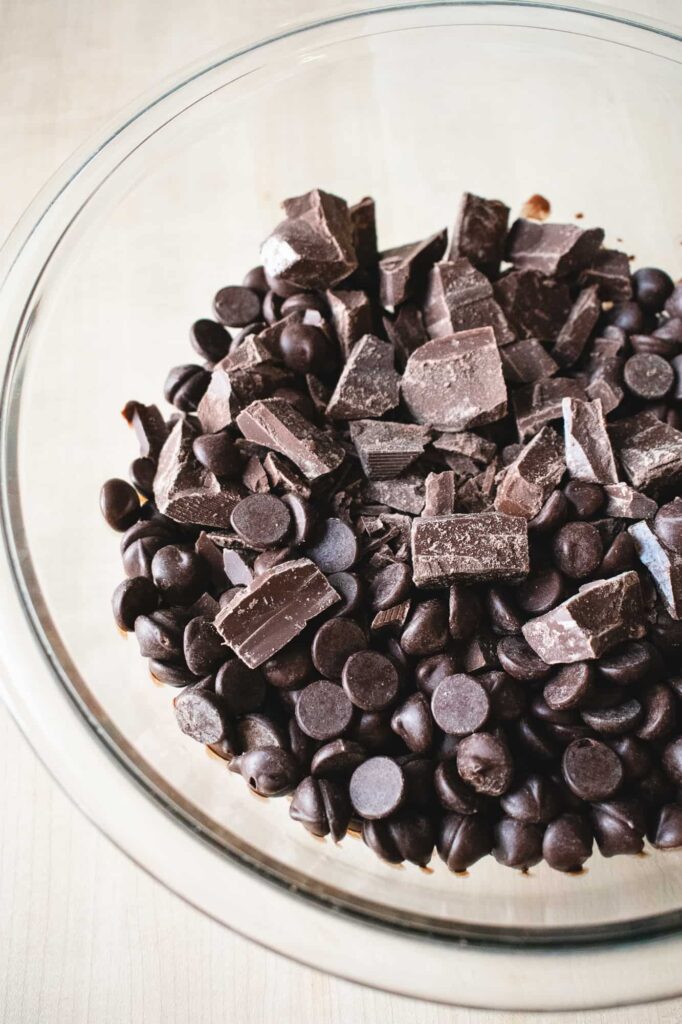
When it comes to the coating, you have some flexibility. I used a mix of chocolate almond bark and bittersweet chocolate chips. The almond bark is important here because it contains vegetable fats that help the coating set up firm and shiny. The cherry center is very sweet, so that darker chocolate provides a really nice balance.
To get the right crunch, I use salted cocktail peanuts and run them through the food processor until they are finely chopped. You want a consistent texture so the peanuts stay suspended in the chocolate rather than falling off in large chunks.
Tip: Keep it Skinless
If you swap the peanuts for cashews or pecans, just make sure they are skinless. Papery skins from nuts like Spanish peanuts will separate in the melted chocolate and ruin the smooth texture of your coating.
How I Get My Kitchen Ready
Before I even think about melting the chocolate, I handle the prep work that makes the assembly line move smoothly. I run the salted cocktail peanuts through my food processor until they are finely chopped. I want the peanuts coarse enough to still provide a good crunch, but not too big. Also, I do not want them so small that they are ground into a paste. Having the nuts ready to go ensures I am not rushing or fumbling with a messy processor while the chocolate is at its ideal dipping temperature.
I also make sure my freezer has a flat, cleared space for a large baking sheet. Since these candies rely on a double chill method to keep their shape, I find myself moving that tray in and out of the freezer quite a bit. Having a dedicated spot ready to go saves me from a little chaos in the kitchen.
Starting with the Sweet Center
I add the softened butter, powdered sugar, and sweetened condensed milk to the mixer along with the vanilla, almond extract, and the chopped cherries. Having everything in the bowl together from the start helps the texture stay consistent as the mixer begins to combine the fats with the sugar. I start the mixer on low for about 30 seconds to let the butter grab the sugar so it does not make a mess.
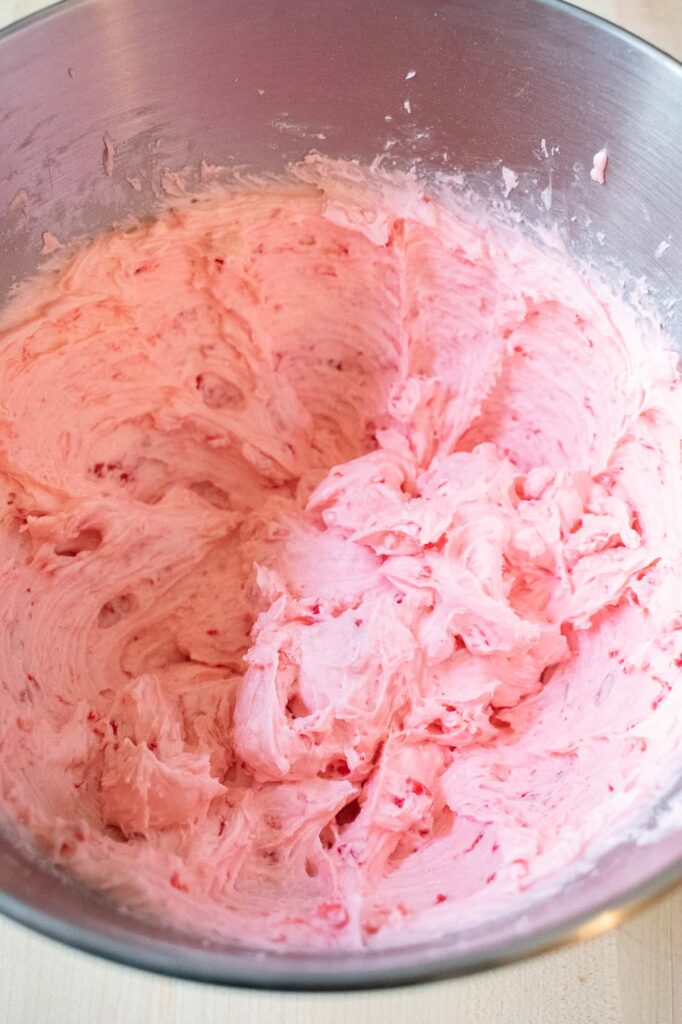
The moisture from the fruit is what finally helps the dough come together into that thick, fluffy consistency. I let the mixer do the heavy lifting on medium speed for about four minutes total, making sure to scrape down the bowl halfway through. If the filling still feels a bit stubborn, a final minute on high speed usually does the trick to get it perfectly smooth and rollable.
Shaping the Cherry Centers
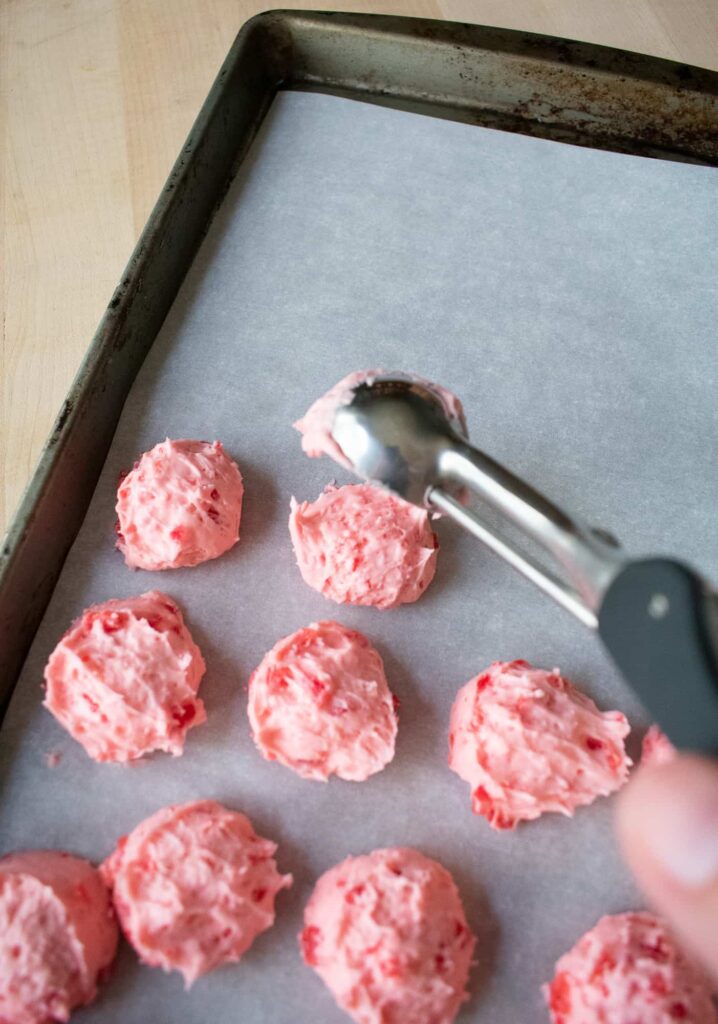
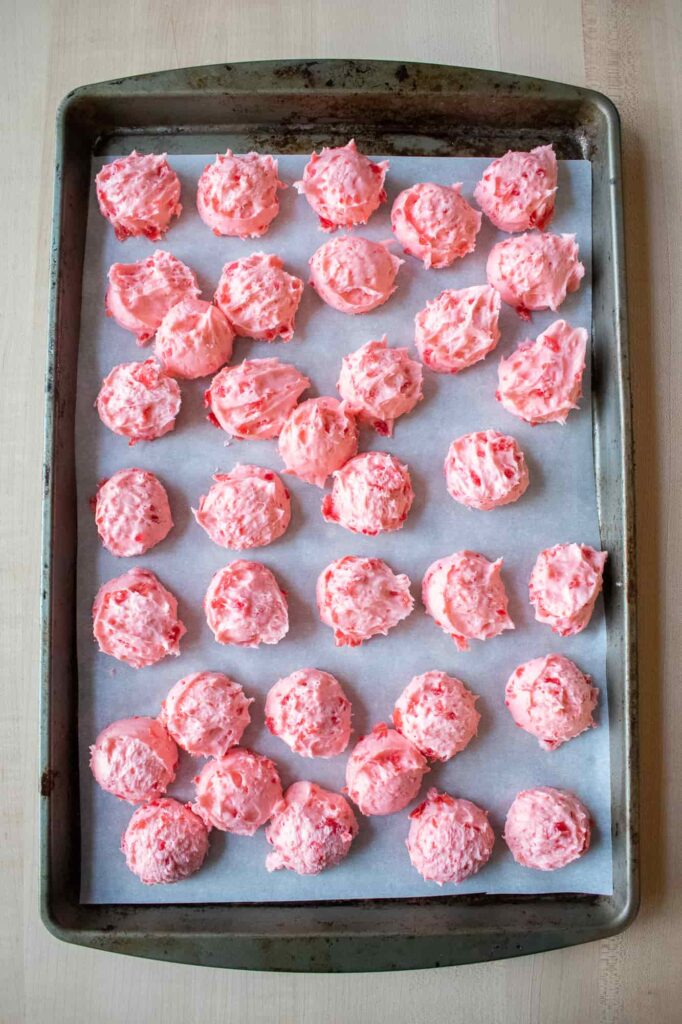
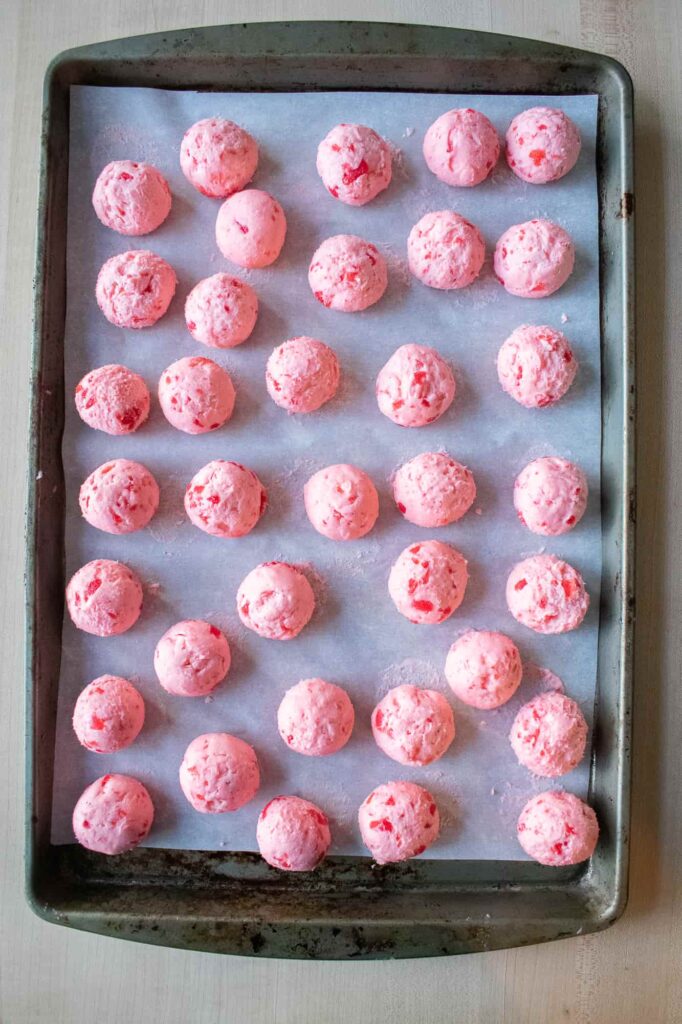
I use a #50 cookie scoop to portion out the cherry centers onto a parchment lined baking sheet. This specific size holds just over a tablespoon of filling, which I find is the perfect ratio for a rich candy like this. If you do not have a scoop, you can also just use a rounded tablespoon to portion them out. At this stage, the filling is very soft, so I do not worry about making them perfectly round yet. I just get them onto the tray and let them freeze for at least an hour.
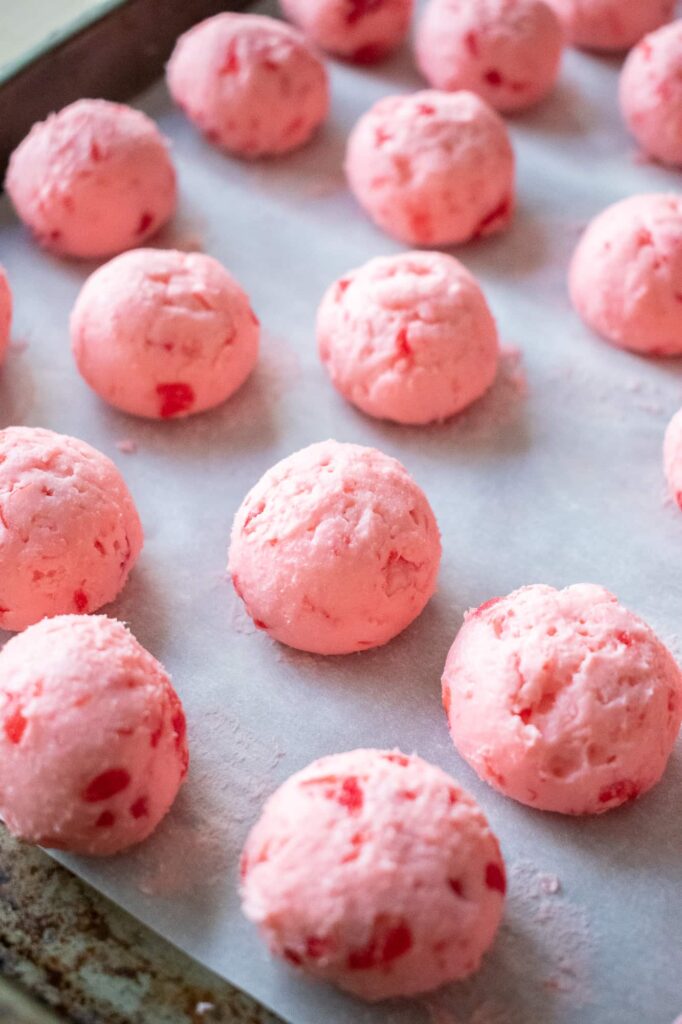
Once they are firm, I quickly roll them between my palms to smooth out any rough edges from the scoop and put them back in the freezer for another 30 minutes. This second chill is the key to getting them round. It is much easier to roll them when they are cold, and it ensures the center stays firm enough to hold its shape when it hits the warm chocolate coating.
I often have to work quickly here if my hands are running a little warm, as that heat can soften the frozen filling faster than you’d think. Either way, your hands might get a little messy during this part.
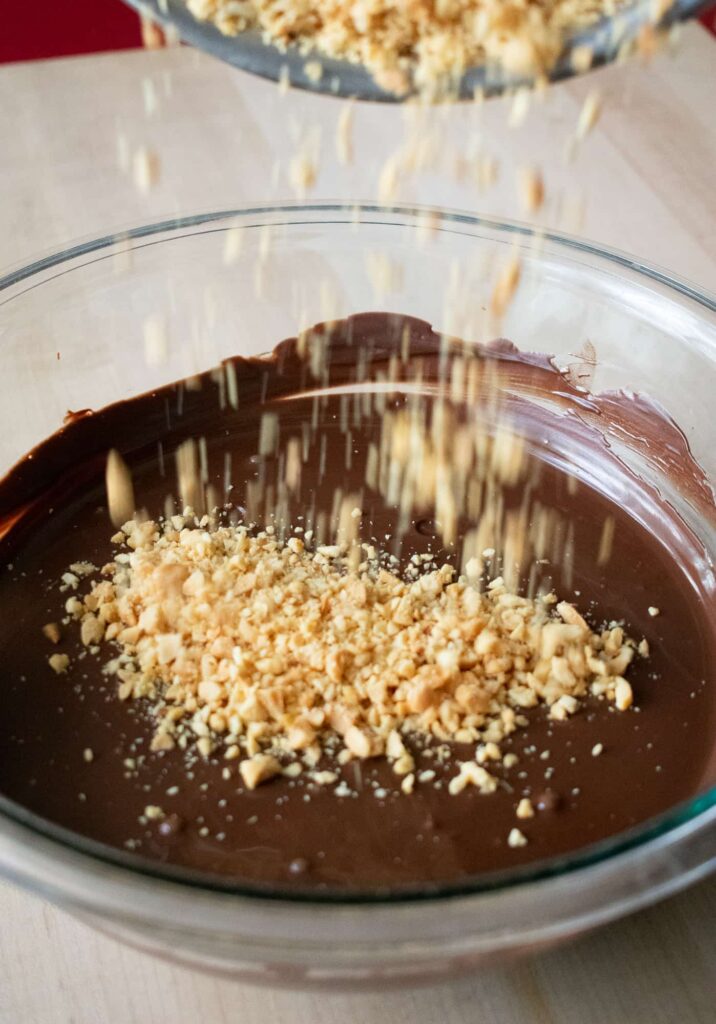
Creating the Nutty Chocolate Coating
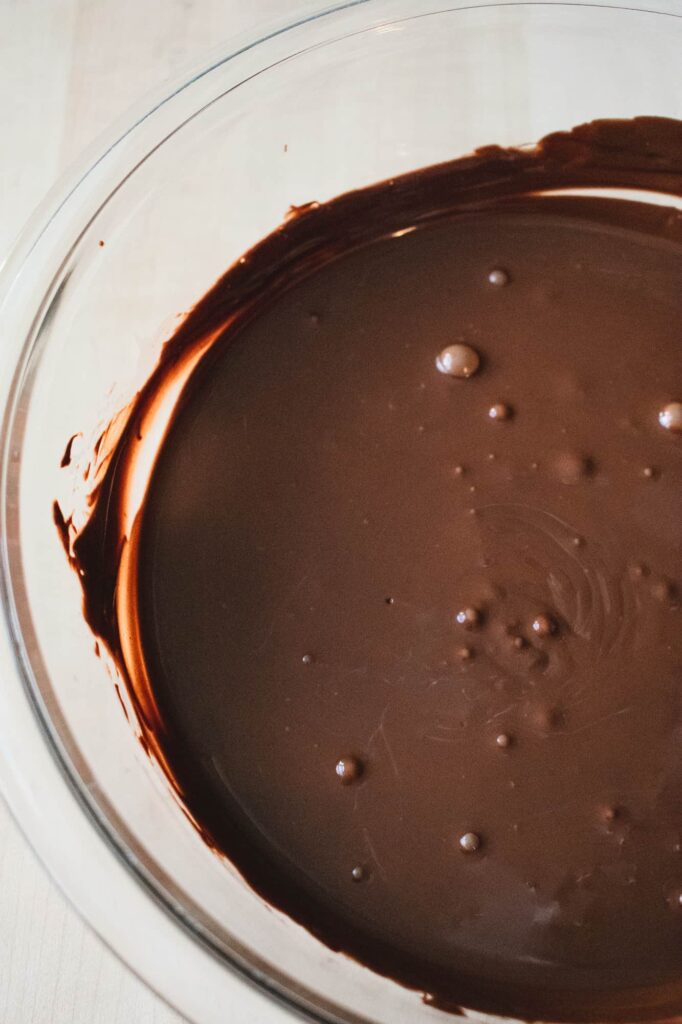
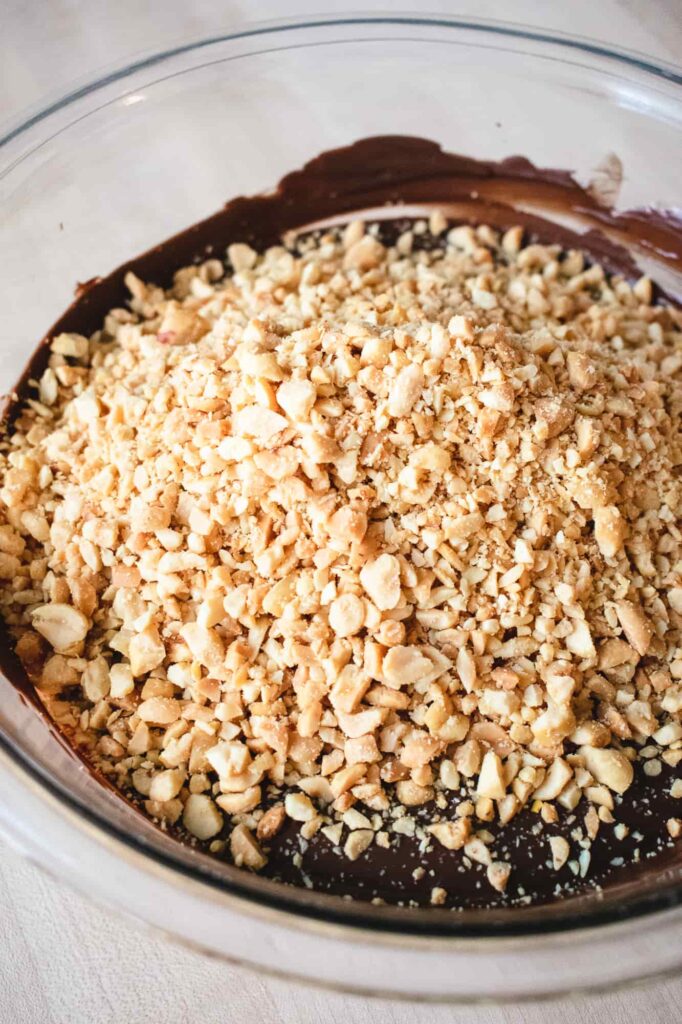
While the centers finish their second chill, I melt the chocolate almond bark and bittersweet chips together. I prefer using a microwave-safe bowl in 30 second bursts, stirring in between, until the mixture is silky smooth. Once it is melted, I stir in the chopped peanuts.
If your kitchen is running a little warm, I recommend only taking 5 or 10 centers out of the freezer at a time. Keeping the rest frozen ensures they do not soften while they wait for their turn in the chocolate, which saves a lot of frustration during the dipping process.
Tip: Thin Out The Chocolate
If the chocolate feels a little too thick to dip easily, I stir in a teaspoon of coconut oil. This helps the mixture flow better and gives the finished candy a subtle shine without changing the flavor.
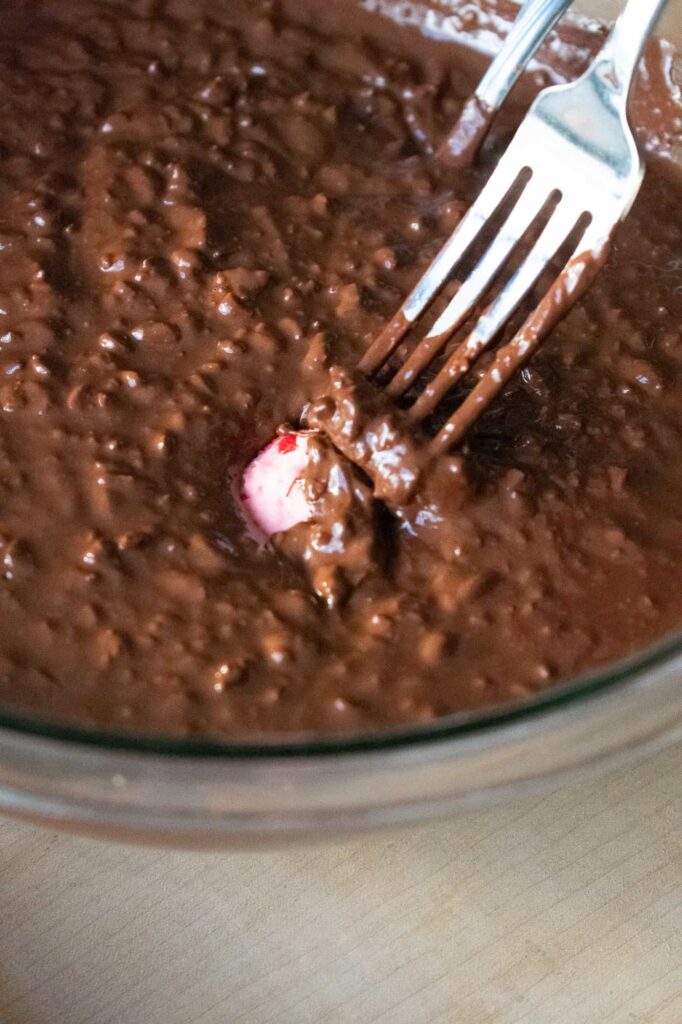
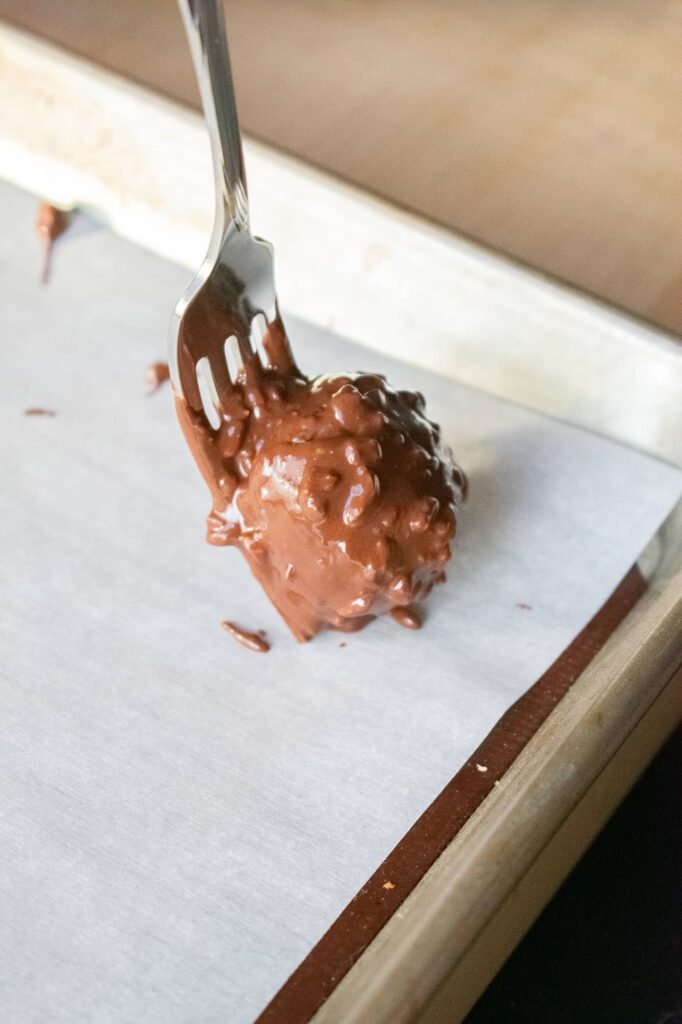
The Dipping Process
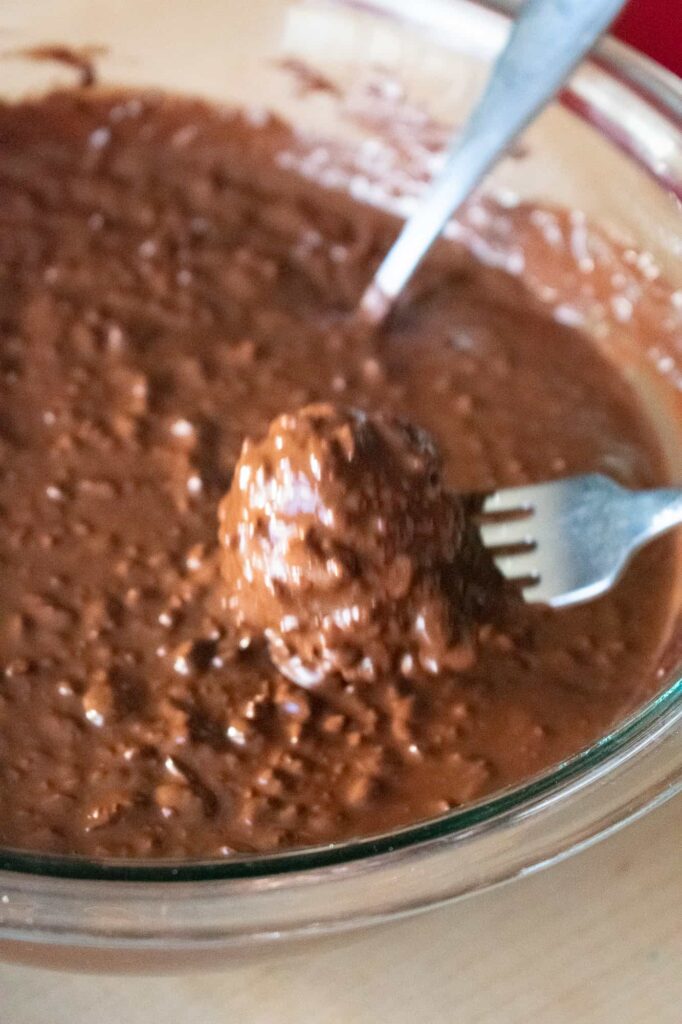
I find it easiest to use a fork to lower each frozen cherry center into the chocolate. I tap the fork gently against the side of the bowl to let any excess drip off before sliding the candy back onto the parchment paper. Because the centers are so cold, the chocolate sets up almost instantly.
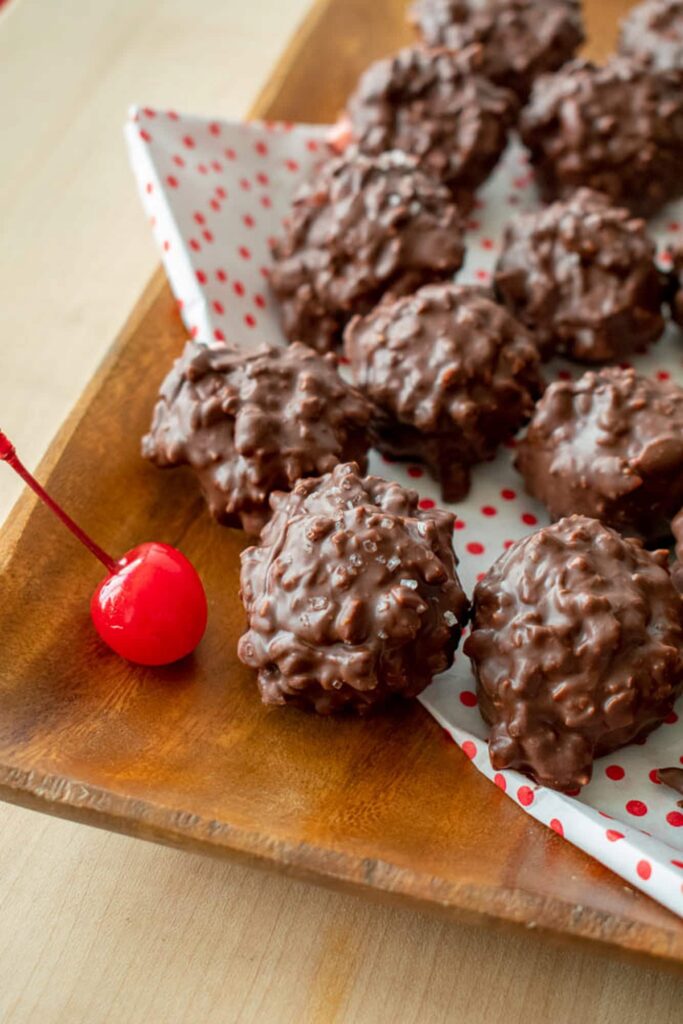
The chopped peanuts give the coating that signature bumpy, rustic look that makes these candies so recognizable. If the chocolate starts to thicken up while I am working, I just pop it back in the microwave for ten seconds to loosen it up again.
Patience While The Candy Sets
Once I have dipped all the centers, the hardest part is giving the chocolate enough time to fully firm up. Because the cherry centers were frozen, the coating sets almost instantly, but I find it is best to let them sit at room temperature for at least 40 minutes before I try to move them. This ensures the chocolate is stable and will not smudge when I pick them up.
When they are completely set, I gently peel them off the parchment paper. If any of the candies have a little “skirt” of extra chocolate around the bottom, I just snap those pieces off or trim them with a small paring knife.
Between the salty crunch and that creamy center, these do not last long once I set them out. There are always a few “kitchen thieves” in my house that are notorious for sneaking a piece off the parchment paper before they have even had a chance to set, but they really are best when that chocolate has had time to firm up.
Make it Your Own
While the classic peanut and cherry combination is what makes these so nostalgic, I sometimes play around with the ingredients depending on what I have in my pantry. If I want a more subtle cherry taste, I omit the almond extract and let the flavor of the chopped cherries stand out on their own.
Swapping the Crunch
If I am out of salted cocktail peanuts, I have used roasted almonds or even pecans. I just make sure to pulse them in my food processor the same way so the coating keeps that signature bumpy texture. You can even leave the peanuts out entirely if you prefer a smooth chocolate shell. The salt on the nuts is really important to balance out the sweetness of the filling, so if I ever use unsalted nuts, I always make sure to add a pinch of flaky sea salt to the melted chocolate.
Chocolate Options
I also experiment with the chocolate coating itself. While the almond bark and bittersweet chips provide a great balance, you can use a high-quality dark chocolate if you want a deeper flavor that offsets the sugar even more. I just find that the almond bark helps the candy stay stable at room temperature.
Adding a Finishing Touch
When I want the candies to look a bit more festive, I add decorations or sprinkles to the top while the chocolate is still wet. It is an easy way to dress them up for a holiday tray without much extra effort. My favorite way to finish them is with a tiny pinch of coarse sea salt right on top of the wet chocolate. That extra bit of salt perfectly balances the sweetness of the cherry filling and makes the whole candy feel a bit more sophisticated.
Keep it Fresh
Because these have a butter based filling, I always store the finished candies in an airtight container. They stay fresh at room temperature for about a week, but in my house, they rarely last that long. If I am making a big batch ahead of time, I keep them in the refrigerator to ensure the centers stay firm.
Serving from the Fridge
If you do keep them in the fridge, just be sure to let them sit out for a few minutes before serving. This allows the cherry center to soften back up to that creamy consistency. I have also found that they freeze remarkably well. I just wrap them individually or layer them with parchment paper in a freezer safe bag and they are ready whenever a craving hits.
Homemade Cherry Mash Candy
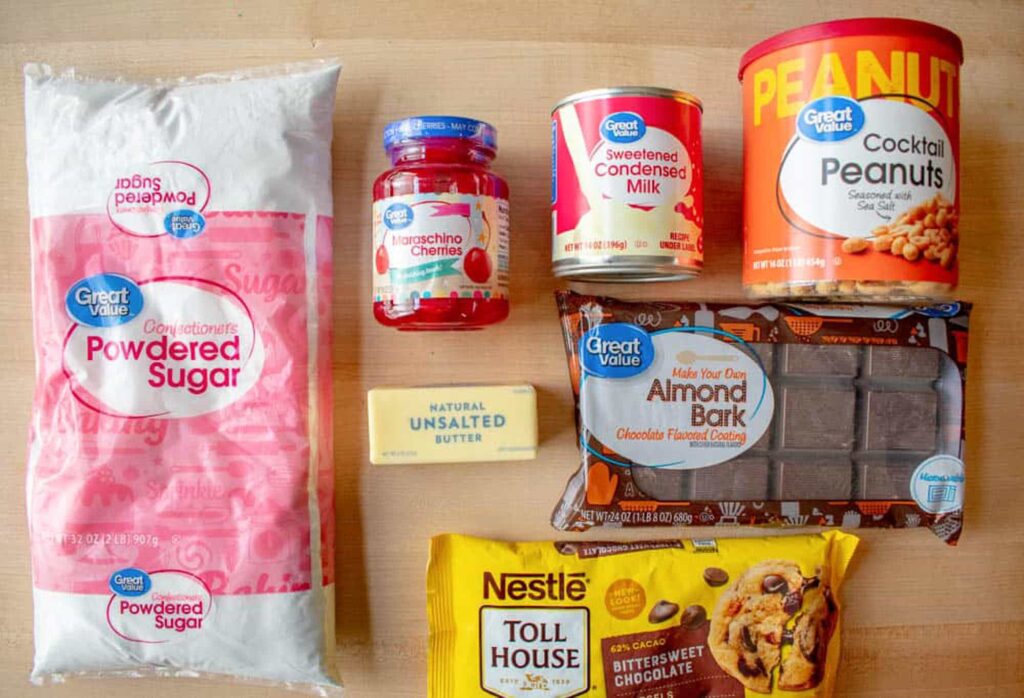
Ingredients
- 1 pound powdered sugar | about 4.5 cups or 454g
- 6 tablespoons unsalted butter softened | 85g
- 1/2 teaspoon vanilla extract
- 1/2 teaspoon almond extract
- 3 tablespoons sweetened condensed milk | 64g
- 1 10 oz jar maraschino cherries, drained and chopped | 133g fruit only
- Chocolate 10 oz almond bark and 10 oz bittersweet chips | 20 oz total
- 1 1/4 cup cocktail peanuts chopped | 180g
Instructions
Prepare Your Space
- Line the baking sheet: Cover a large baking sheet with parchment paper and set it aside. Make sure you have a flat, cleared spot in your freezer ready for this tray later.
Make the Filling
- Cream the base: Add the powdered sugar, softened butter, vanilla, almond extract, sweetened condensed milk, and chopped cherries to the bowl of your stand mixer.1 pound powdered sugar | about 4.5 cups or 454g6 tablespoons unsalted butter softened | 85g1/2 teaspoon vanilla extract1/2 teaspoon almond extract3 tablespoons sweetened condensed milk | 64g1 10 oz jar maraschino cherries, drained and chopped | 133g fruit only
- Mix slowly: Start the mixer on a low speed for about 30 seconds until the butter starts to grab the sugar. Don't worry if it looks a little crumbly or dry at this stage.
- Whip until fluffy: Increase the speed to medium and mix for two minutes. Stop to scrape down the bowl and then mix for another two minutes. The moisture from the cherries will help it come together into a thick and fluffy filling. If it still needs a bit more help, you can mix on high for one final minute.
Shape the Centers
- Scoop and freeze: Use a cookie scoop or a tablespoon to drop mounds of the filling onto your prepared baking sheet. Freeze the tray for at least one hour to let them firm up.
- Roll into balls: Remove the tray from the freezer and quickly roll each piece between your palms to smooth out the edges. If your hands are warm, work in small batches so the filling doesn’t soften too much.
- Second chill: Place the smooth centers back on the parchment paper and return the tray to the freezer for another 30 minutes to freeze before dipping.
Prepare the Coating
- Melt the chocolate: Chop your chocolate and add it to a microwave-safe bowl. Heat in 30-second intervals, stirring well after each one until the mixture is silky smooth.Chocolate 10 oz almond bark and 10 oz bittersweet chips | 20 oz total
- Add the crunch: Stir the chopped peanuts into the melted chocolate. If the coating feels too thick to dip easily, you can stir in a teaspoon of coconut oil to help it flow.1 1/4 cup cocktail peanuts chopped | 180g
Dip and Set
- Coat the candy: Use a fork to lower each frozen cherry center into the chocolate. Tap the fork against the side of the bowl to let the excess drip off, then slide the candy back onto the parchment paper.
- Be patient: Let the candies sit at room temperature for about 40 minutes. This gives the chocolate time to fully stabilize so you get that perfect firm snap when you take a bite.
Storage and Serving
- Keep them fresh: Store your finished candies in an airtight container at room temperature for up to a week. If you prefer a firmer center, you can keep them in the refrigerator.
Did you try this recipe?
Share your experience in the comments below!
I’d love to hear how it turned out
Let’s see your creations!
Share your photos
Tag me @flourtinbakes on social media