Blueberry Cream Cheese Pie
I have always felt that the best recipes are the ones that have been tested through decades of family gatherings. This blueberry cream cheese pie has been in my family recipe collection since the late 1970s. It is one of those treasures I always come back to because it manages to be incredibly simple while still feeling like a special treat.
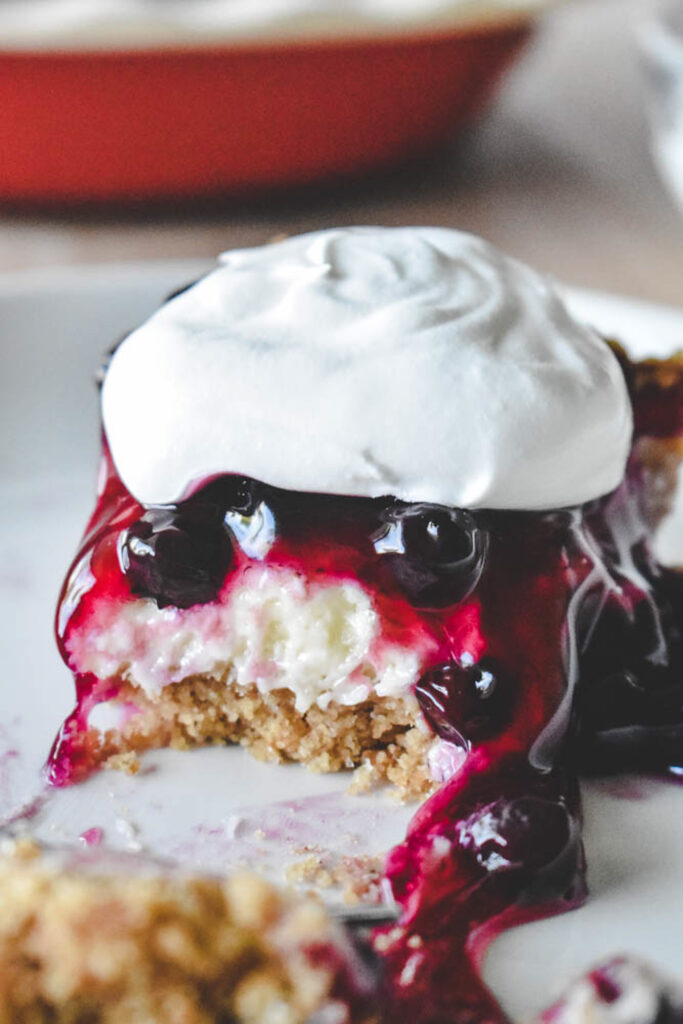
What makes this recipe stand out is the balance. You have the crunch of a buttery graham cracker crust, a tangy and lightly sweetened cream cheese filling, and a glossy, vibrant blueberry topping. It is a bit lighter than a traditional heavy cheesecake, making it the perfect dessert for a summer backyard barbecue or a refreshing addition to a holiday spread.
The Three Parts of a Perfect Pie
The Graham Cracker Base
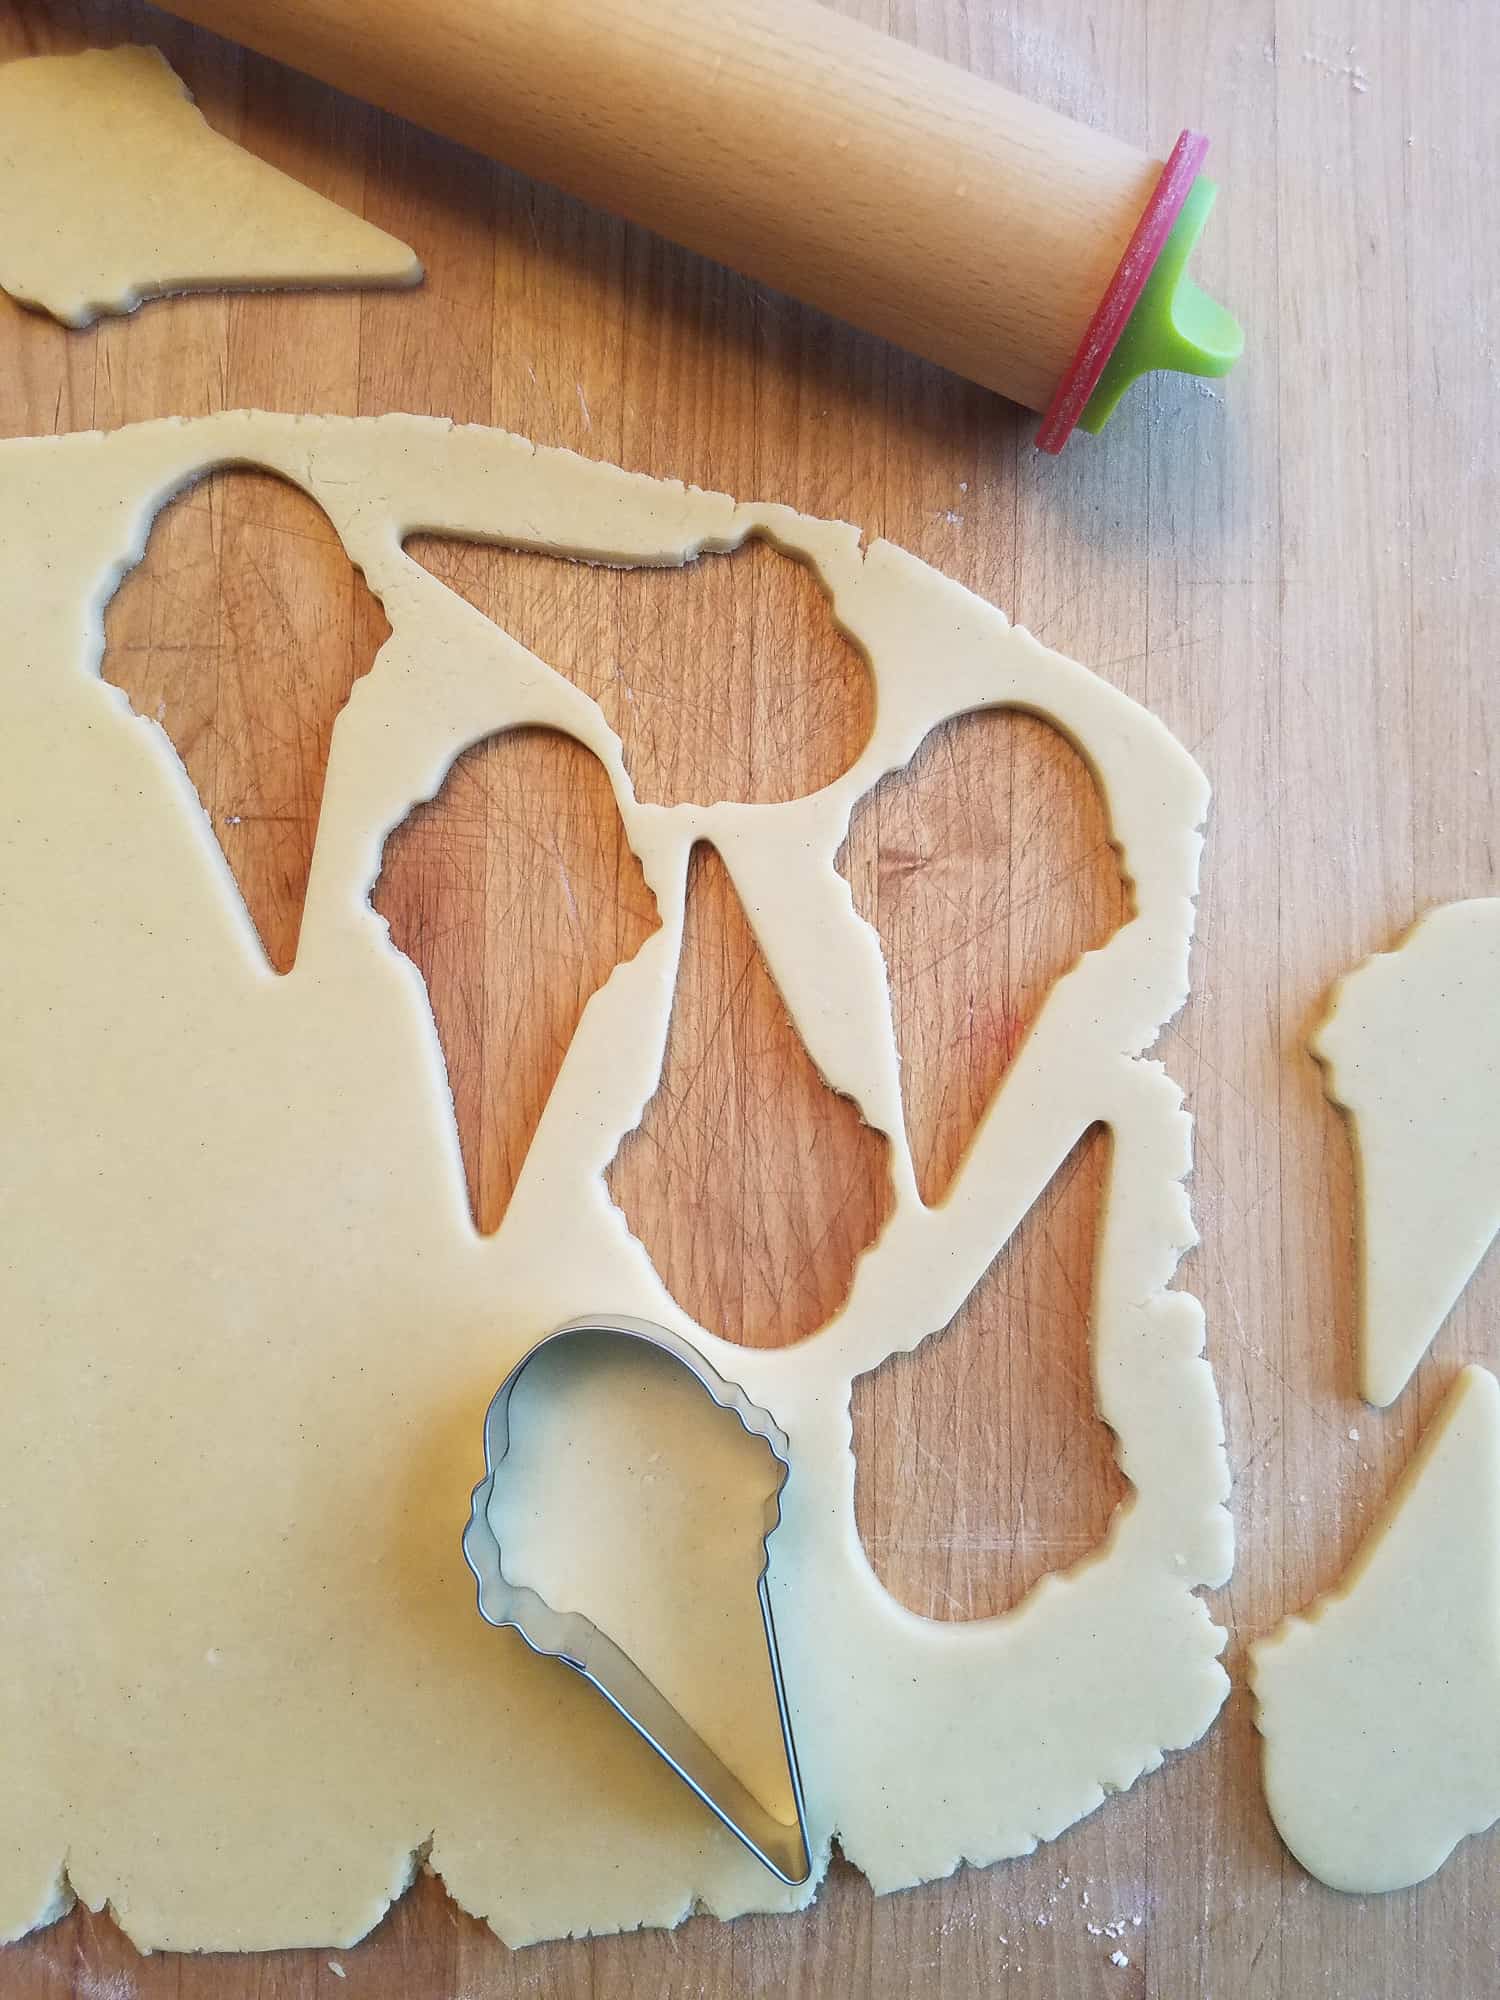
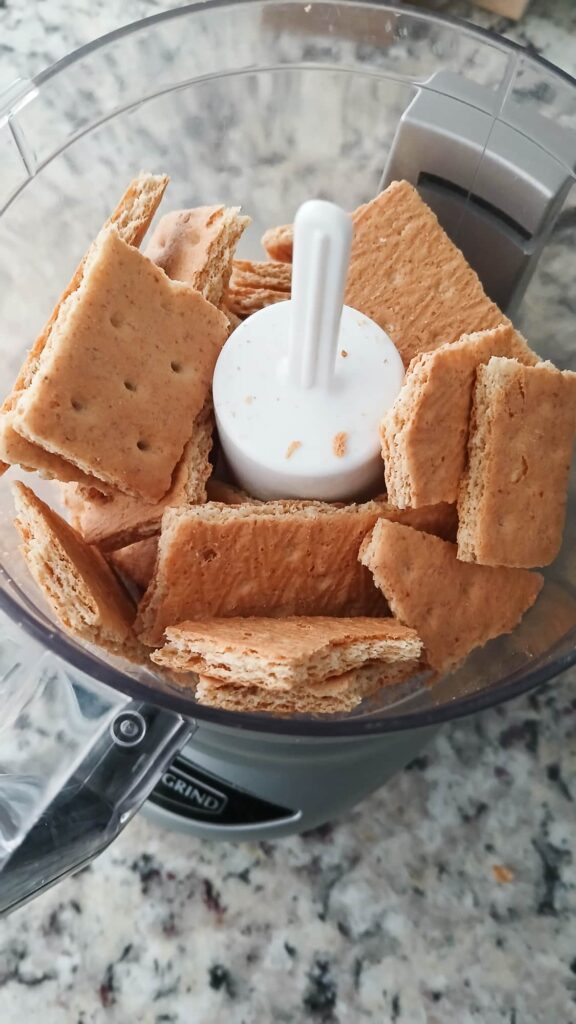
I love using graham crackers as the foundation for this pie. While you can certainly buy pre-made crumbs, I’ve found that crushing about 12 full sheets of honey graham crackers myself provides a much better texture. I usually pulse them in a food processor, but if you want to keep it old-school then a rolling pin and a resealable bag work just as well.
The Cream Cheese Layer
The most important tip I can give you is to ensure your cream cheese is completely softened to room temperature. If it is even slightly cold, you’ll end up with tiny lumps in your filling. I always reach for full-fat cream cheese here since this layer is relatively thin compared to a traditional cheesecake. That extra richness is what gives the pie its velvety, melt in your mouth quality.
Choosing the Topping
For the topping, a standard 21-ounce can of blueberry pie filling provides a nostalgic finish. It has a beautiful glossy sheen that looks striking against the white cream layer. If you have fresh berries on hand, you can easily simmer them down for a more rustic feel. I will share exactly how to do that in the variations section below.
Getting the Crust Ready
Preparing the Graham Cracker Crust
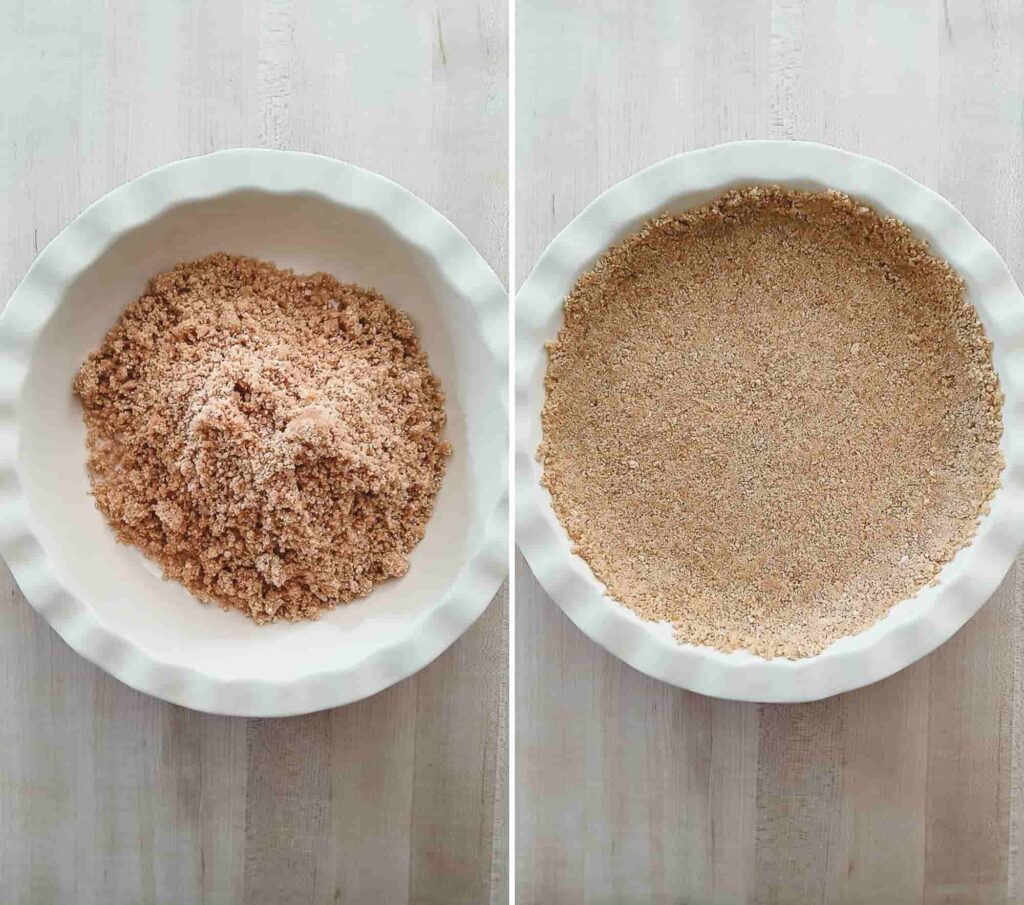
When I’m preparing the crust, I focus on two things: texture and temperature. I’ve found that the flat bottom of a measuring cup is the best tool for the job. It allows me to press the buttery crumbs firmly into the pie plate without making the base too dense. I always aim to push the crumbs about halfway up the sides of the dish to create a sturdy wall for the filling.
The Importance of Pre-Baking
One step I never skip is pre-baking the crust for ten minutes. I know it is tempting to just pour the filling in and go, but that brief time in the oven “sets” the butter. It ensures the crust stays crisp and holds up against the moisture of the cream cheese. I always let the crust cool completely before I add the filling. Adding warm filling to a hot crust is the quickest way to end up with a soggy bottom.
Mixing and Baking the Filling
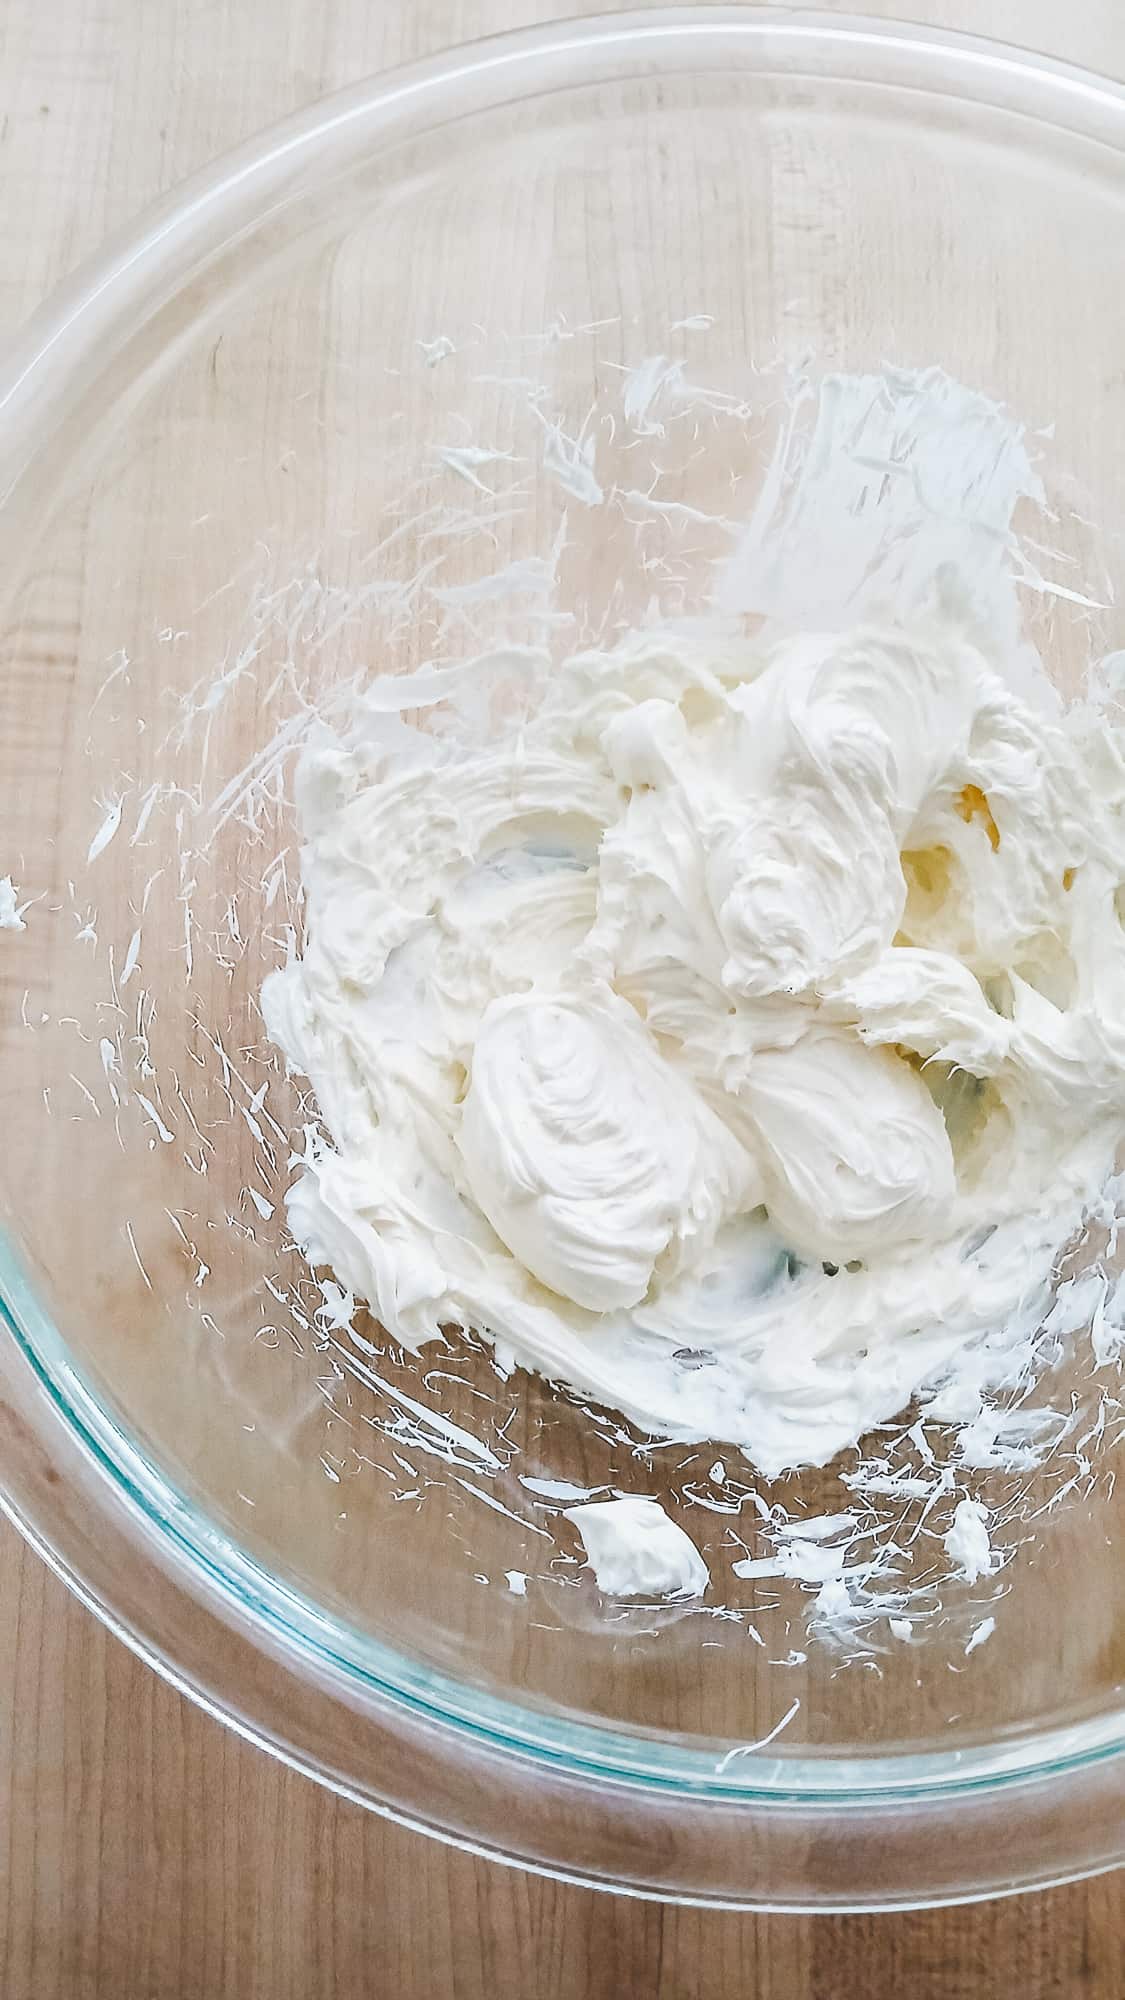
The goal for this layer is a filling that is completely smooth and velvety. To get there without any frustrating lumps, starting with softened cream cheese is not optional.
Quick Softening Hack
If your cream cheese is still cold, place the sealed foil blocks in a bowl of warm water for 15 minutes. This softens it perfectly without the risk of melting it in the microwave.
While the crust cools, I move on to the filling. I beat the softened cream cheese on its own first for about thirty seconds. This ensures every single lump is gone before I add the sugar. Once the mixture is smooth and fluffy, I incorporate the eggs one at a time along with a splash of vanilla extract. I always use a lower mixer speed for this part. You want to blend them well without whipping too much air into the batter, which keeps the filling dense and creamy rather than spongy.
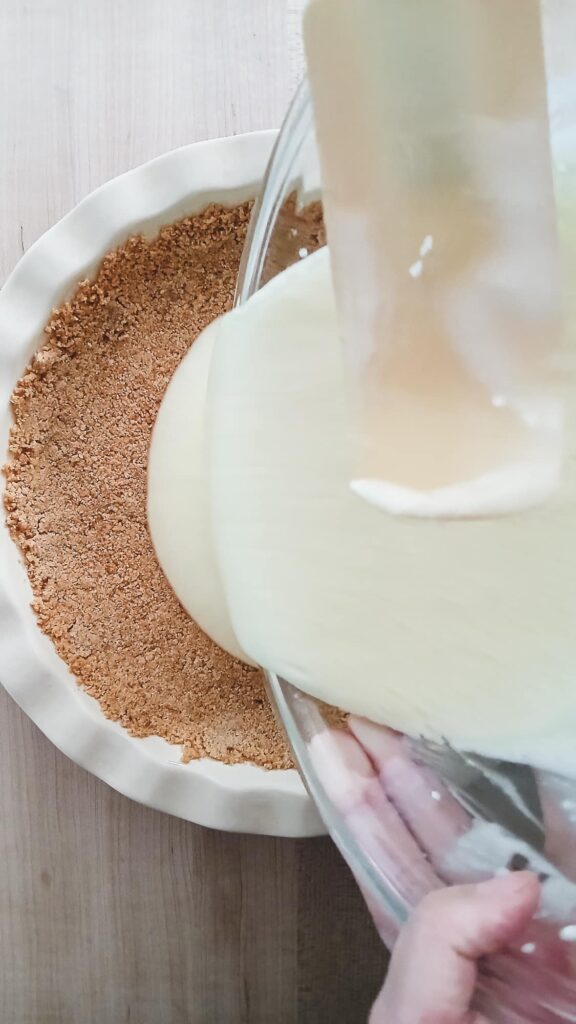
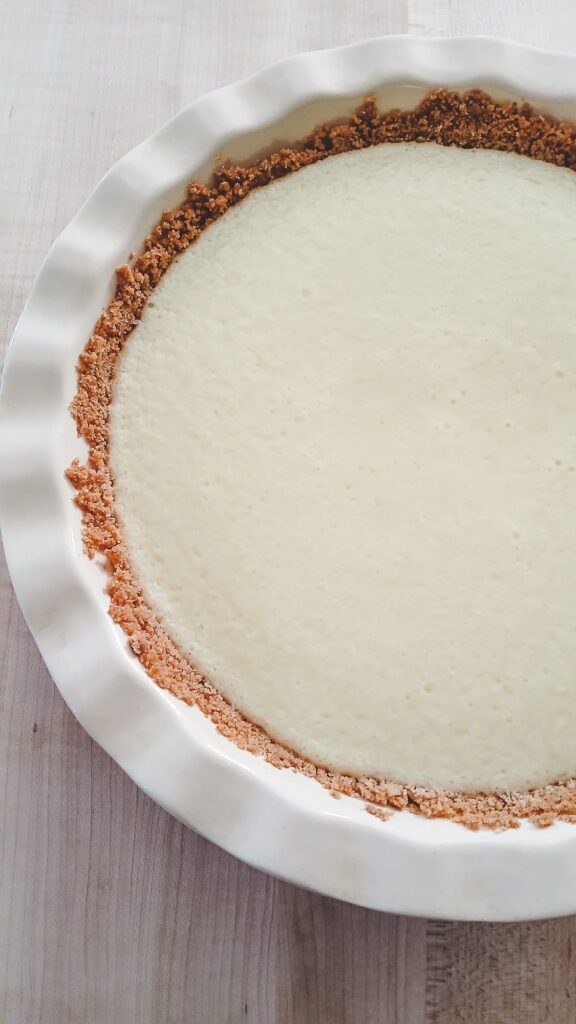
Once the batter is smooth, I pour it into the cooled crust and use a spatula to level it out. I bake the pie at 350°F just until the edges are set. You are looking for a very slight jiggle in the center. In my oven, this usually takes about 25 to 30 minutes. I like to bake it on the middle rack to ensure the heat circulates evenly around the pie. Don’t worry if the top isn’t perfectly smooth. The blueberry layer will cover any minor imperfections!
Letting the Filling Set
The most difficult part of this recipe is the wait. The pie needs to cool to room temperature on the counter before it goes into the refrigerator. I always chill it for at least two hours, but overnight is even better. This long rest transforms the filling into a velvety, sliceable layer. It needs to be completely firm before you spread that heavy blueberry topping over the top.
Adding the Topping and Garnish
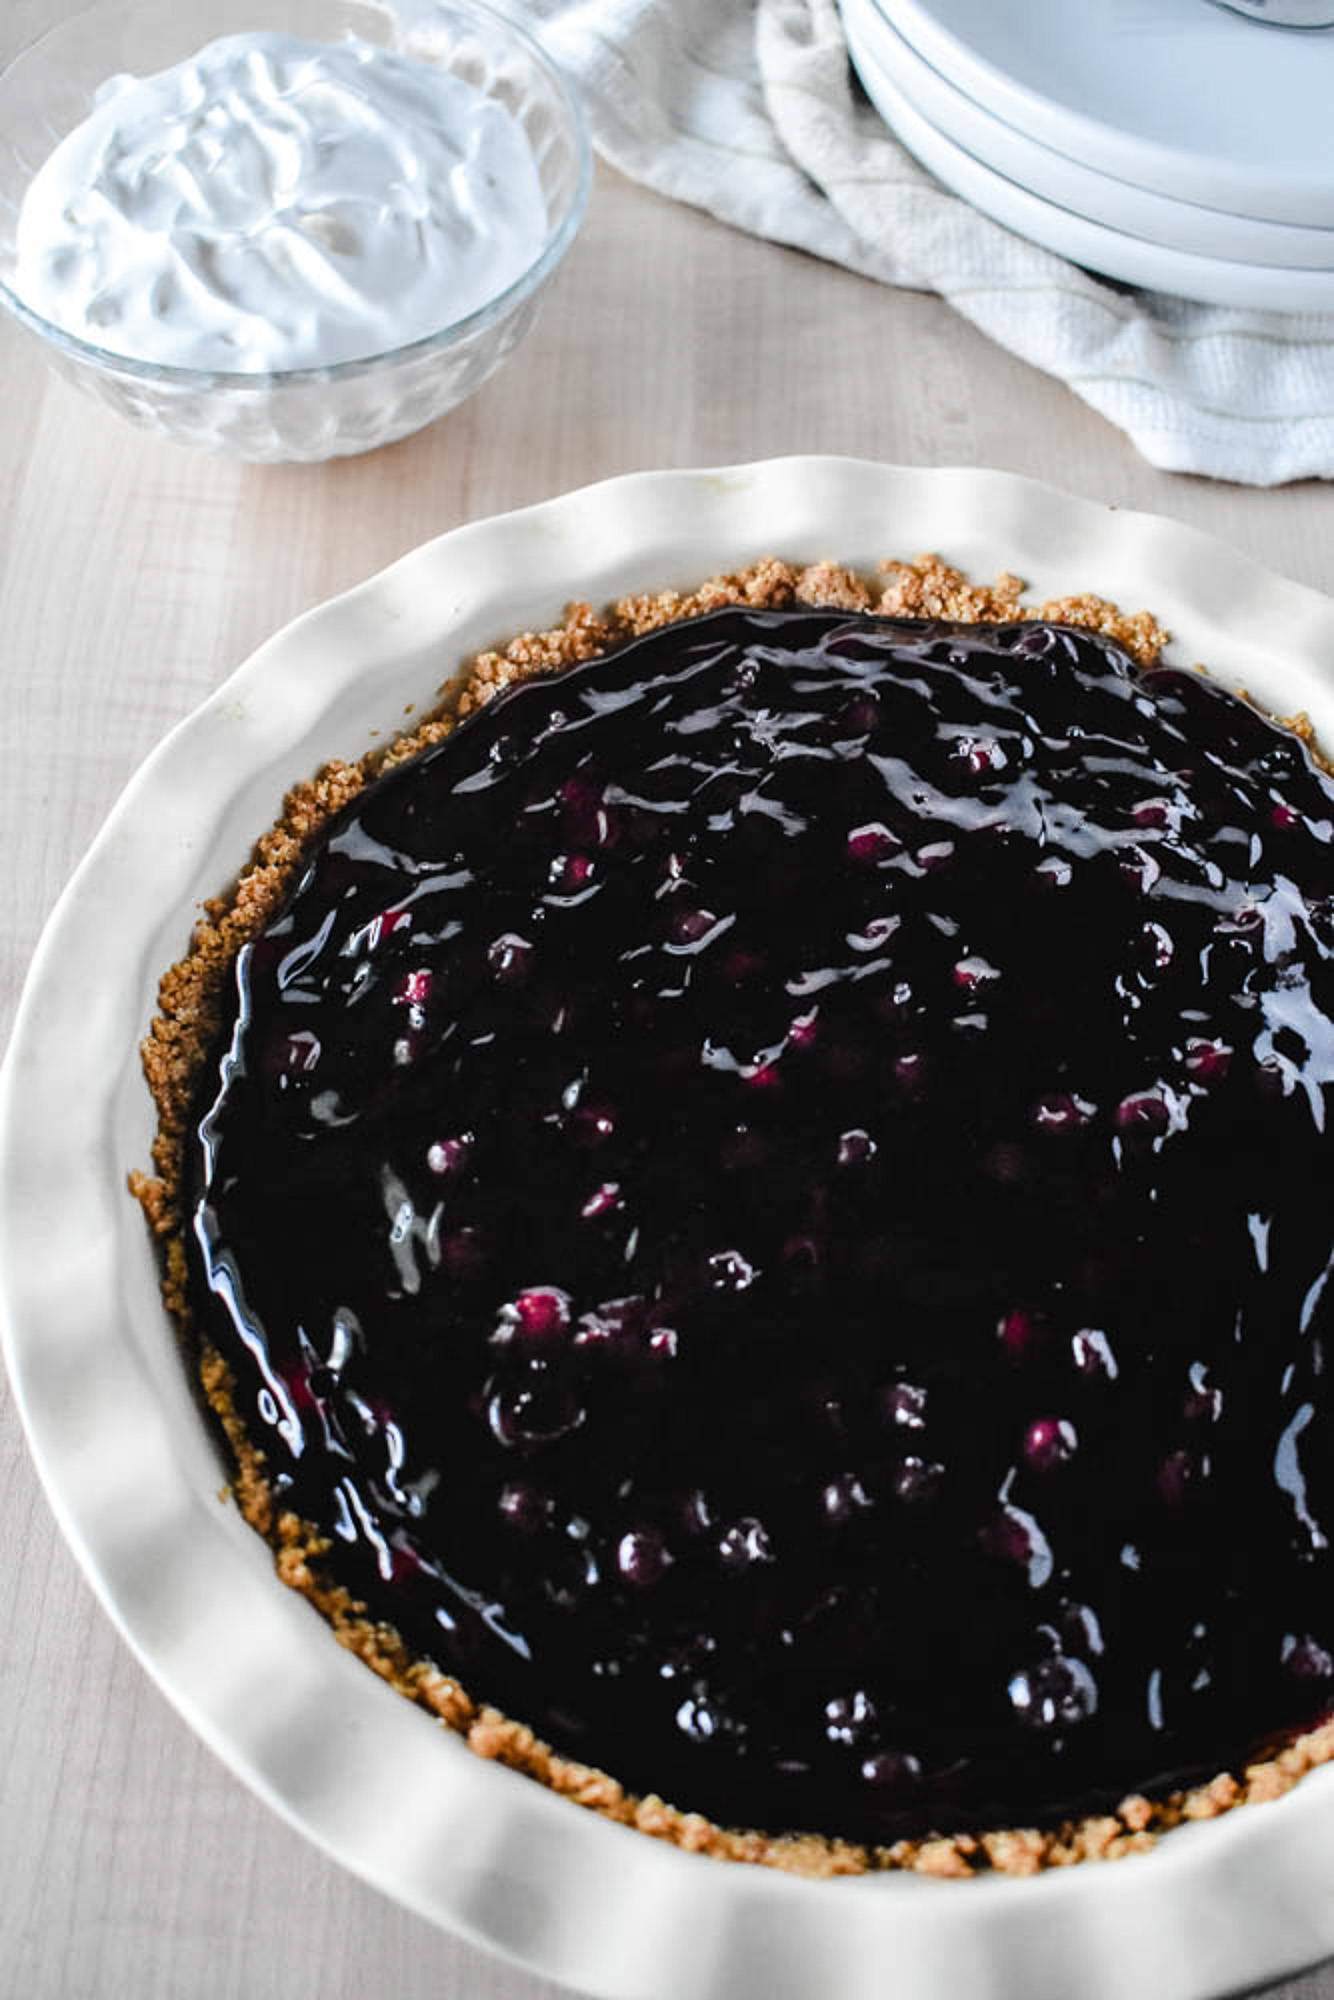
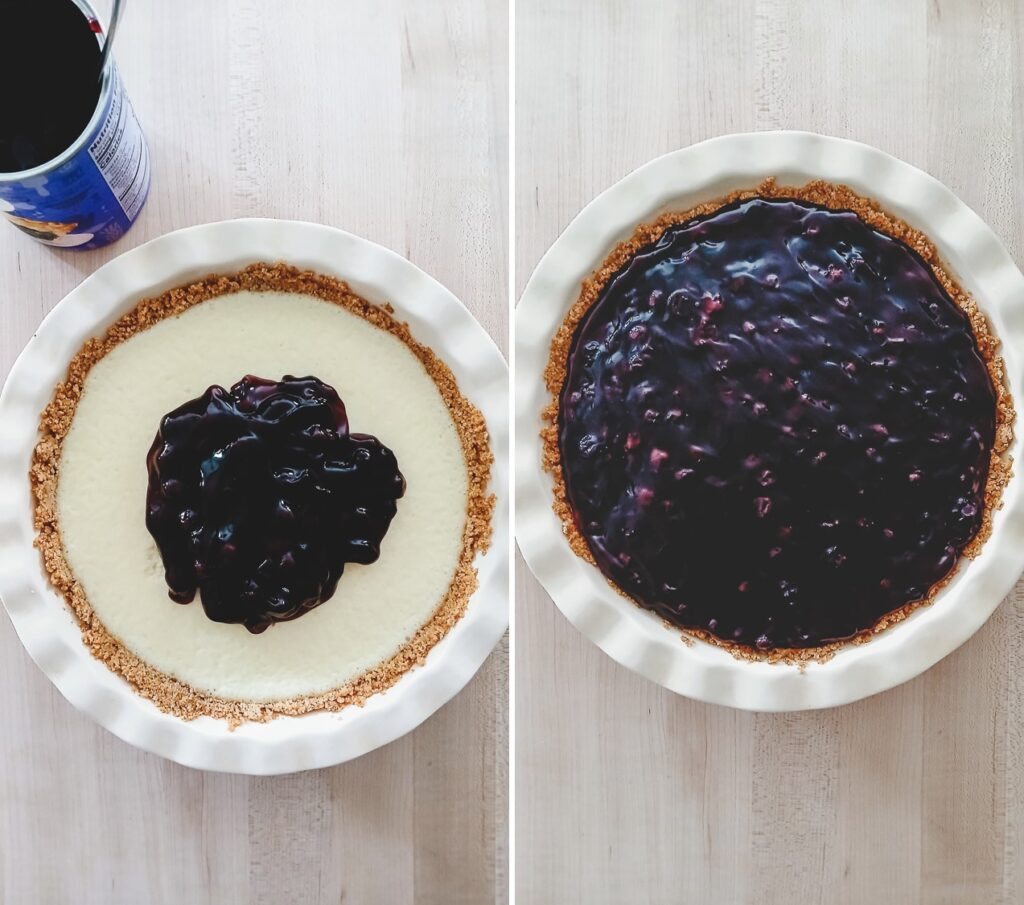
Once the pie is thoroughly chilled and firm, it is finally time for the blueberries. I like to spoon the filling gently over the center and spread it toward the edges with the back of a large spoon. Because the cream cheese layer is cold and set, the berries will sit beautifully on top without sinking into the filling.
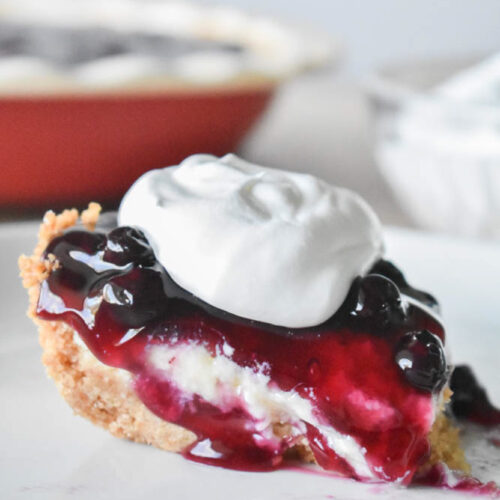
I usually let the topped pie sit back in the refrigerator for another 30 minutes. This helps the layers bond so they do not slide apart when you cut into them. When I’m ready to serve, I set out a bowl of freshly whipped cream. You can decorate the pie with a beautiful whipped cream border if you want, but I usually just add a generous dollop to each individual slice.
Whipped Cream Tip
For the best volume, chill your bowl and beaters in the freezer for ten minutes before whipping the cream. This helps it stay fluffy and firm much longer while sitting on the table.
Make it Your Own
This pie is wonderful because it is so adaptable. While I love the classic blueberry version, there are so many ways to give it a fresh personality depending on the season.
Using Fresh Blueberries
If you have fresh berries on hand, you can skip the canned filling. Simmer two cups of fresh blueberries with two tablespoons of sugar and a teaspoon of cornstarch until the mixture thickens. Just be sure to let it cool completely before spooning it over the cream cheese layer.
Switch the Fruit
I sometimes swap the blueberries for apple, peach, or cherry pie filling. Each one gives the pie a fun twist and keeps it feeling fresh for different occasions.
Brighten with Citrus
A little lemon zest in the cream cheese layer adds a bright, refreshing touch. I love how lemon and blueberry play together for a light, summery dessert.
Add Cozy Spices
For an autumn inspired treat, I add a pinch of warm spices like cinnamon or nutmeg to the cream cheese mixture. It gives the pie a comforting, seasonal flavor that pairs perfectly with apple or cherry toppings.
A Hint of Almond
Adding a teaspoon of almond extract to the cream cheese mixture gives the pie a subtle nutty flavor. I use this when I want something just a little extra special, as it really elevates the blueberry flavor.
Keep it Fresh
Since this is a dairy based dessert, it needs to stay in the refrigerator. I find it stays fresh for about three to four days if it is tightly covered.
One little trick I’ve learned is to press a bit of plastic wrap gently against any cut edges of the pie. This prevents the filling from drying out and keeps the crust from absorbing too much moisture from the fridge air. It’s the best way to ensure that last slice is just as good as the first.
Blueberry Cream Cheese Pie
Ingredients
Crust
- 1 1/2 cups crushed graham crackers, about 12 full cracker sheets | ~170g
- 1/4 cup granulated sugar | 50g
- 6 tablespoons melted butter | 85g
Filling
- 8 ounce 1 block cream cheese, softened to room temperature | 8 ounces | 226g
- 1/2 cup granulated sugar | 100g
- 2 large eggs
Topping
- 1 can blueberry pie filling | 21 ounces | 595g
- whipped cream or whipped topping | optional
Instructions
Prepare the Crust
- Preheat the oven: Preheat your oven to 350°F
- Crush the graham crackers: If using whole crackers, crush them in a food processor or place them in a Ziploc bag and smash them with a rolling pin until fine crumbs form.1 1/2 cups crushed graham crackers, about 12 full cracker sheets | ~170g
- Mix the dry ingredients: In a medium bowl, stir together the graham cracker crumbs and granulated sugar.1/4 cup granulated sugar | 50g
- Add melted butter: Pour in the melted butter and mix until the crumbs are evenly coated. The mixture will look crumbly.6 tablespoons melted butter | 85g
- Press the crust: Press the crumb mixture firmly into the bottom and up the sides of a 9-inch pie plate. For best results, use the back of a measuring cup to press it evenly.
- Bake the crust: Bake for 10 minutes.
- Cool: Remove from the oven and let the crust cool.
- Prepare the filling: While the crust is cooling, start preparing the filling.
Prepare the Filling
- Beat the cream cheese: In a mixing bowl, beat the softened cream cheese for about 30 seconds to remove any lumps.8 ounce 1 block cream cheese, softened to room temperature | 8 ounces | 226g
- Add sugar: Add the granulated sugar and continue beating until the mixture is smooth and fluffy.1/2 cup granulated sugar | 100g
- Incorporate the eggs: Add the eggs one at a time, blending well after each addition to ensure a smooth filling.2 large eggs
- Pour and bake: Pour the cream cheese mixture into the cooled crust. Bake at 350°F for 25–30 minutes, or until the center is set and slightly jiggly.
- Cool to room temperature: Remove the pie from the oven and let it cool completely at room temperature.
- Chill the pie: Cover the pie tightly with plastic wrap (ensuring the wrap doesn’t touch the cream cheese surface) and chill for at least 2 hours or overnight.
Add the Topping
- Add the blueberry topping: Spoon the blueberry pie filling over the chilled cream cheese filling layer. Spread it evenly to cover the entire surface.1 can blueberry pie filling | 21 ounces | 595g
- Chill until serving: Place the pie back in the refrigerator and chill until ready to serve.
- Garnish and enjoy: Top with whipped cream or whipped topping just before serving for an extra touch of sweetness. Slice and enjoy!
Did you try this recipe?
Share your experience in the comments below!
I’d love to hear how it turned out
Let’s see your creations!
Share your photos
Tag me @flourtinbakes on social media